
In this POC will see how to integrate Pega with JFrogArtifactory – a content management system where we can store the attachments of our case.
In general when we attach a document in Pega it gets stored in the Pega DB. But in a Enterprise Level we generally store the attached documents in a content Management system. In this POC we will do the same using JFrogArtifactory.
Demo Video:
Steps are as follows:
- Create an account in JFrogArtifactory.
- Add roles to the Access Group
- PegaRULES:RepositoryAdministrator
- PegaRULES:RepositoryUser
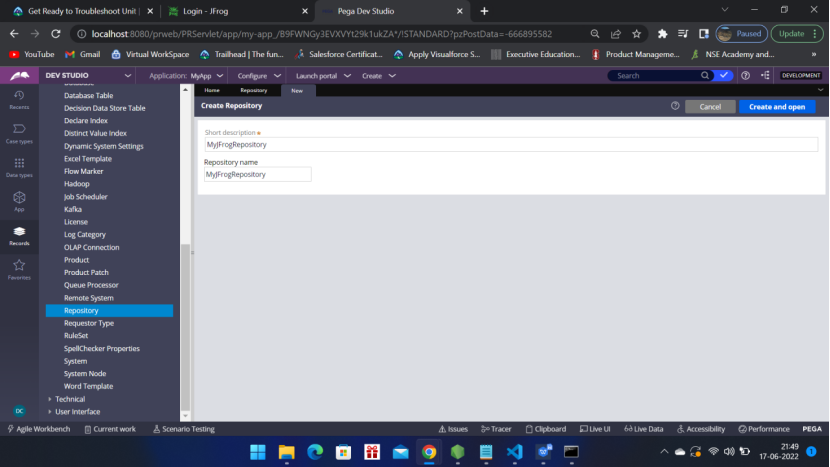
- Create a SysAdmin –> Repository rule in Pega.
- Select JFrogArtifactory and provide Connection details
- Create an Authentication profile.
- Update the Application to point to the Repository.
- Run a Case and Attach a document – mydata001.pdf.
- Go to the JFrogArtifactory and check the file has been added successfully.
Go to the link
https://myjfrogpoc.jfrog.io/ui/login/
Create an account with a Google email id and a new password for JFrogArtifactory
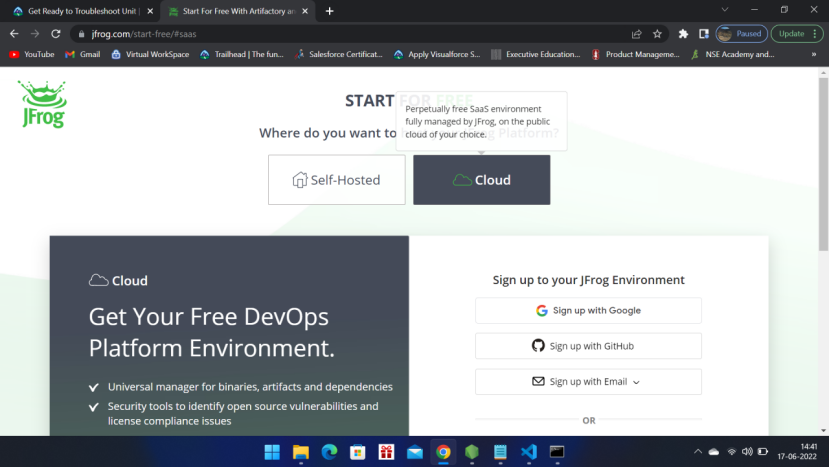
Register with your Name, Email ID and new password for this JFrogArtifactory
Enter: myjfrogpoc or any other name of your choice [The below screen is different]
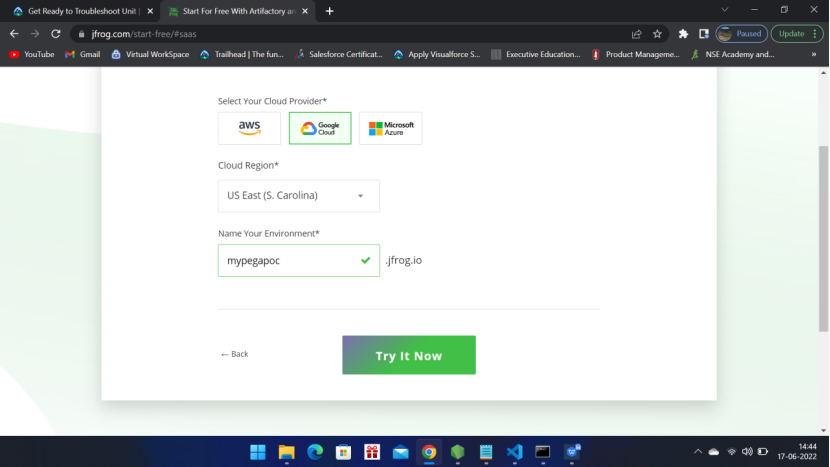
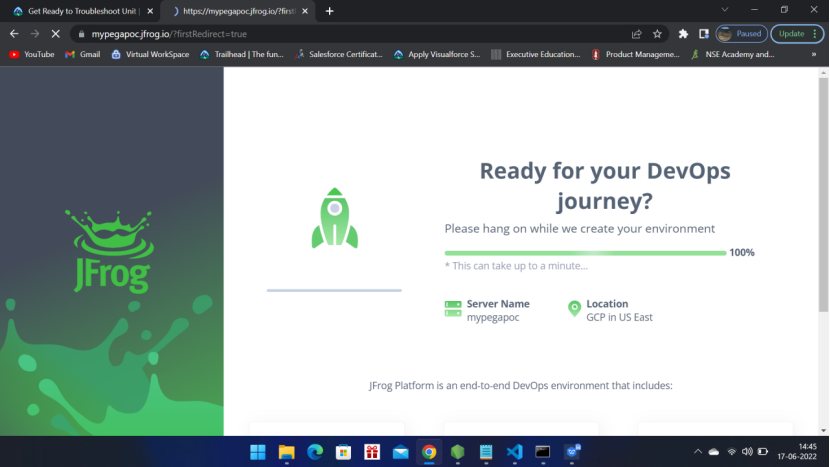
Click Try it now [Below screen is different]
Login user id and password will come — use the user id and password that you have created
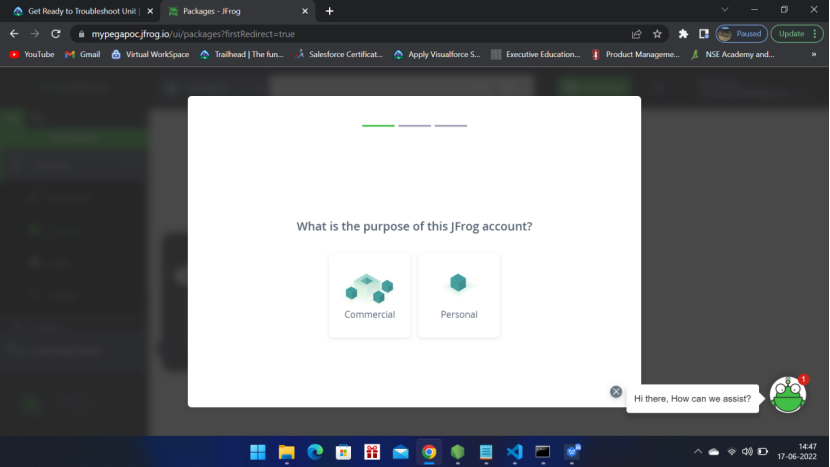
Select Personal
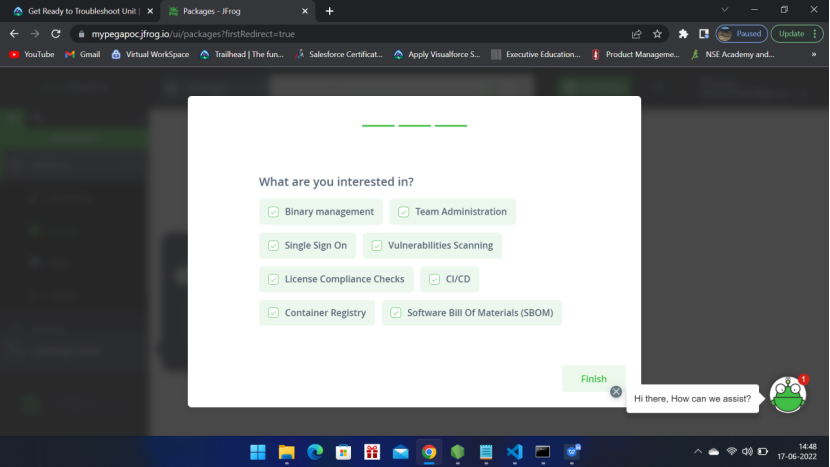
Click Finish
Now you can see the below screen
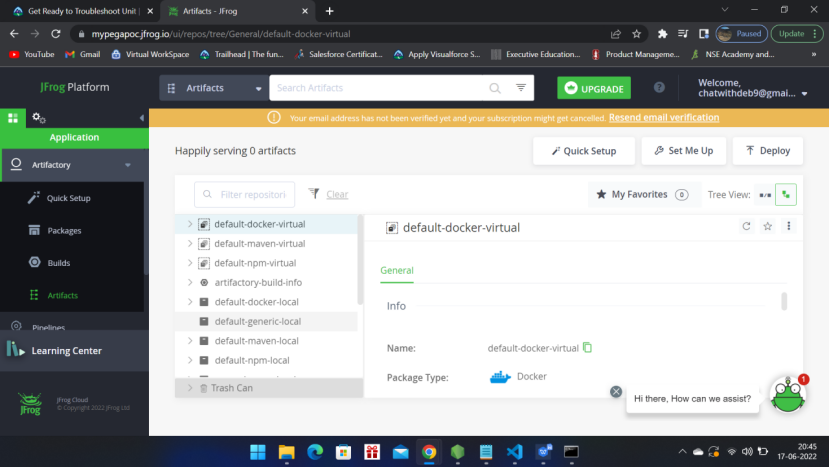
Click Artifact from the left menu
You will see the default artifacts but you can create your own artifact – by clicking Quick Setup
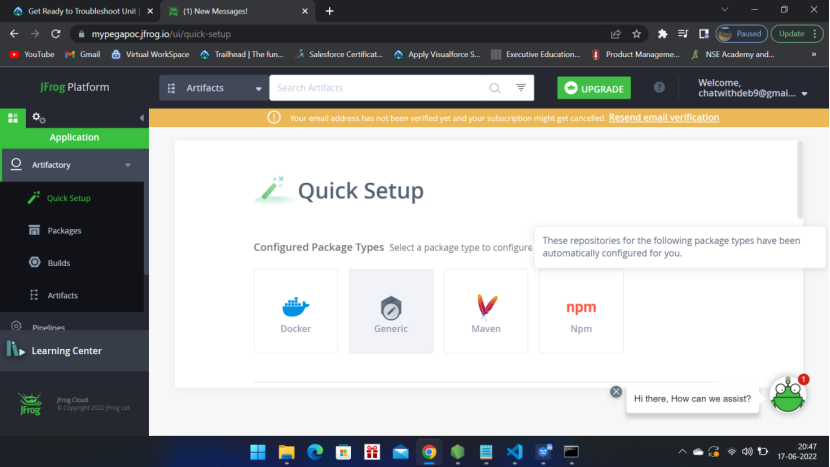
Click Generic
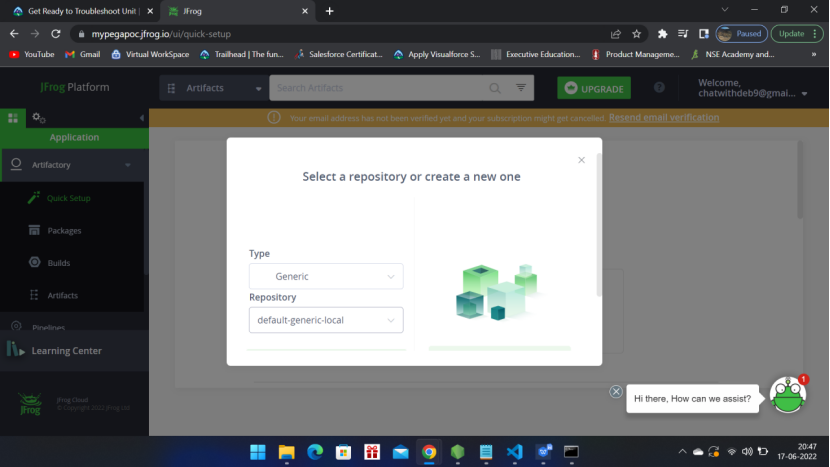
Scroll down
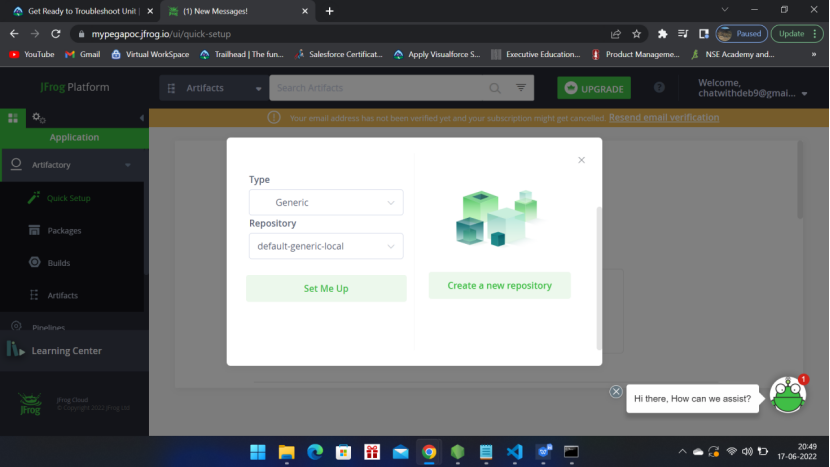
Click create a new repository

Click Create
A pop will come, close the window and come back to the main screen and click Artifacts, you will see the new artifact folder – mypoc-generic-local

Name:
mypoc-generic-local
URL to file:
https://myjfrogpoc.jfrog.io/artifactory/mypoc-generic-local/
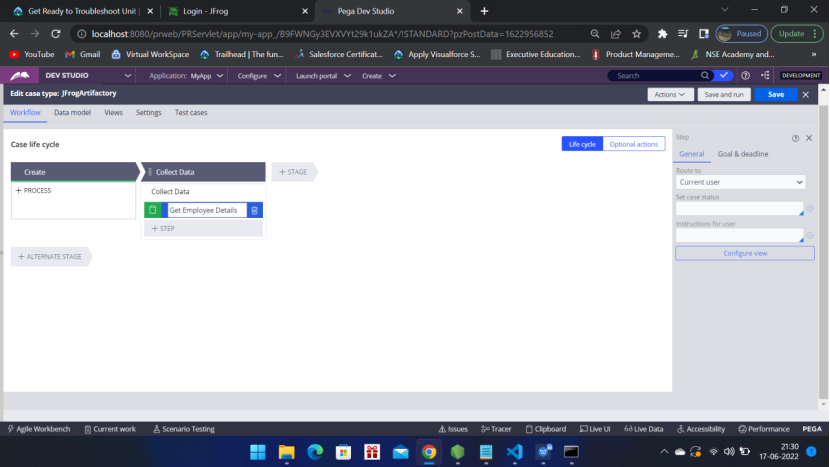
Now go to Pega and create a Case type
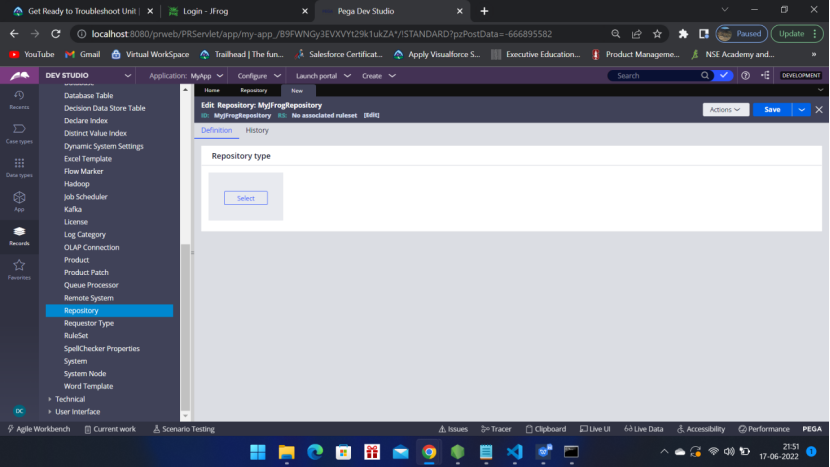
Now go to records – SysAdmin – Repository
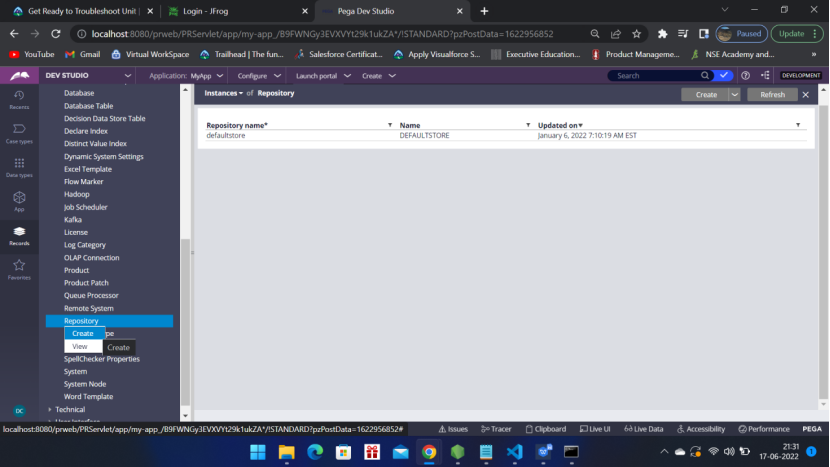
Click Create
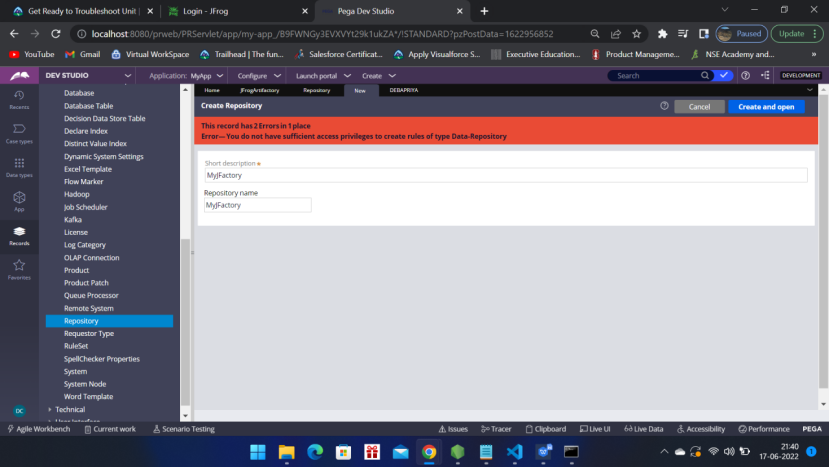
If you get the above error, do the following
To create a repository, your access group must have the PegaRULES:RepositoryAdministrator role. To use a repository, your access group must have the PegaRULES:RepositoryUser role.
Go to the operator – Access group
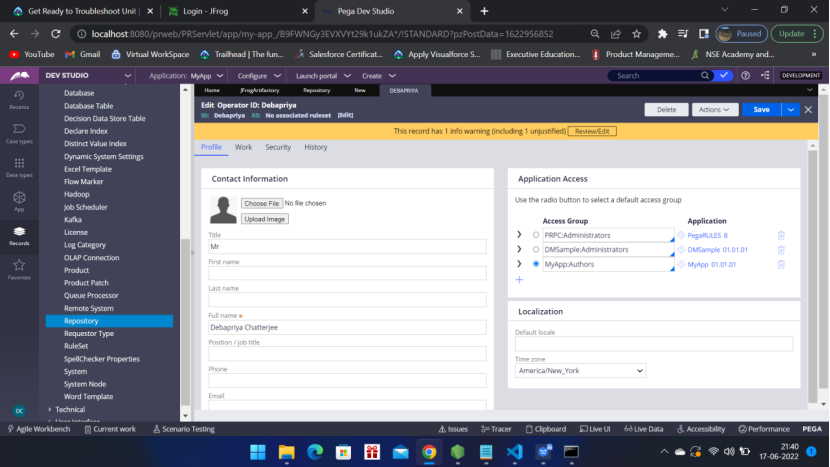
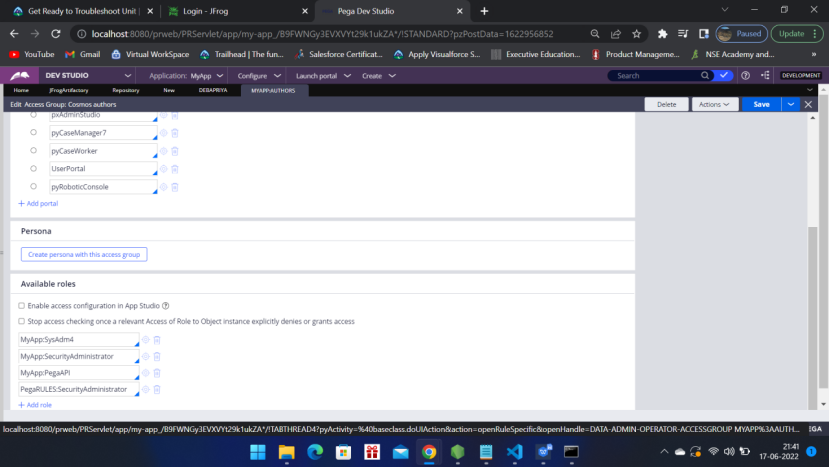
Add the roles
To create a repository, your access group must have the PegaRULES:RepositoryAdministrator role. To use a repository, your access group must have the PegaRULES:RepositoryUser role.
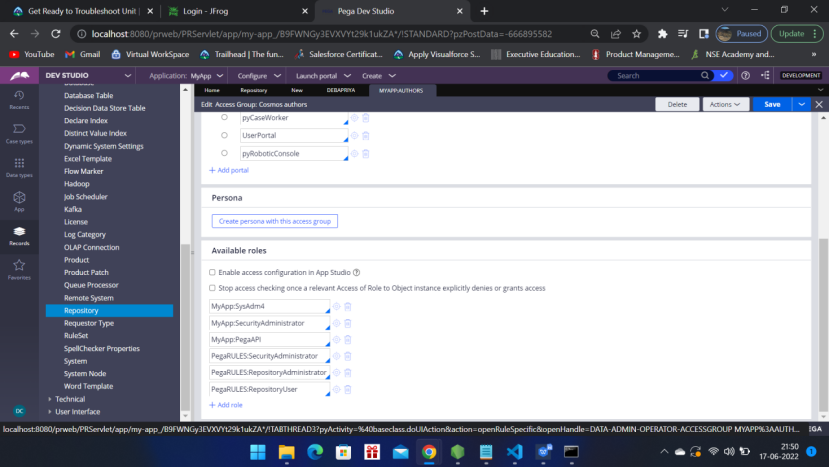
After adding the roles we are not getting the error,
Click Select
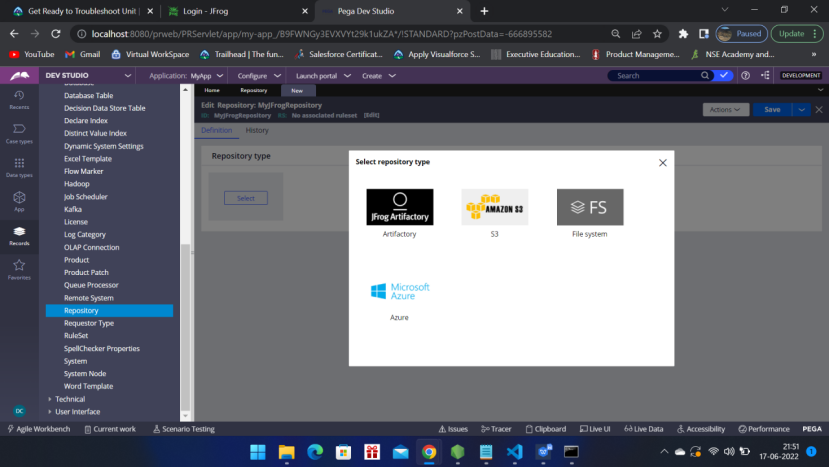
Select JFrogArtifactory
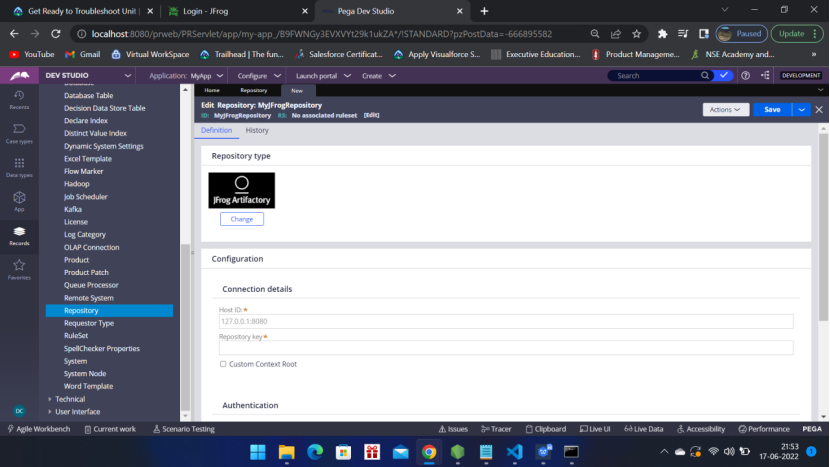
Now we have to provide some details – Go to JFrogArtifactory
Take the URL: https://myjfrogpoc.jfrog.io/artifactory/mypoc-generic-local/
Host ID: <Anything before artifactory> https://myjfrogpoc.jfrog.io
Repository key:<Anything after artifactory> mypoc-generic-local/
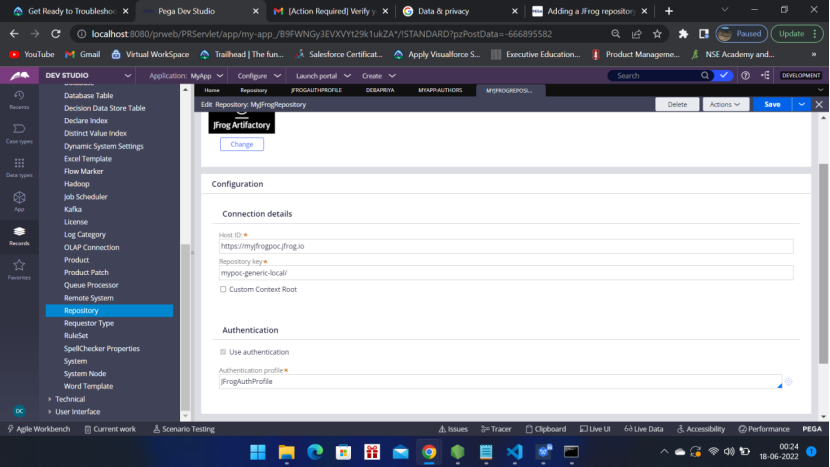
Now create an authentication profile – click on the target icon- Authentication profile rule will open
Type: Basic
Name: Provide a name of your choice
Short Description: Provide same name

Click Create and open
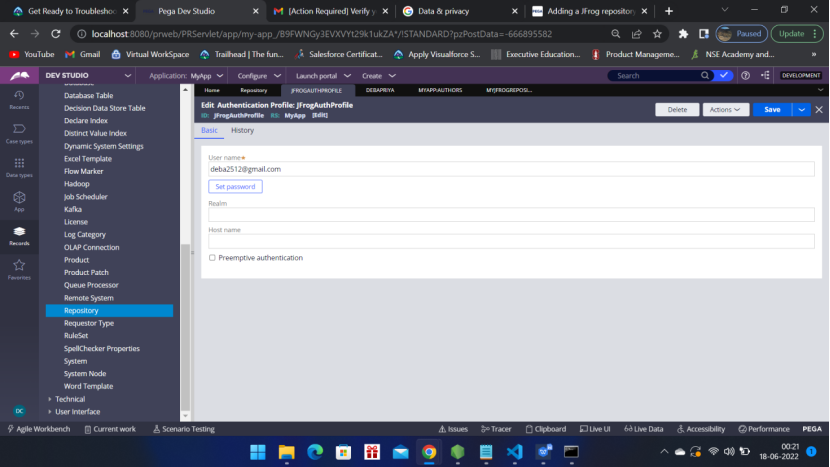
Provide the user name and password used to login to JFrogArtifactory
The moment you save the Repository rule after creation of the authentication profile then Test Connection button will be enabled. If you get any error – ‘Could not connect’ – then go and create the JFrogArtifactory properly and provide the correct credentials in Auth profile
If you get error- Could not connect then please create a new profile in JFrogArtifactory
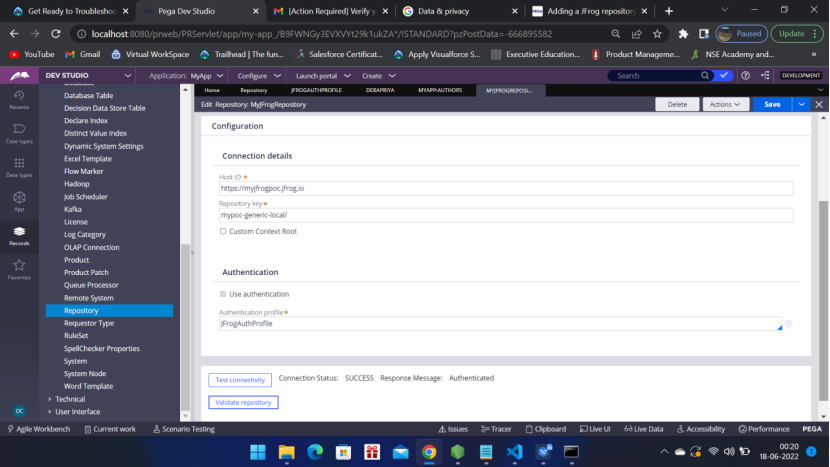
Click Test connectivity – Connection Status: SUCCESS – should be there
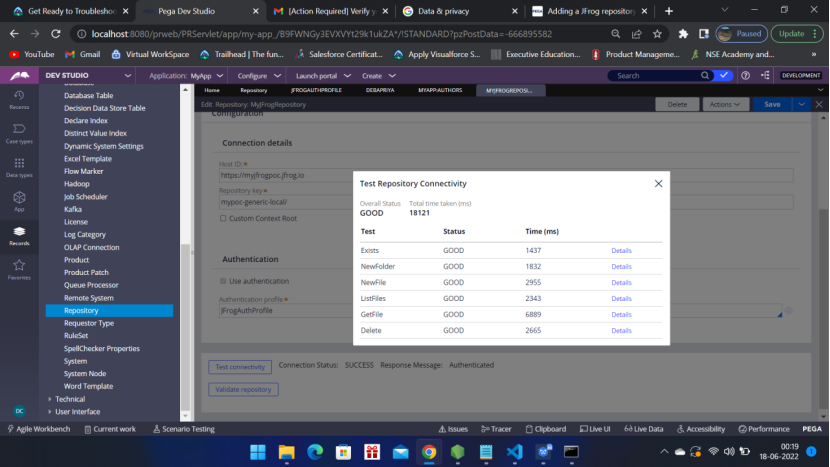
On Click of Validate repository, You should get the below screen
Double check that all permissions are there in JFrogArtifactory
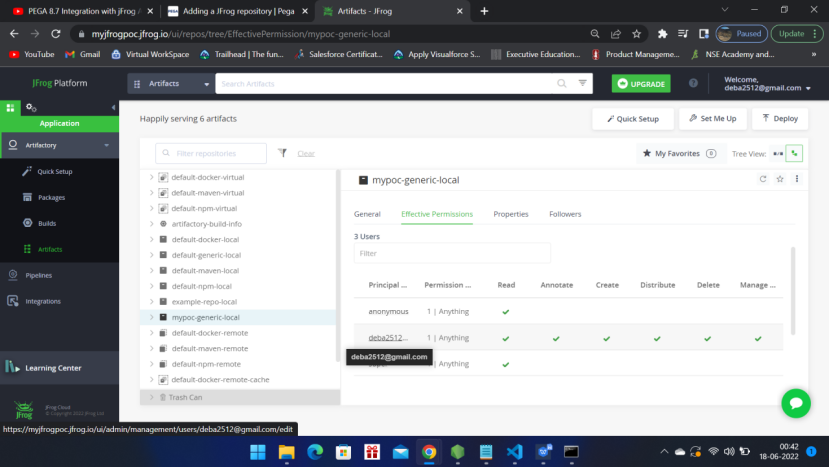
Now your connection of Pega and JFrogArtifactory has been successfully established.
You have all the permissions as well.
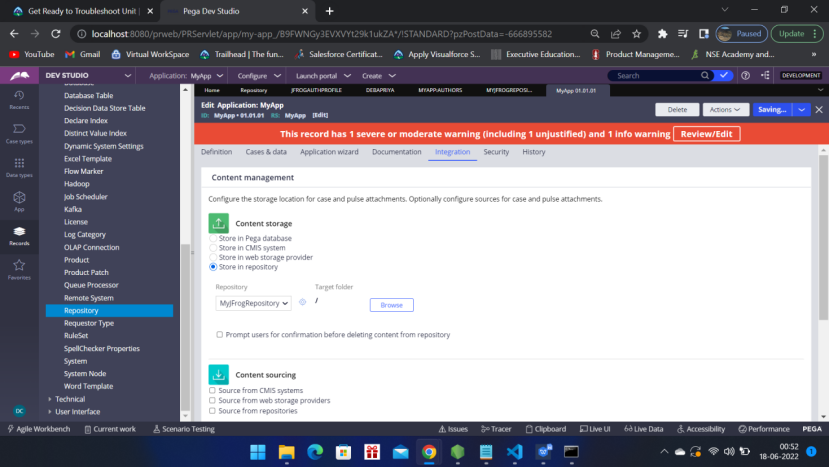
Now go to Pega and Change some settings
Go to the Application Definition and Click Integration Tab
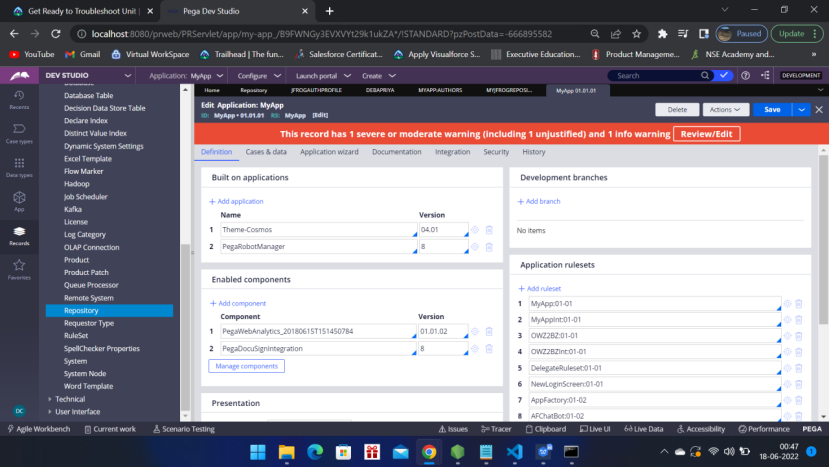
Click Integration Tab
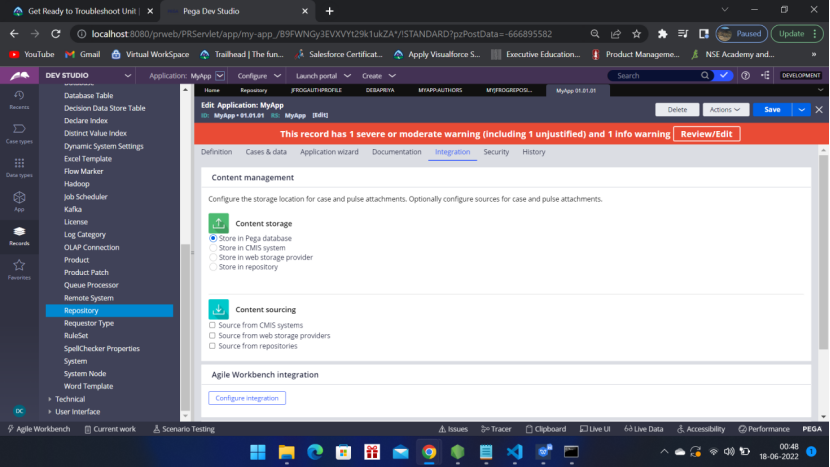
Content Management
By default is – Store in [Pega database] Change it to [Store in repository]
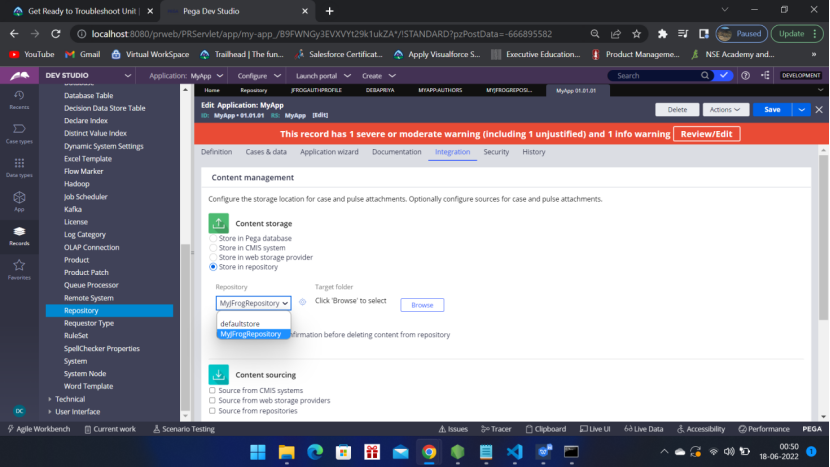
Select your Repository – MyJFrogRepository
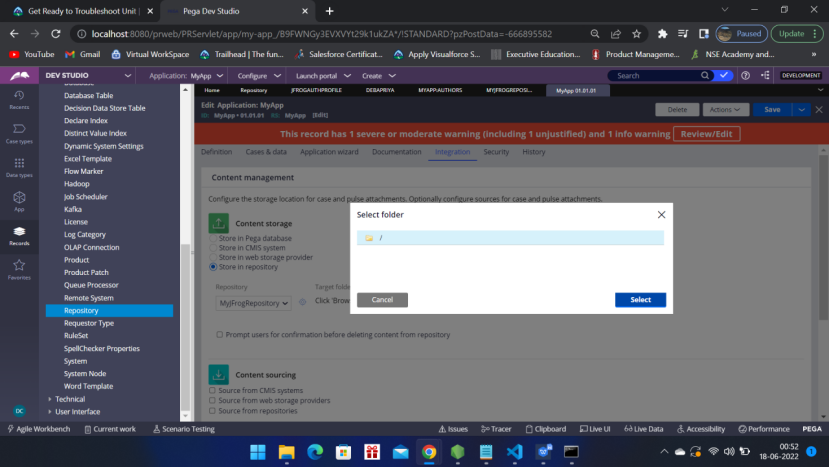
Select the Target folder and Save
Click Save
All done. Now lets test a scenario
Launch the user portal
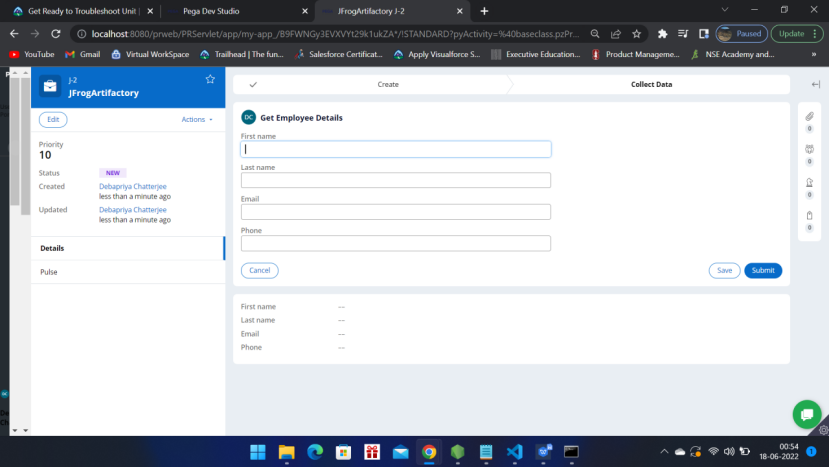
From the right hand menu – Files and Documents click the gear icon to attach a file
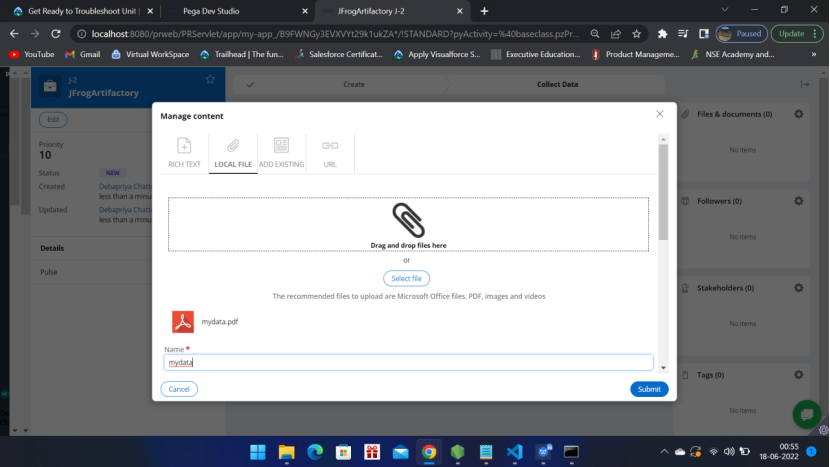
mydata pdf file has been added to the case

Now go to the JFrogArtifactory and check if the file has been added successfully or not
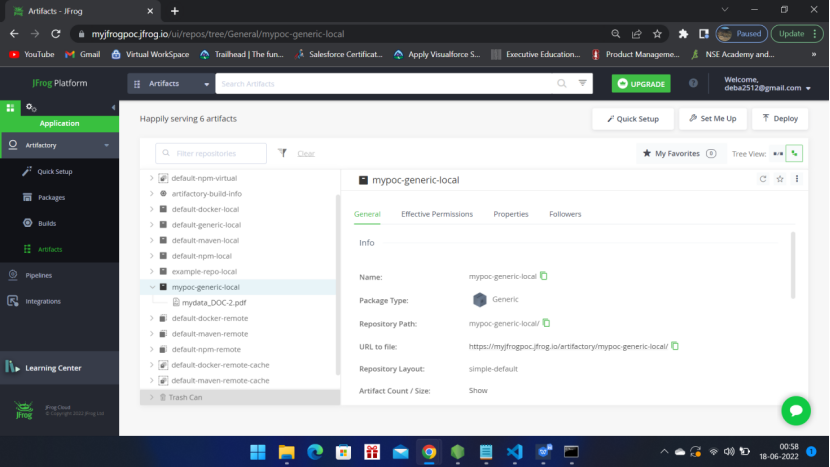
Yes it has been added successfully under mypoc-generic-local
This is the end of the POC.
So now you know how to integrate with a content management system. 🙂
Please try this POC by your own and if you face any issue then please reach out to me.