This POC is about, how we can configure and enable WebChatBot in Pega.
Demo Video:
Lets’s gooooooooooooo!!!!!!!!!!!!!
Steps are as follows,
- Create a Case Type WebChatBot.
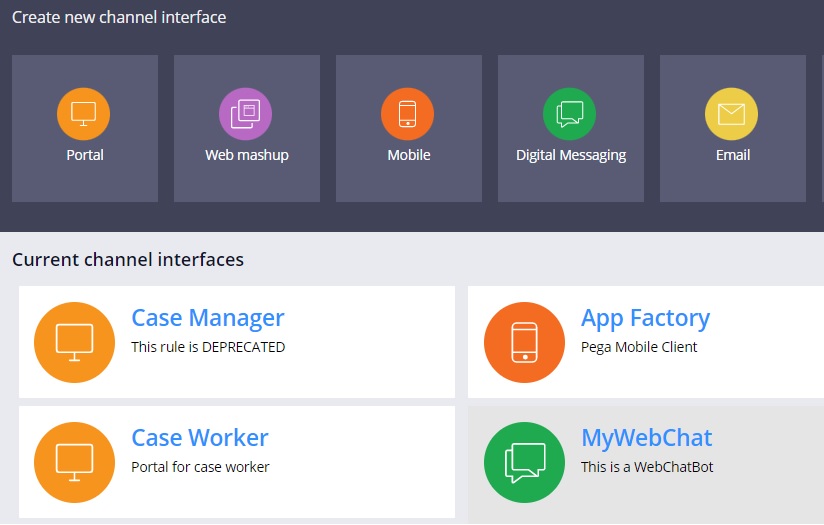
- Create a Digital Messaging channel (MyWebChat) in App Studio.
- Download Pega AppFactory from Pega Marketplace & import the same in your application.
- Add the rulesets AppFactory and AFChatBot.
- Save As the sections AppFactoryChatBot in your application.
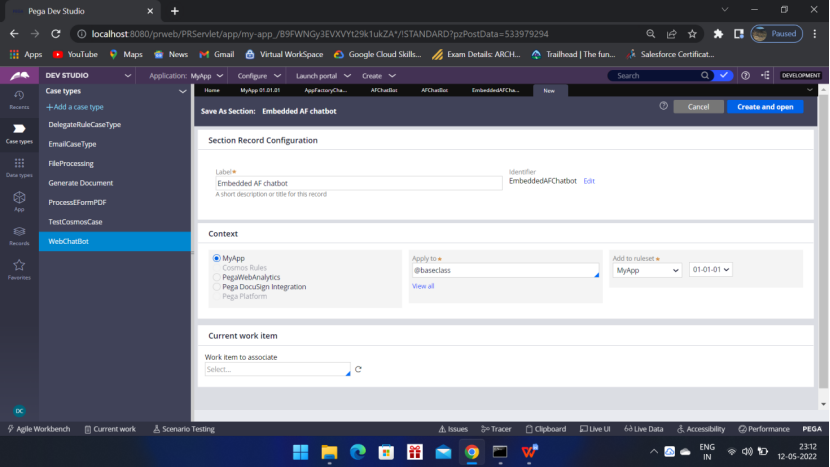
- Save As the section EmbeddedAFChatbot in your application.
- Update the Embedded section with the botid of your application.
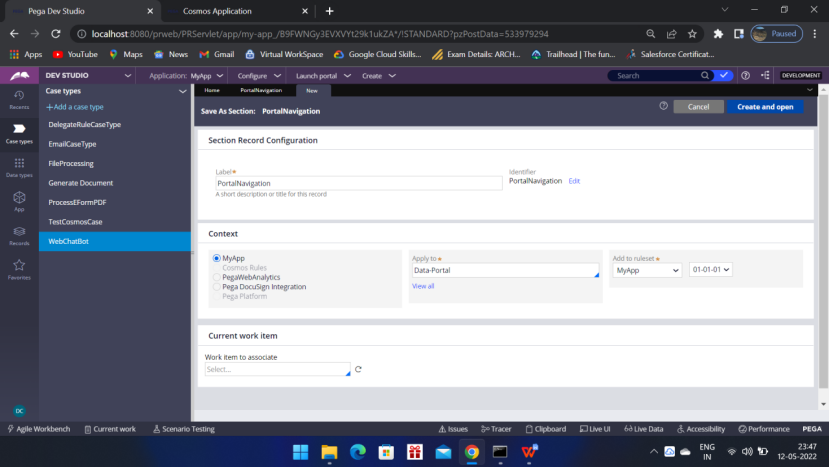
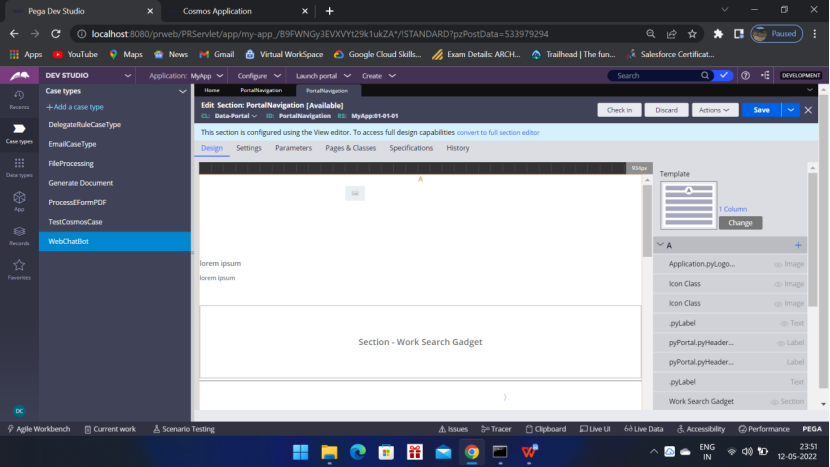
- Save As PortalNavigation rule in your application.
- Add an embedded section – AppFactoryChatBot section.
- Log off and Login and get the chat icon at the bottom right corner.
Create a case
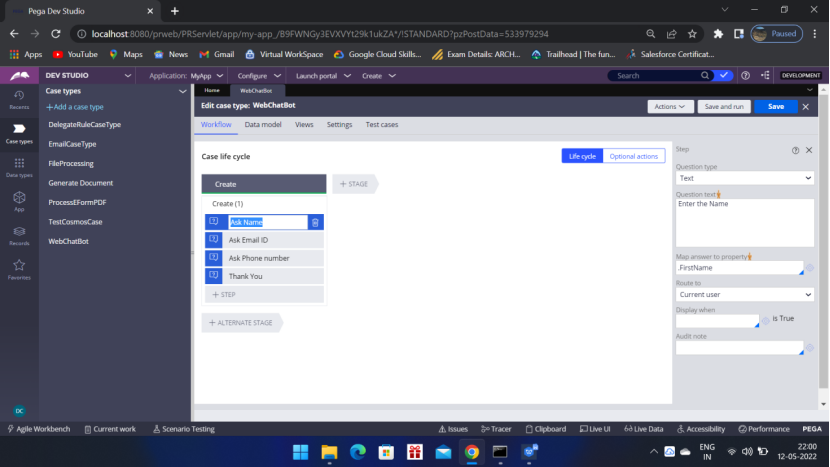
Click +Step – More
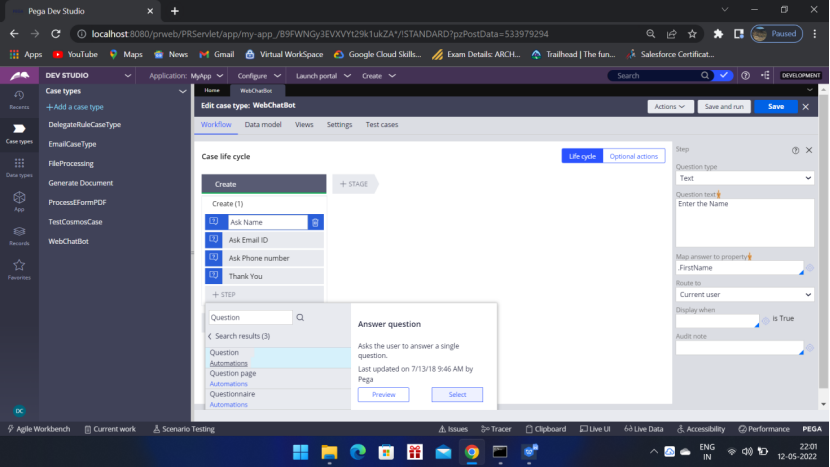
Add as many questions you want and do the configuration on the right side.
For simplicity I have kept Thank you as a Question.
Now go to the App studio to create a Digital channel

Create a Digital messaging channel – MyWebChat.
Configuration tab: add the case type: under Create Case Command section
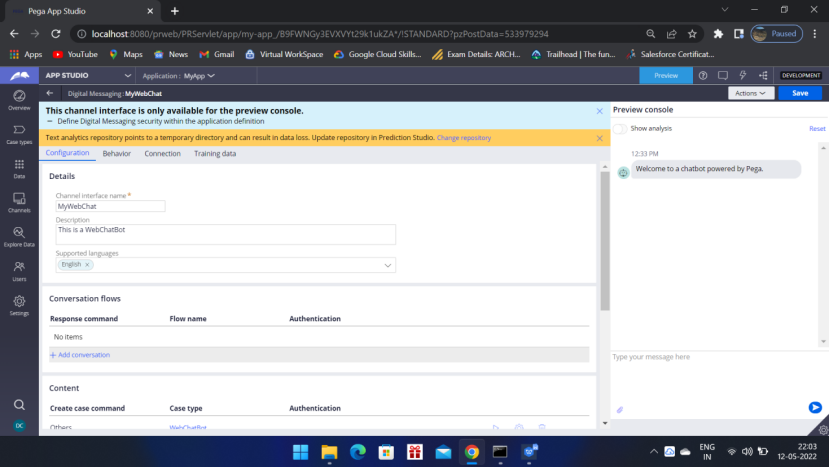
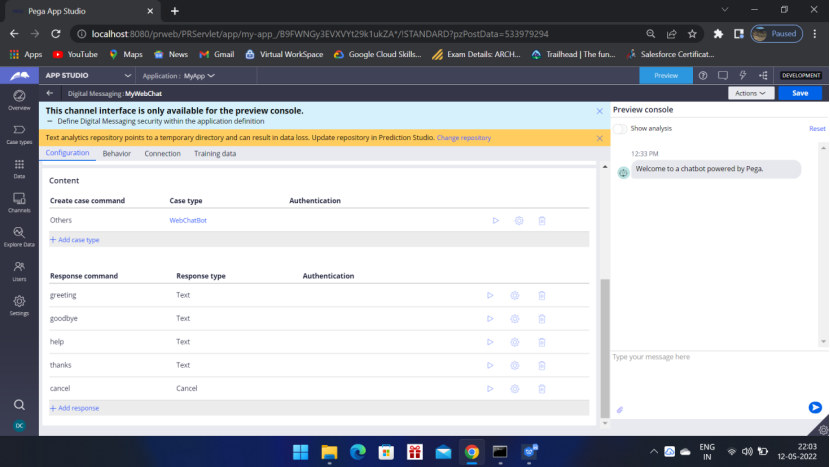
Click the gear icon beside WebChatBot
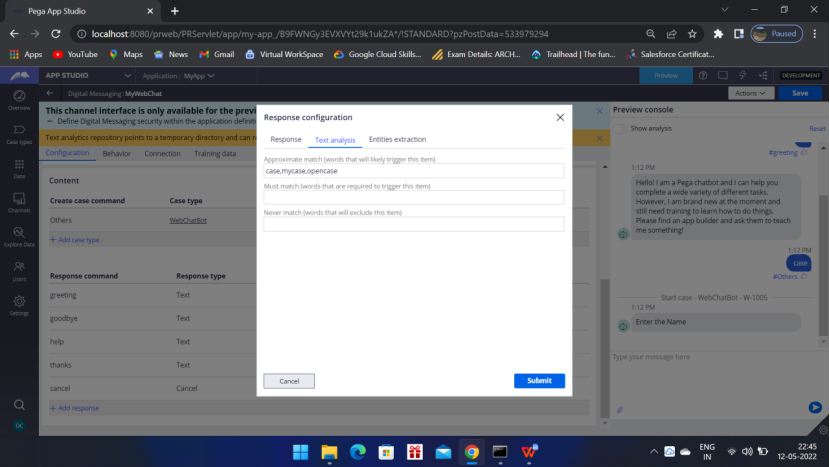
We will set when the bot will start responding, if I write mycase, case, opencase
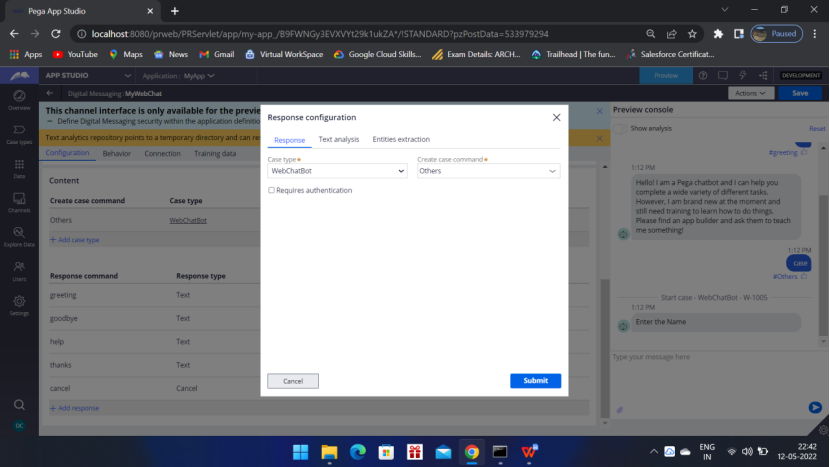
Select you case in Case Type drop down and Create Case command Other (You can select something else also)
Go to Text analysis – write case,mycase,opencase
So if u write any of these then you will get the questions,
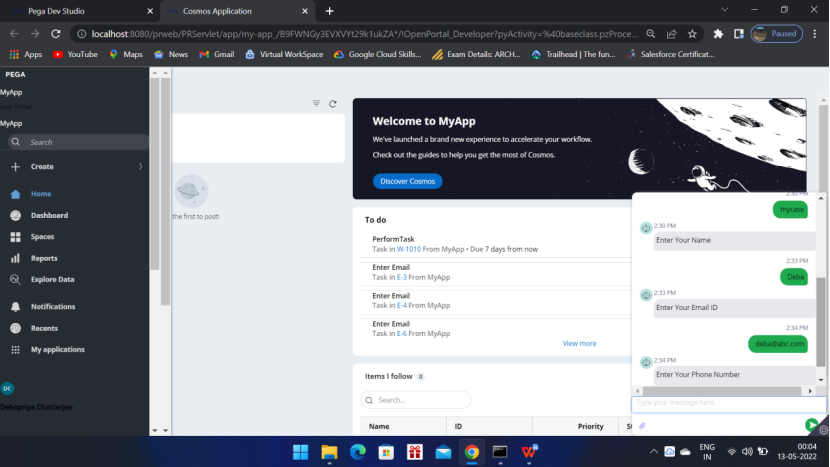
Enter Your Name
Enter Your Email ID
etc
Behavior Tab: Keep everything default
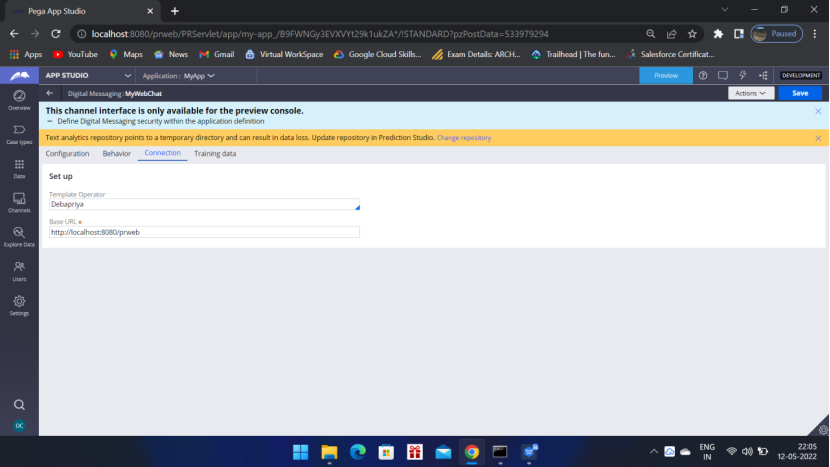
Connection tab:
Training data: keep it default
Test that the WebChatBot is working
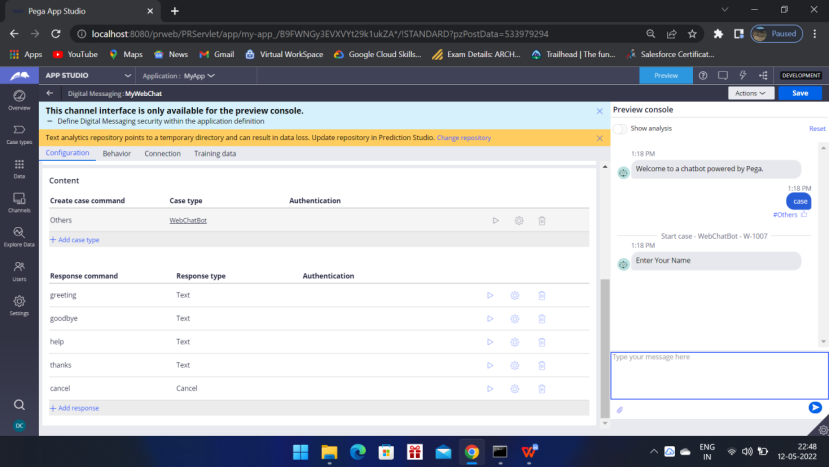
I wrote ‘case’ and it is asking me to Enter Your Name
Now I wrote ‘mycase’, WebChatBot is responding for the case as I have set it in the Text analysis
case,mycase,opencase
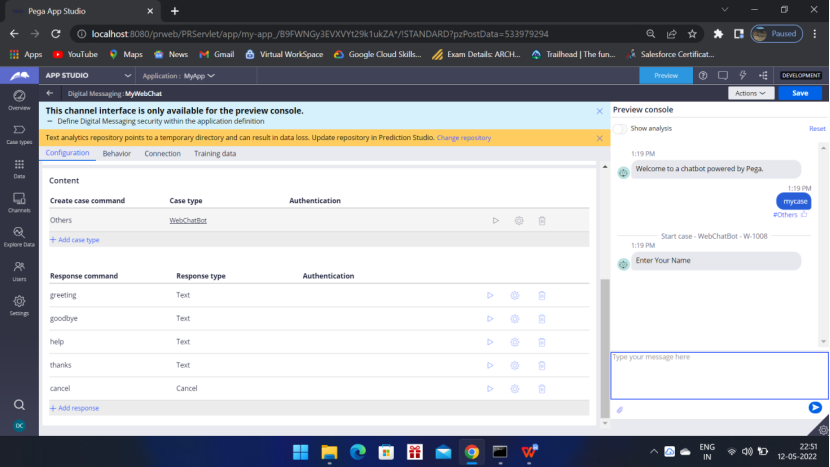
So WebChatBot is working fine
Now we will not run this WebChatBot like this, so we have to install it in a portal.
So lets go and configure it,
Now go to the application
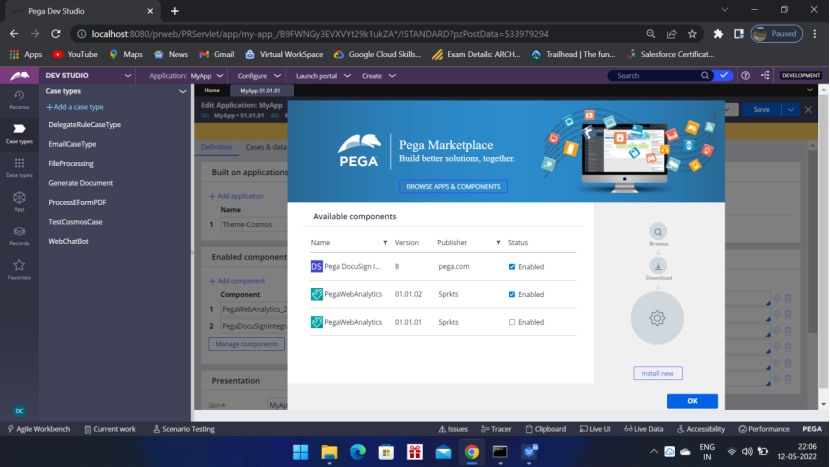
Click Manage components button
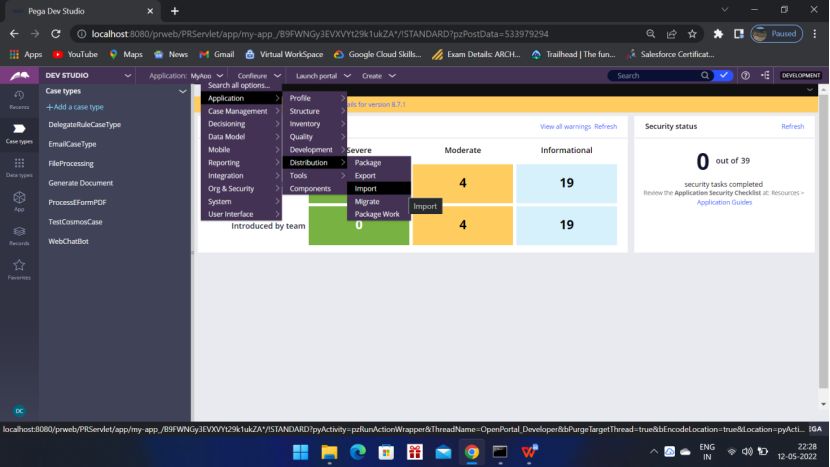
In the Pega Marketplace – browse – search for Appfactory
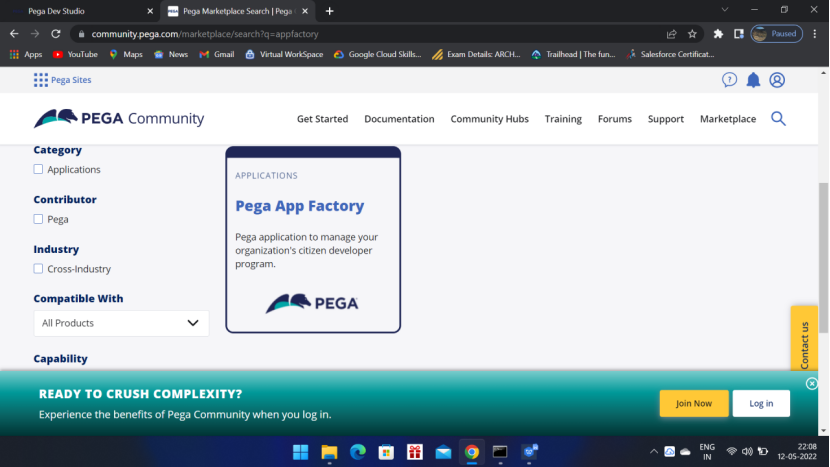
Download and import the same in the Pega application
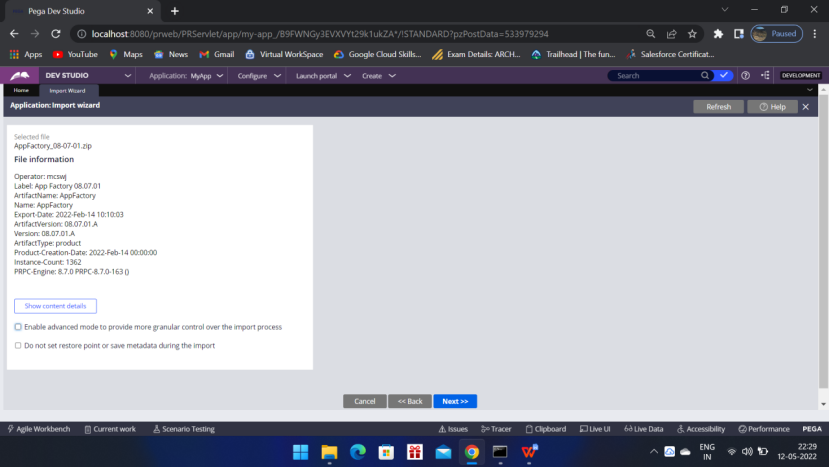
AppFactory_08-07-01
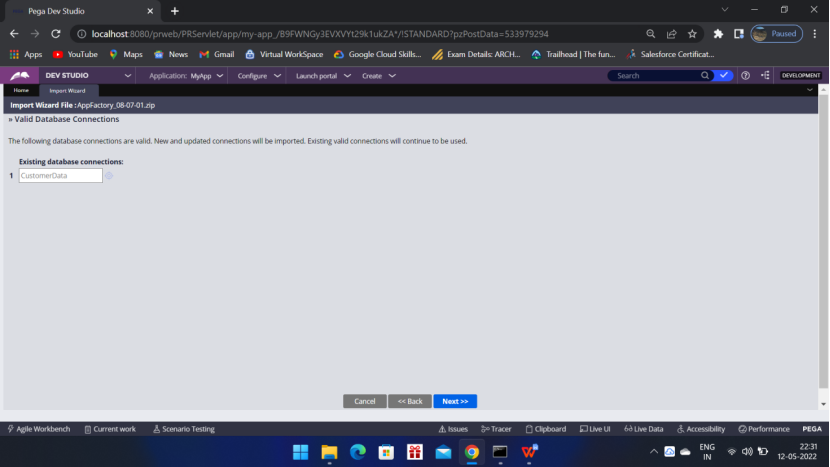
Import it now..
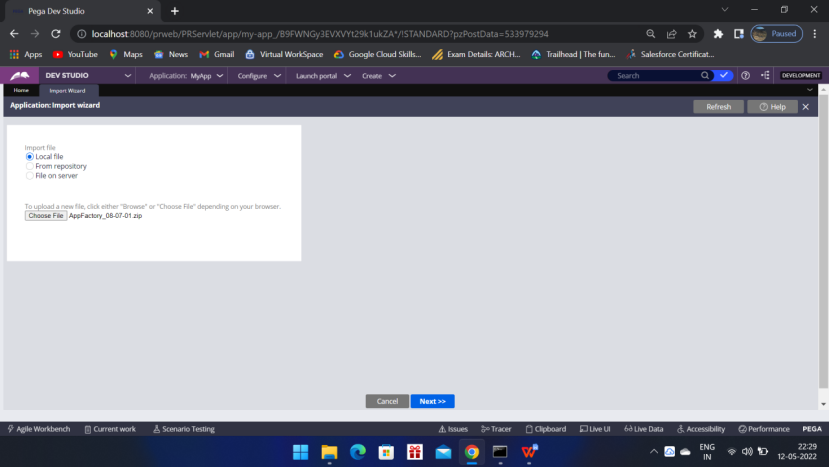
Click Next
Click Next
Click Next
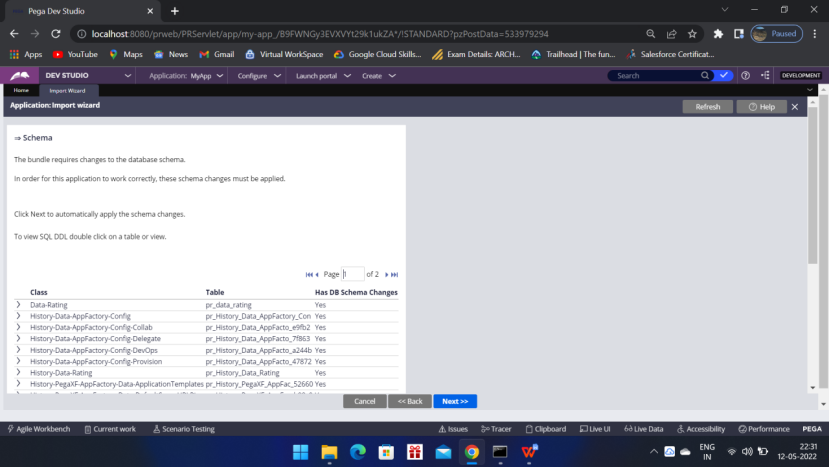
Click Next
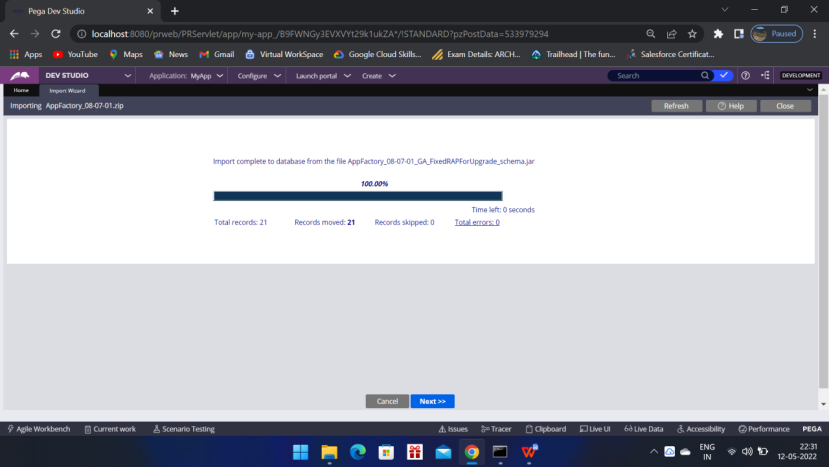
Click Next
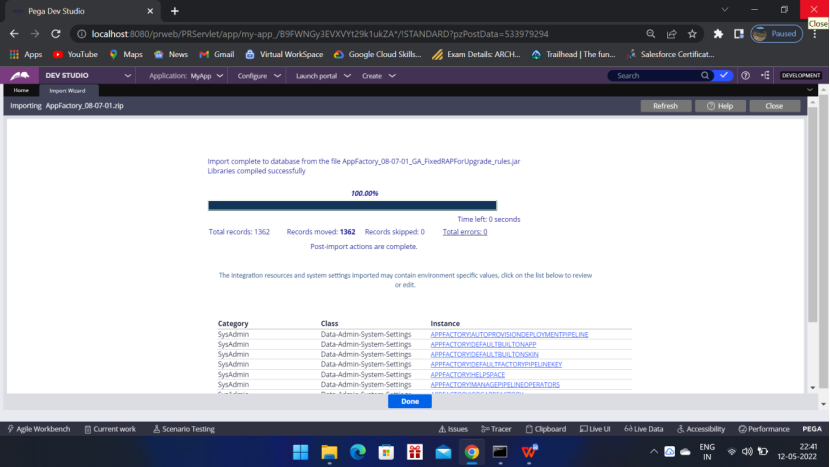
Click Done
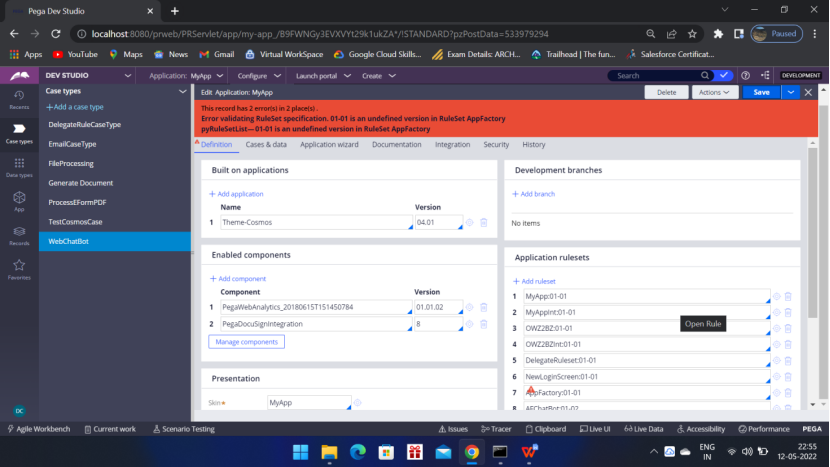
After importing, you have to add the below rulesets in your application ruleset,
AppFactory
AFChatBot
And click the target icon beside the ruleset and check the version and add the same major and minor
AppFactory:01-02
AFChatBot:01-02
Otherwise you will get the below error

Now click the target icon of the AppFactory:01-02 and open the ruleset
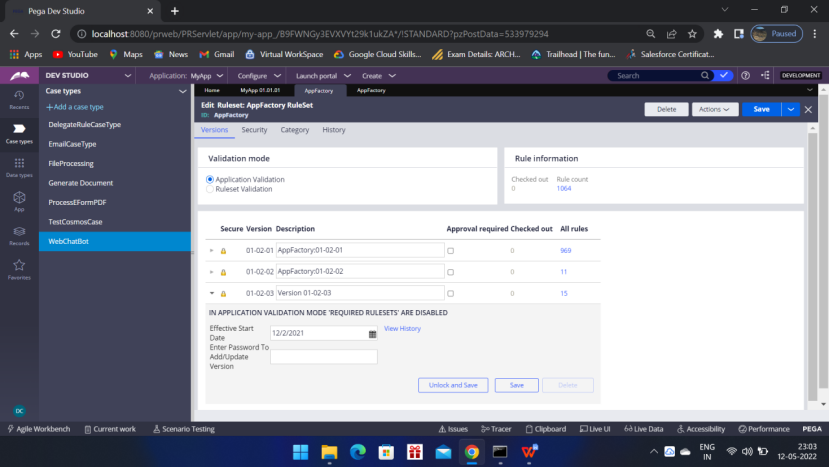
Click the Rule count 1064 and Search for section AppFactoryChatBot
Filter the Rule Type with section
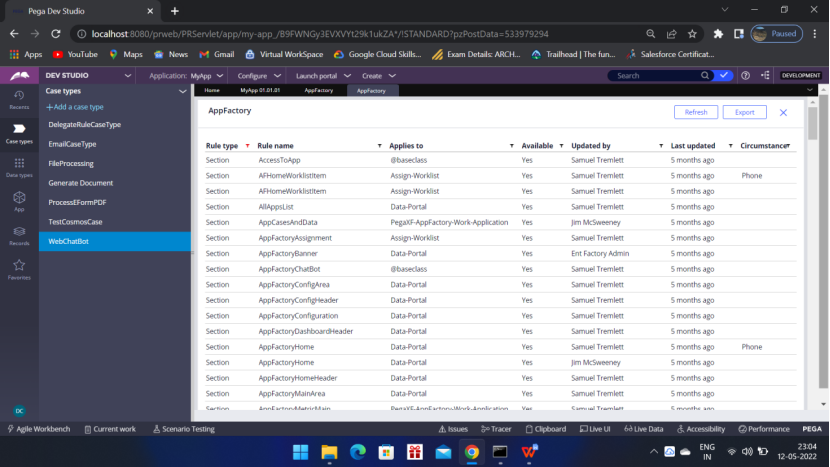
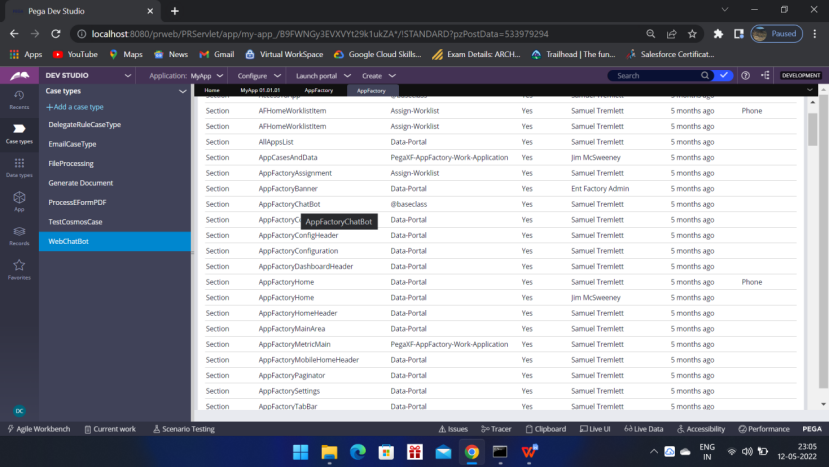
Open the rule
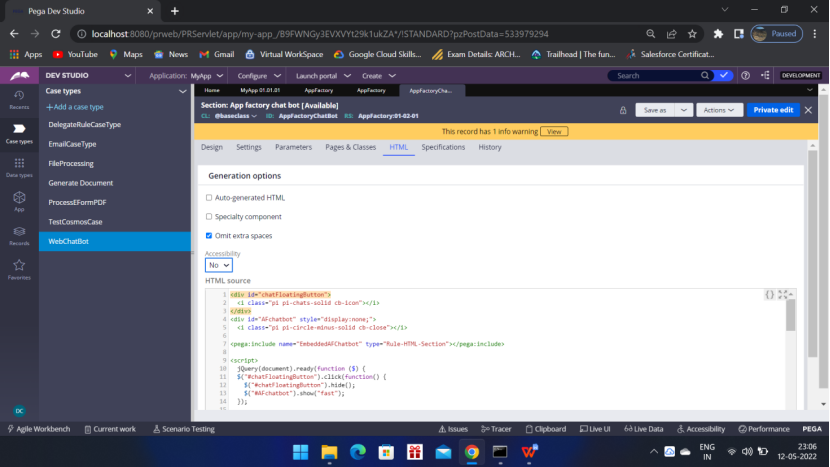
Now Save As the rule in your application
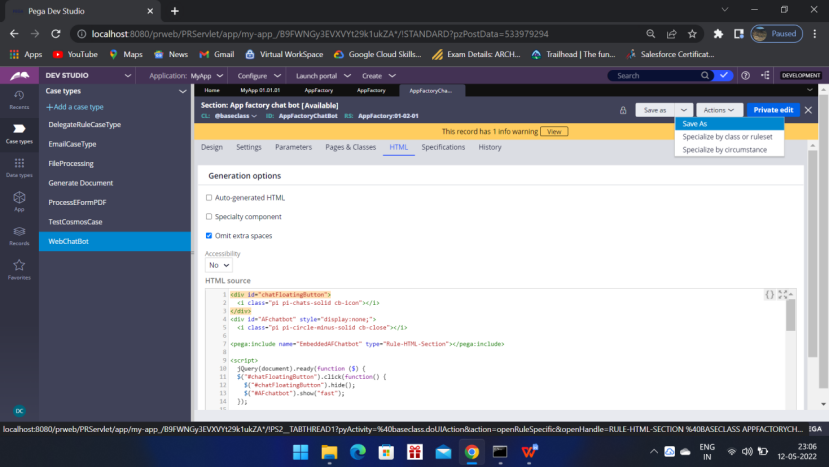
While Save As — Do not change anything—just select your application and Save As

I have kept everything same, just check Add to ruleset is your Application Name is there or (in this case MyApp) or not.
Now we have to find out the embedded section EmbeddedAFChatbot
For that go the application definition and open the ruleset AFChatBot:01-02
Click the rule count 60 and search for section EmbeddedAFChatBot
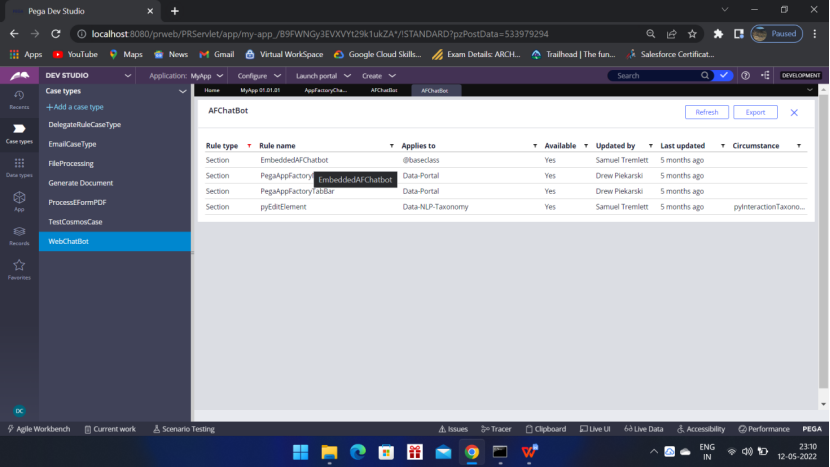
Filter the Rule Type with Section
Open EmbeddedAFChatbot
And Save As in MyApp
Create and open
Now look for the bot id in your application. Go to App studio and check the bot id of your WebChatBot.
Make sure your webchat is open
Search for botid in the clipboard
Run the bot and open the clipboard and search for botid
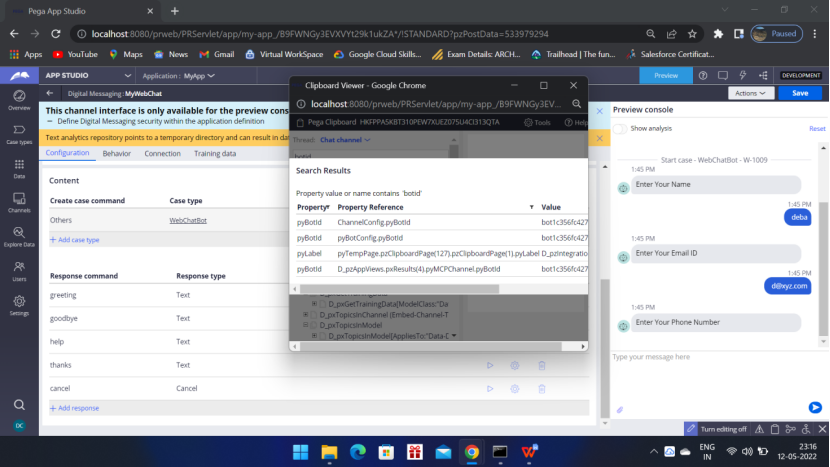
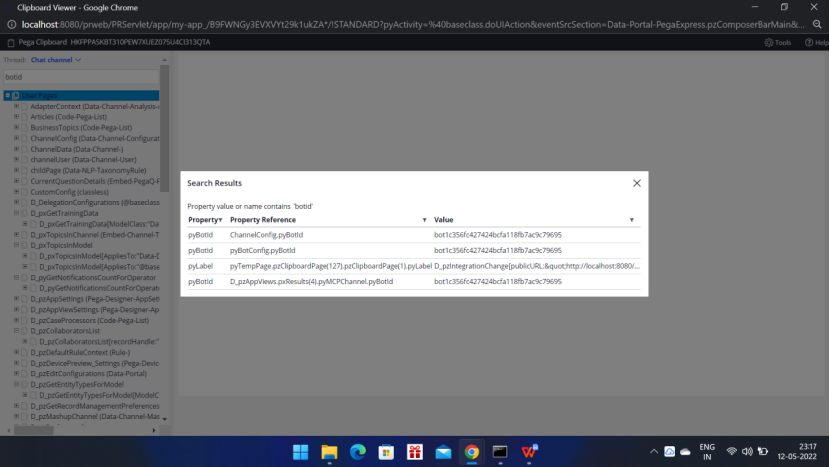
Take the boit – pyBotid – ChannelConfig.pyBotid
bot1c356fc427424bcfa118fb7ac9c79695
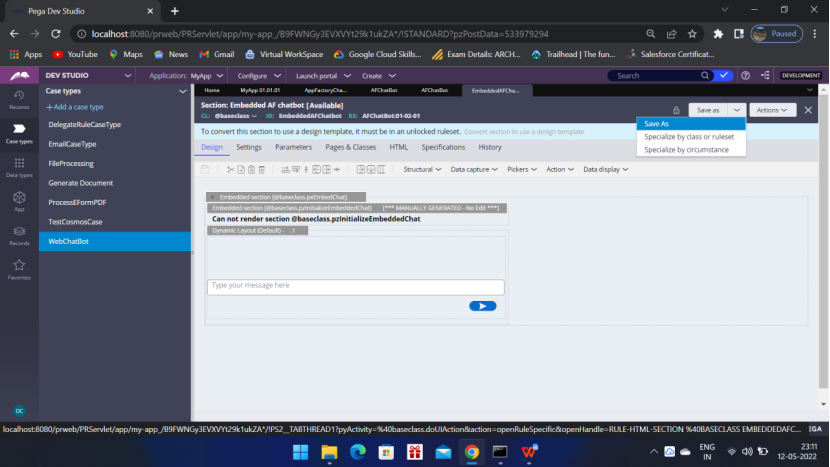
Now change the Bot id in the EmbeddedAFChatbot section saved in your application.
To do that click the gear icon to view properties of the Embedded section

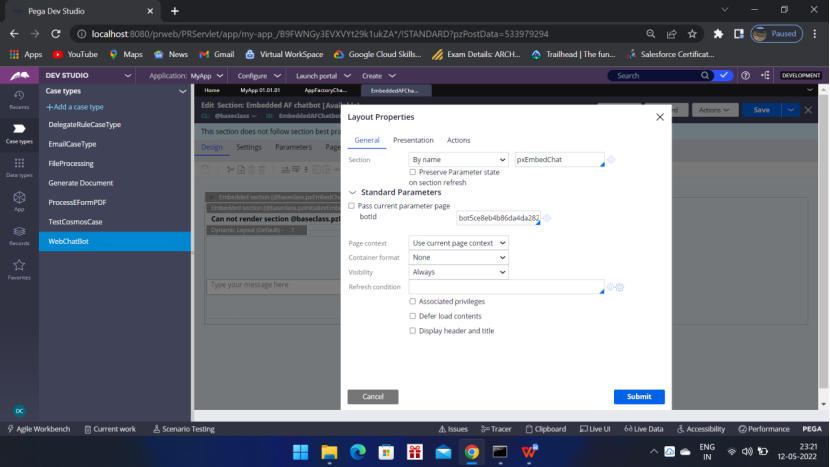
Now change the botid — to the new one that you got from the clipboard
bot1c356fc427424bcfa118fb7ac9c79695

Click Submit
Now Launch the user portal and start live UI
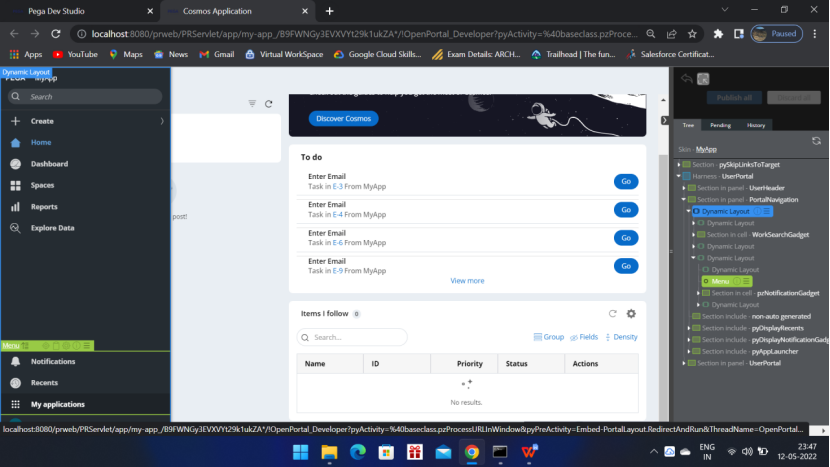
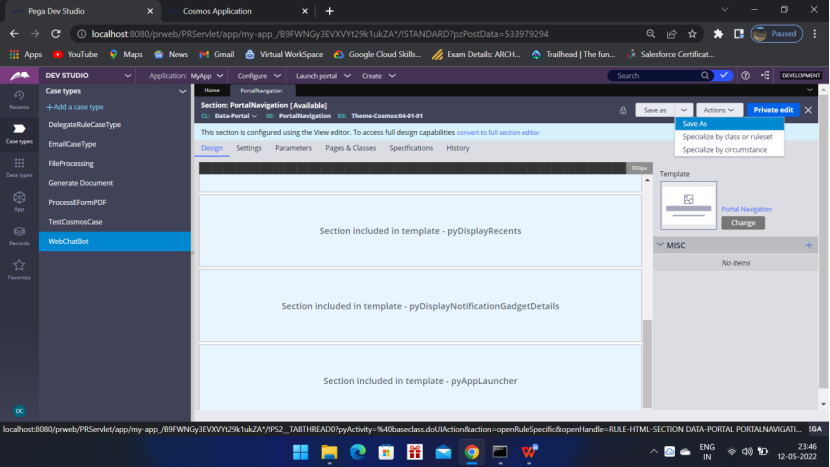
Click Save As
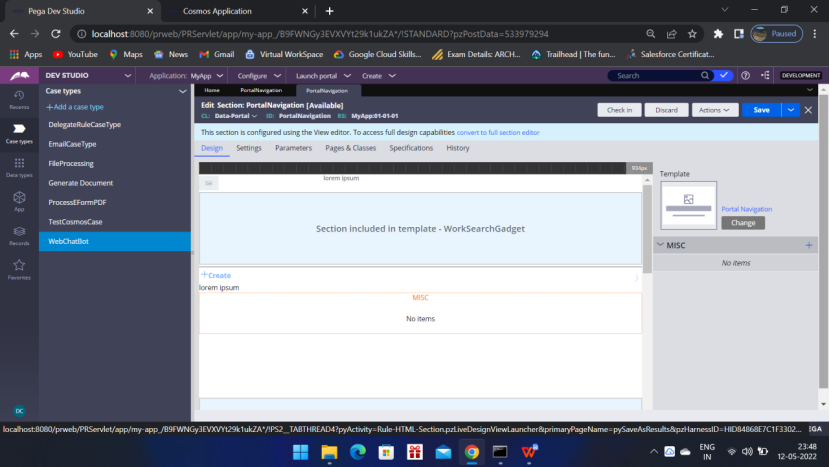
Click Convert to full section editor
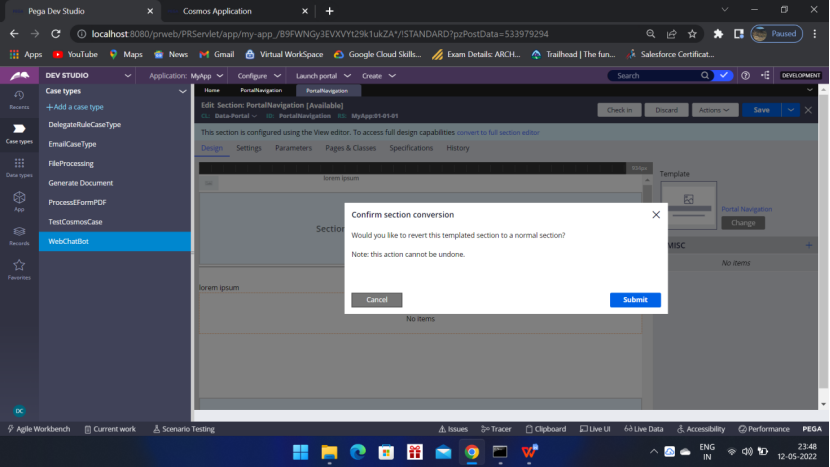
Convert section to use design template
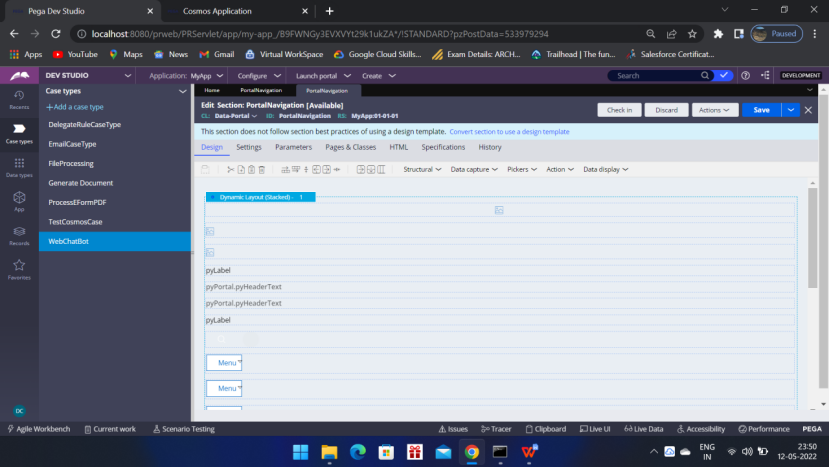
Click Design tab
Click the + icon on the right side menu
Scroll to get the Data display
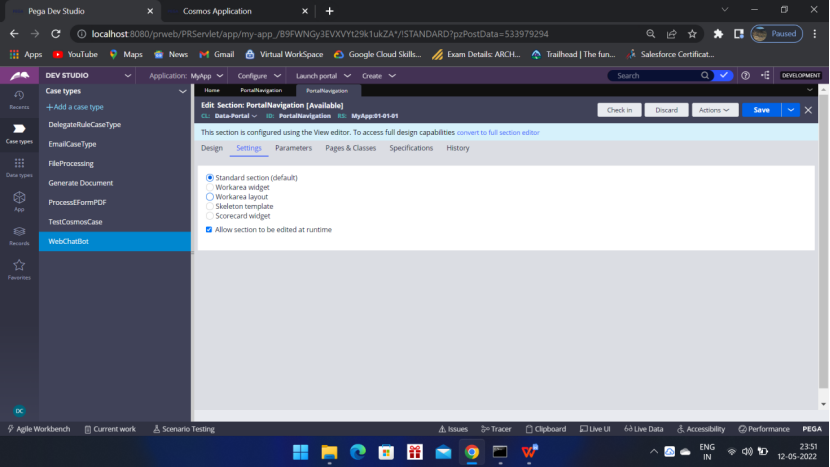
Select Embedded section and in the pop up provide the following details
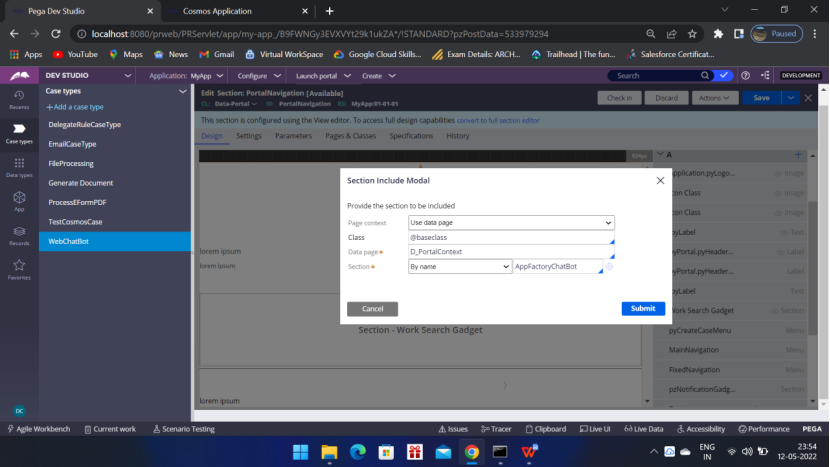
It should get added at the bottom
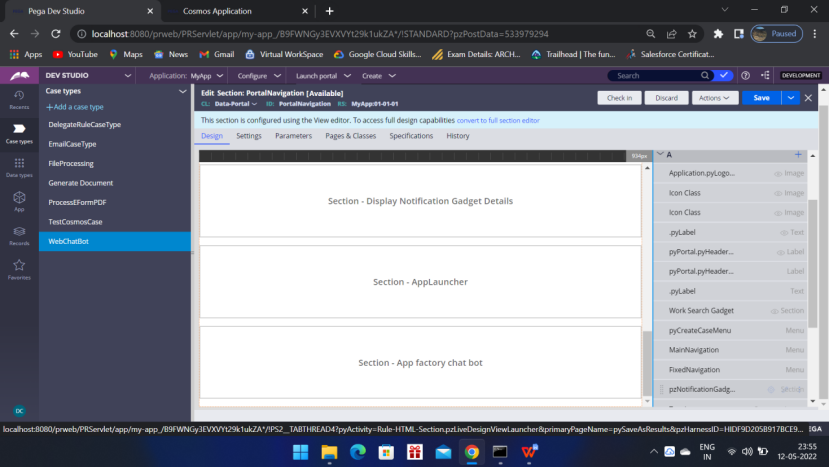
Save the rule — checkin it and then, log off and login. Then launch the user portal.
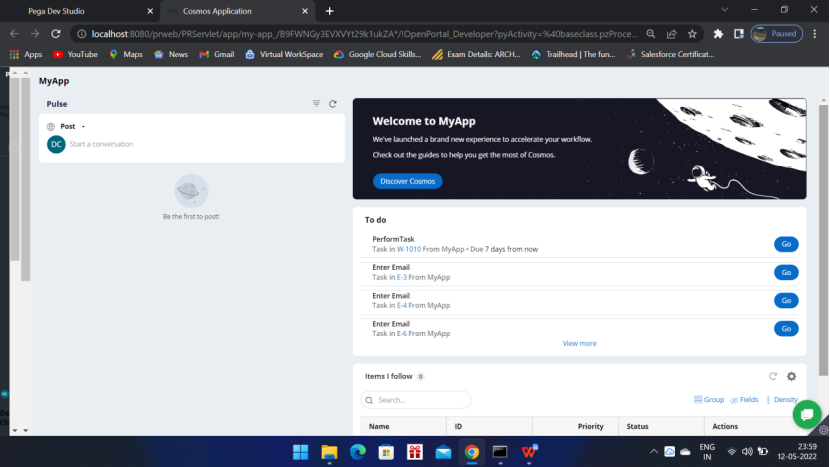
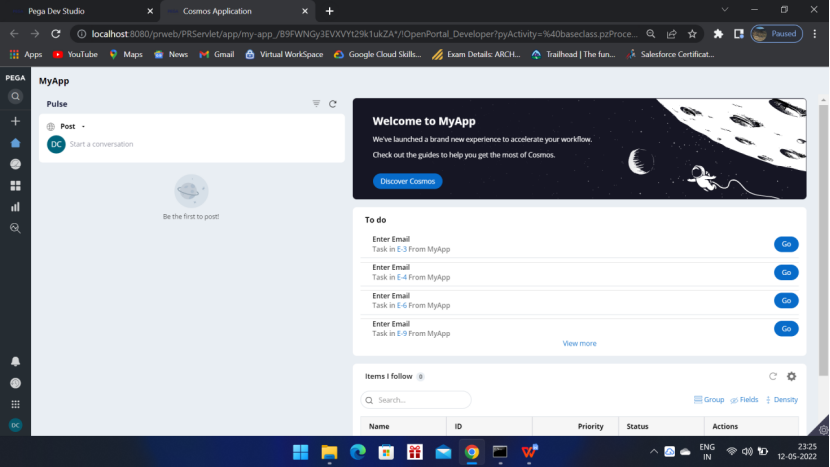
You will be able to see the GREEEN chat icon at the bottom right corner.
Start chatting,
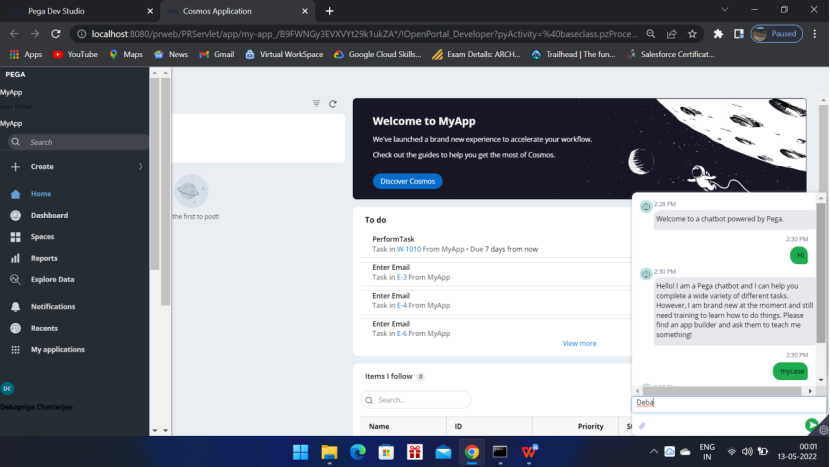
I wrote Hi, so the default message came,
Then I wrote mycase, and as per the Text analysis it opened the case WebChatBot and started asking the questions I have set for this bot.
This is the end of this article. Hope you have understood the concept very well.
In case you have any queries please drop a note in the comment section.
Two known issues are there,
1. The alignment of the left menu got distorted (2 scroll bars are coming) after adding the chat bot.
In 8.5.1, I did not find this issue, but in Cosmos theme, am getting this in PE8.7
2. There is no cancel button in the chat window, This is OOTB. But we can fix it buy modifying the script.
Once I get time I will fix these as well. Happy Weekend. 🙂
Thanks for this post. Followed the steps and I have successfully implemented it in my personal edition.
Many thanks. 🙂
Thanks Venkat. 🙂
Thanks for the post!!