
In this POC we will learn how to use Google’s Cloud Vision API to convert a hand written Text Image to editable Text.
I have done this POC in Pega PE 8.5.1
Demo video:
The Steps are as follows,
- Login to Google cloud platform with your Google id/pwd.
- Create a billing account
- Create a project
- Search for Cloud Vision API
- Create credentials, that is get the API key
- Create a case in Pega with one screen
- Create a section with a button “Convert Image To Text”
- Create an Activity in Pega and call it on button click event
- Create a Connect-REST rule and use the API key received from Google Cloud Platform.
- Call the Connect-REST
I am not explaining the Google Cloud Platform stuff and how to create a billing account, how to create a project etc. 🙂
You can follow this article diligently for the prerequisite, links are there.
Article:
https://wiki.pega.com/index.php/Integrating_Google_Cloud_Vision#Before_you_begin
Lets start creating the Pega part,
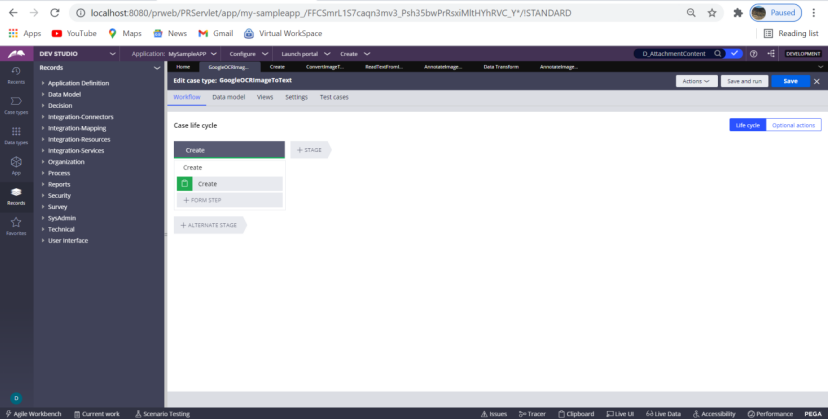
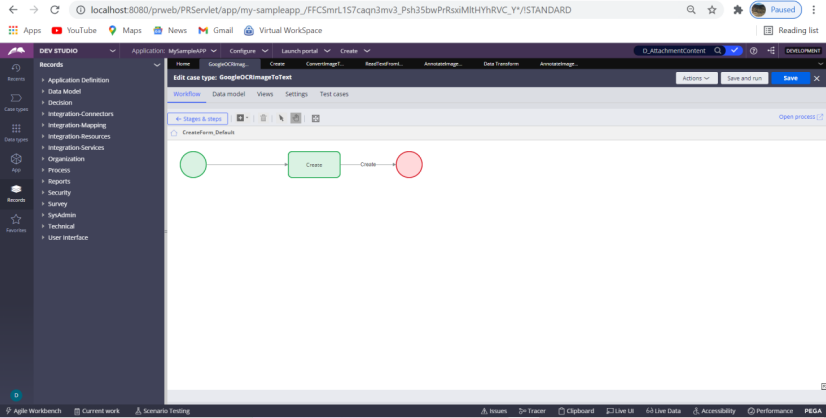
Create a case type GoogleOCRImageToText
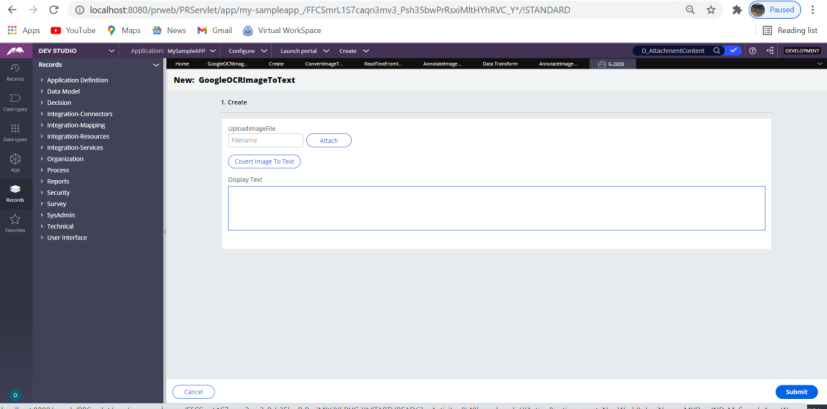

Use OOTB section for attaching an image file
Embed the section
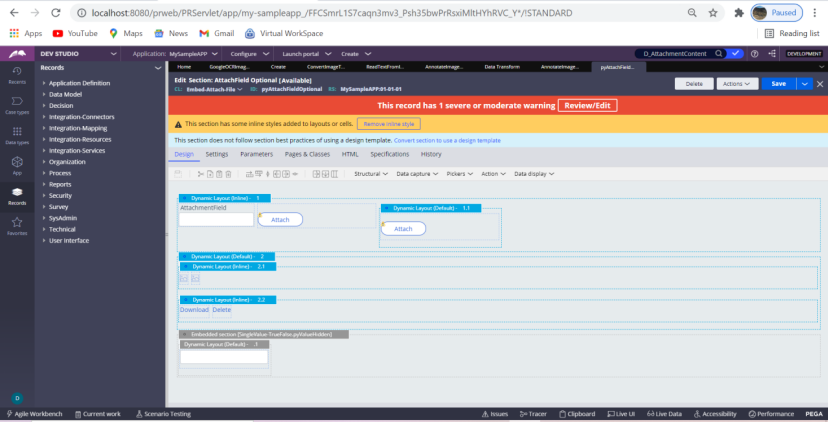
Save As it to your application and embed it in the main section.
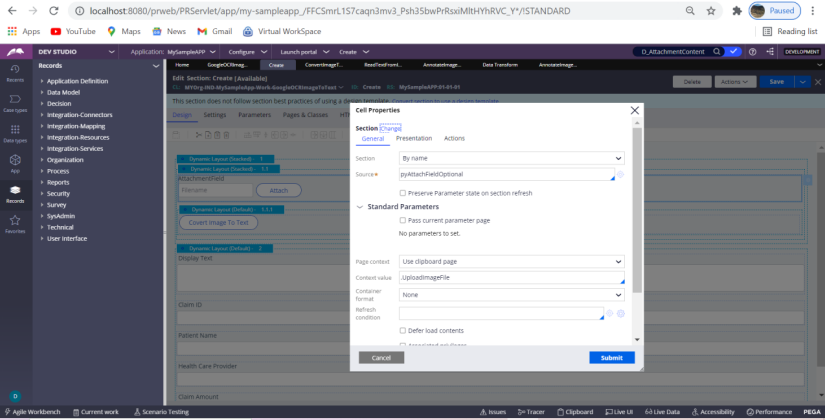
While Embedding provide the above date
Source, Page Context, Context Value as seen in the above image.
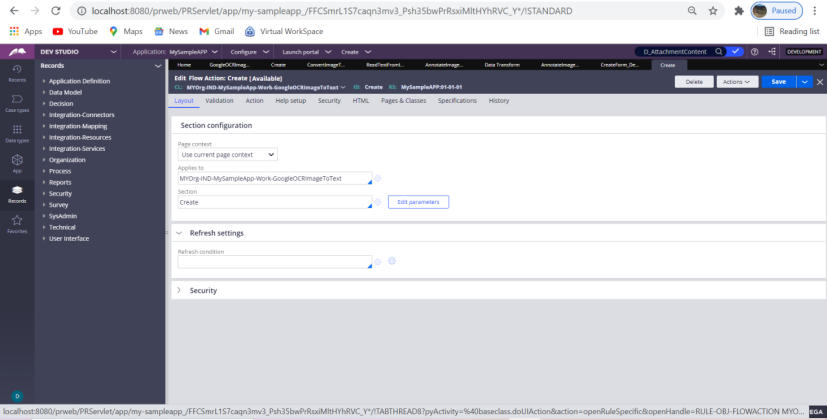
As you create a case type you will get a flow, flow action and then call the section from the flow action.
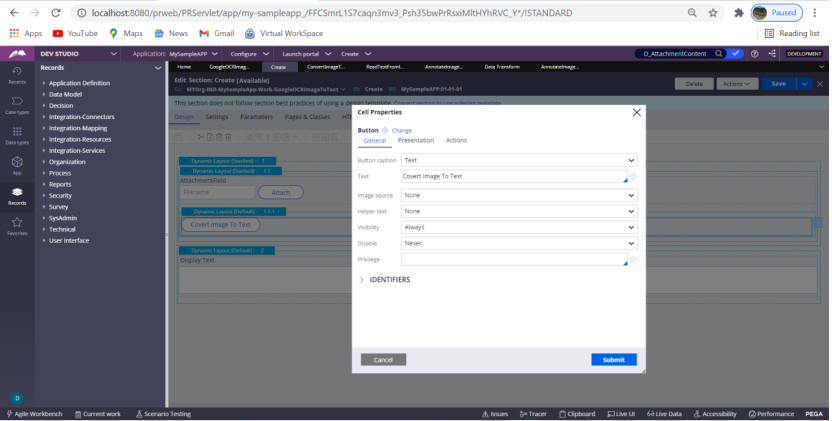
In the section create a button – Convert Image To Text — On click of the button call an activity
ConvertImageToBase64Bit_1
Note: Its a bad naming convention as I was getting some issue with the previous activity so I just used underscore 1 for the new activity and proceed with the POC.
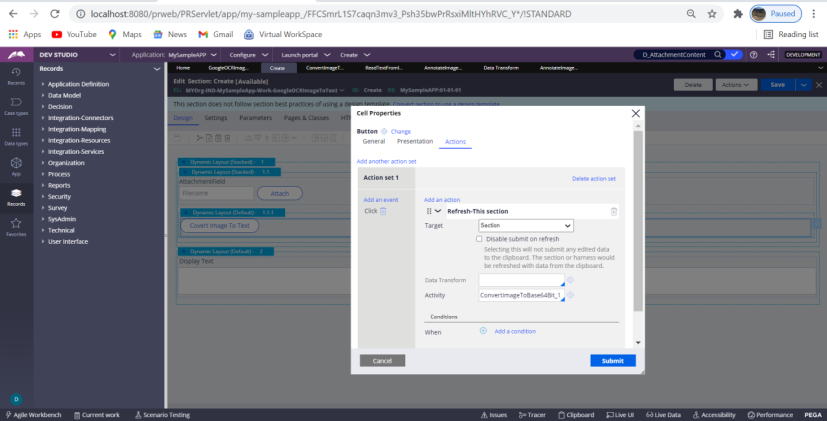
I was facing a refresh issue, after the image is converted into text it is not setting in clipboard if I use Run activity and then Refresh section. So I used Refresh section and there I called the activity.
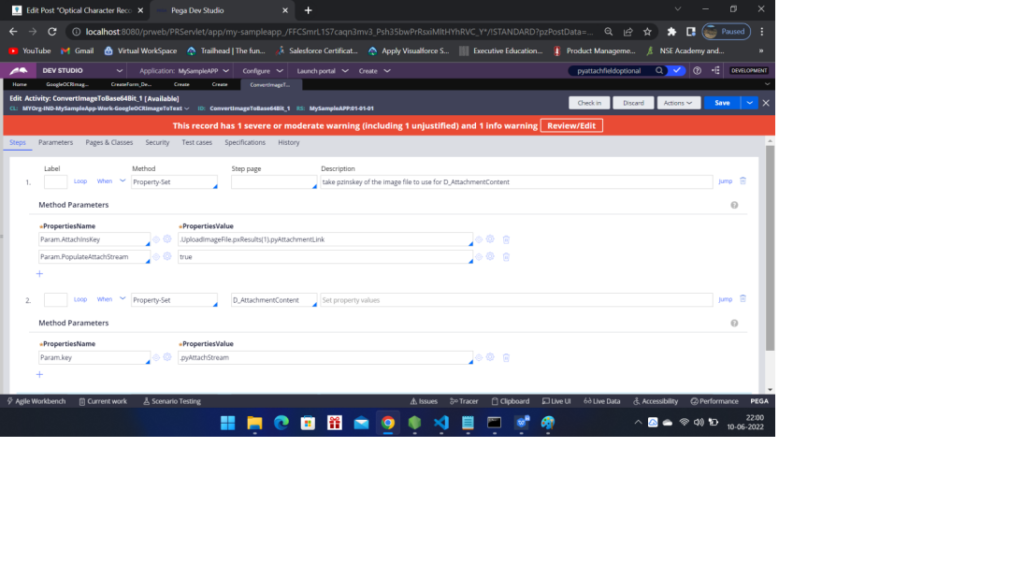
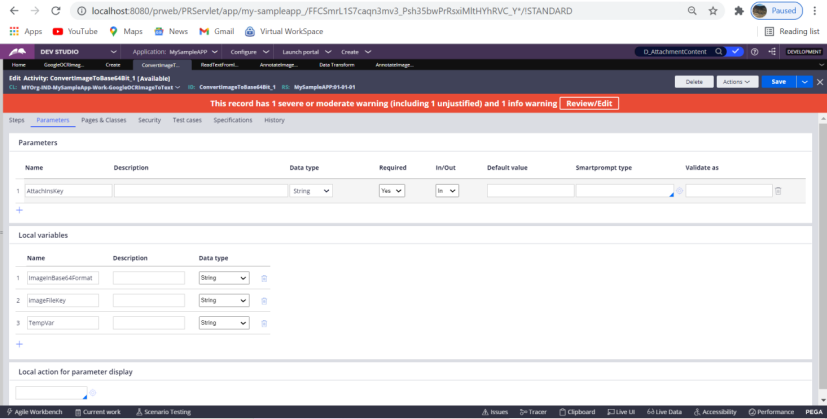
Activity: ConvertImageToBase64Bit_1
Parameters tab
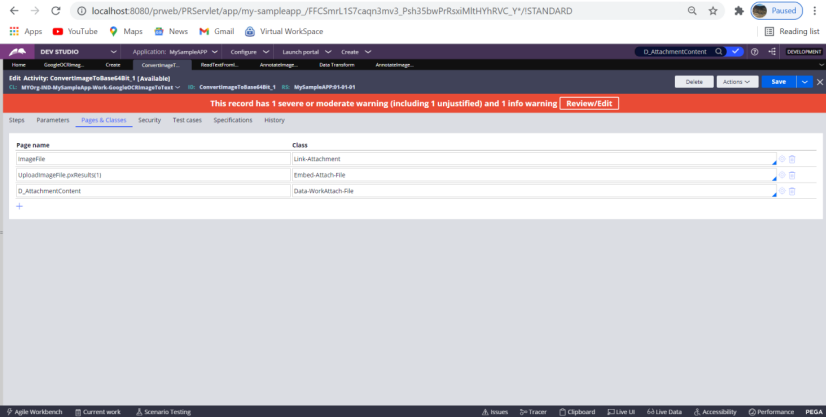
Pages and Classes
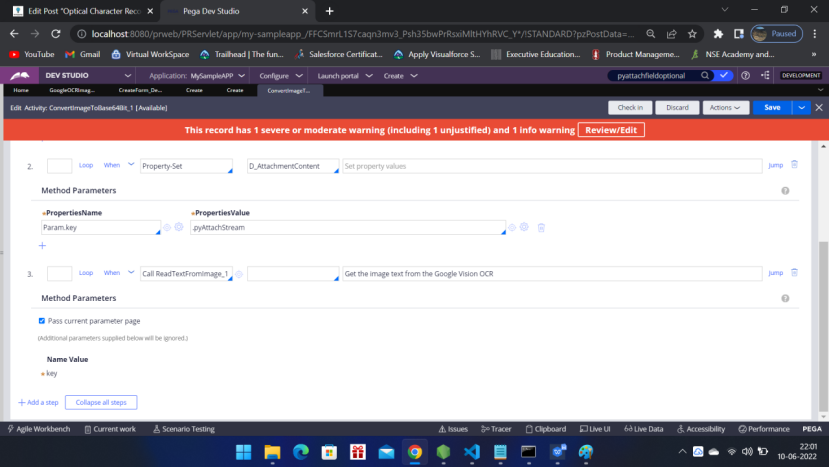
In 3rd step call another activity
ReadTextFromImage_1 (Please Ignore the name convention)
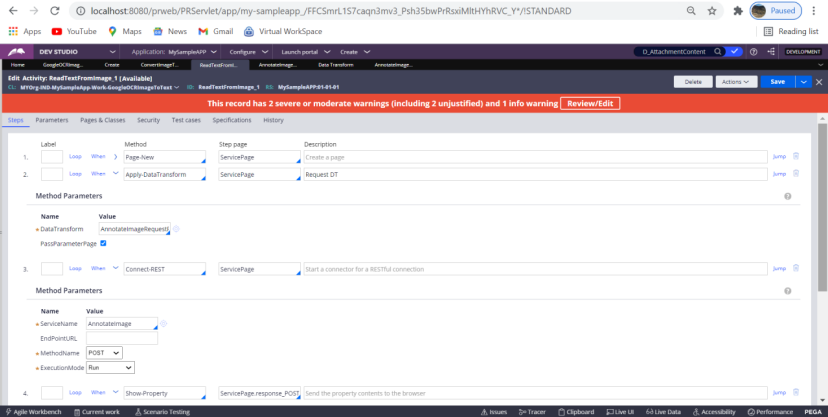
In the 2nd step call a Data Transform
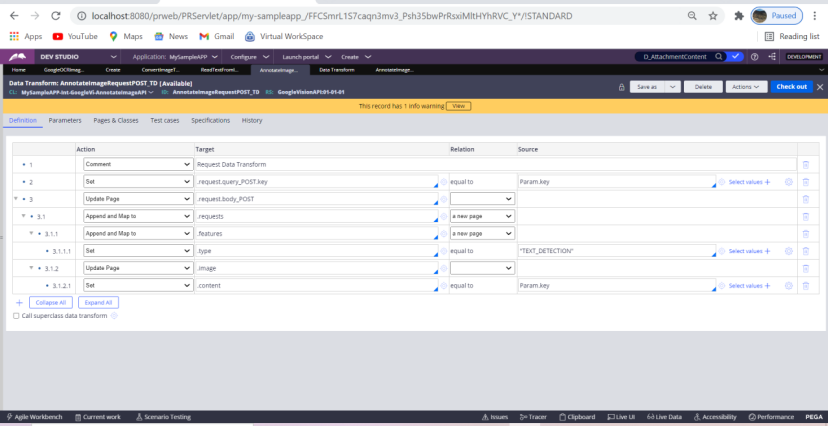
AnnotateImageRequestPOST_TD (Please ignore the name convention)
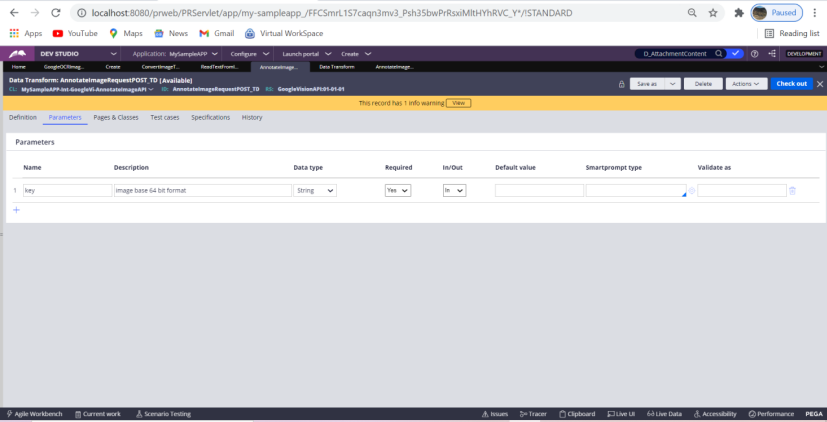
Parameters tab of the DataTransform
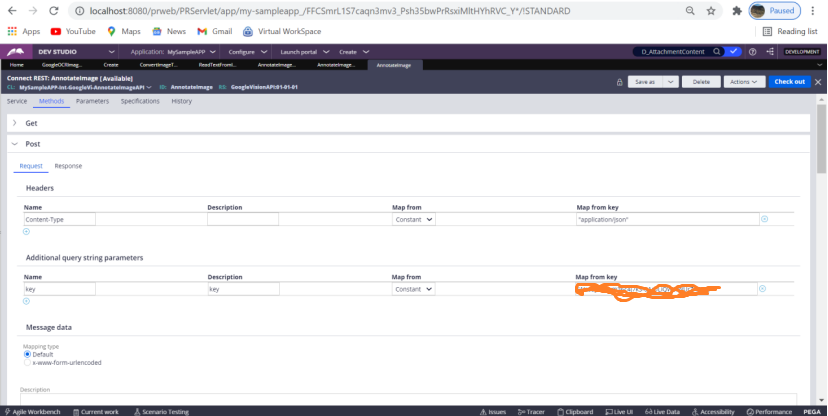
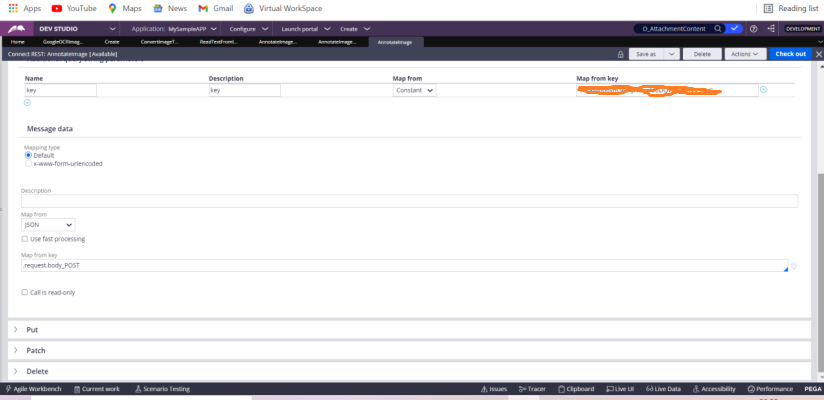
Step3 – Connect-REST
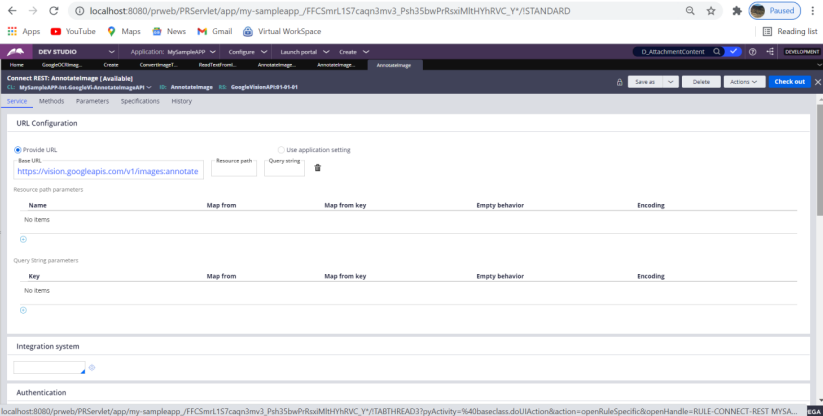
Methods tab: Post
Request tab: Put the API key that you have received from Google Cloud Vision API
Note: I have created the Connect-REST using the wizard and following the instructions provided by the article i have shared in the beginning of this article. So please follow that. Its not easy, you may face some issues but don’t be disheartened, am sure you will be able to crack it.
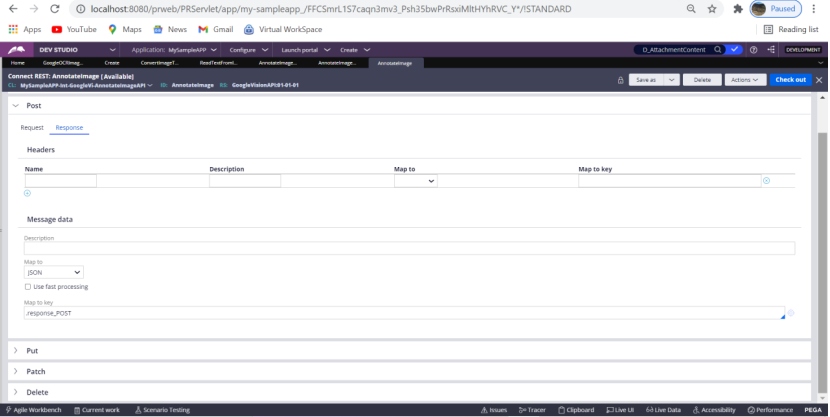
Response tab:
Step 4 and Step 5 of the Activity ReadTextFromImage_1
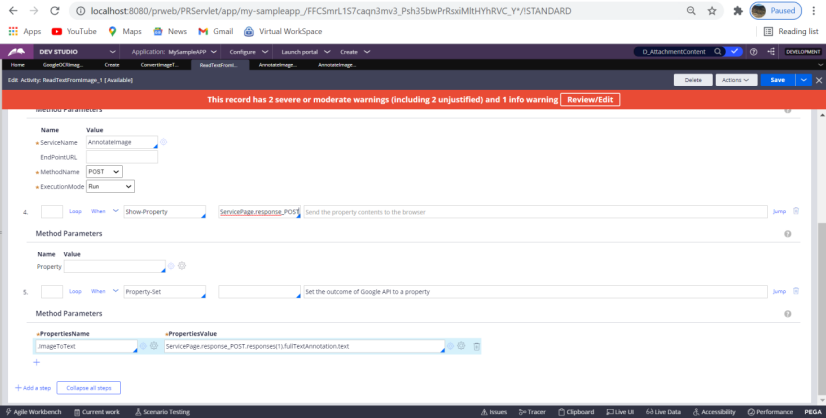
Step 5: Data from the response
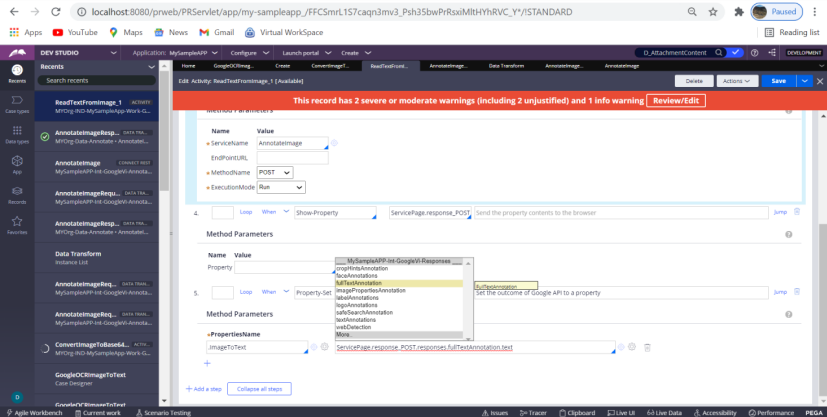
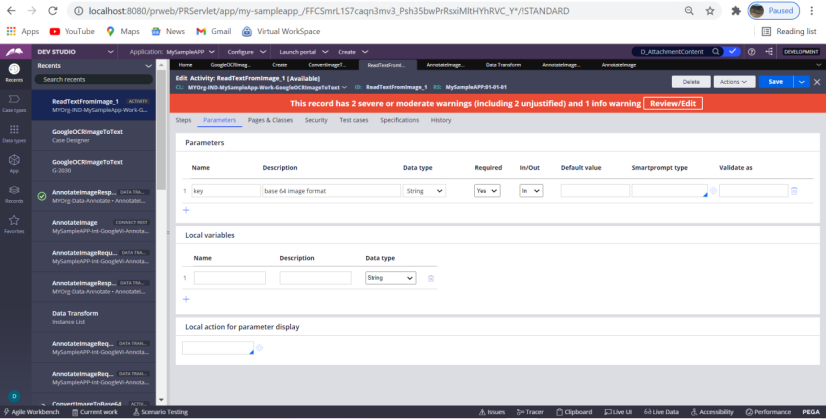
Now parameter tab of the activity – ReadTextFromImage_1 (Ignore the naming convention)
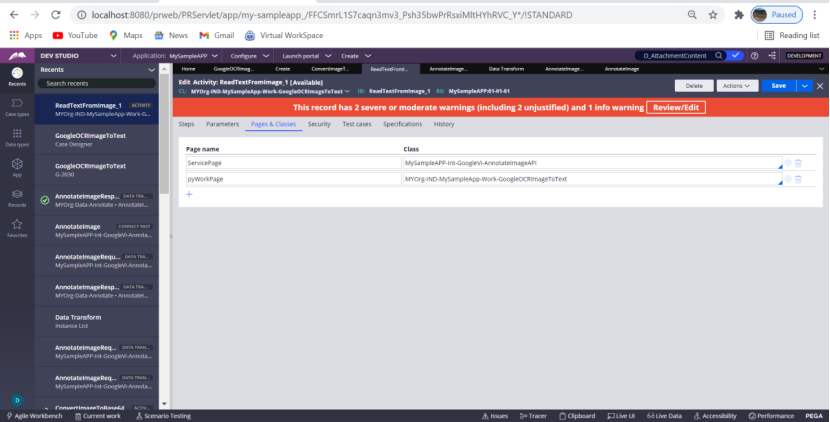
Pages and Classes of the activity
All done, now go and run the case, upload an image having some text and also try an image with handwritten text. You should be able to see that the text of your image has been converted to an editable text and stored in the clipboard for further processing.
Tips: Please follow the article that I have shared at the beginning while creating the Connect-REST rule.
If you mess up there then it will be difficult to debug.
You should have a billing account associated with your project otherwise your API key will not work.
In the tracer you will get that info though. 🙂 All the best.
Note: As this is not a training blog so I don’t explain each and every step, I am concentrating on the How part and I expect you will explore the Why part by your own.
Please let me know in the comment if you have successfully implemented it or not and if you like this blog, then please ask your friends and colleagues to visit.
Happy Weekend, Happy Learning and Happy Coding. !!