In this POC we can see how to develop QR code scan in Pega using Javascript
Demo video:
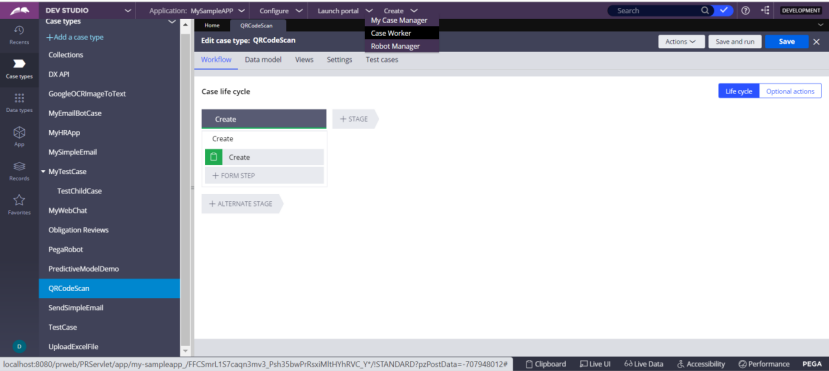
Create a case:

Process Flow
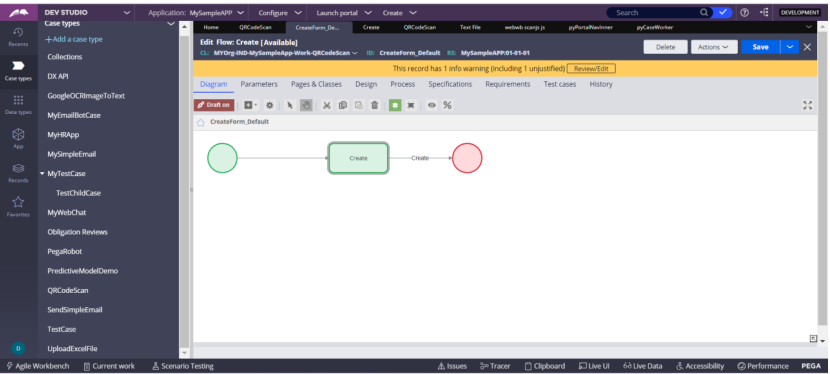
Flow Action
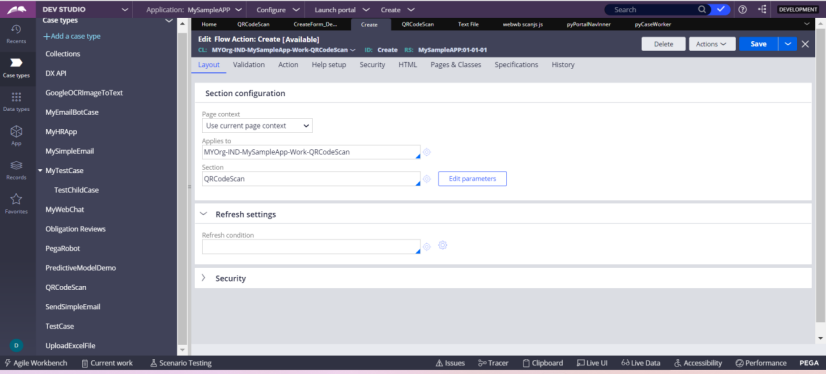
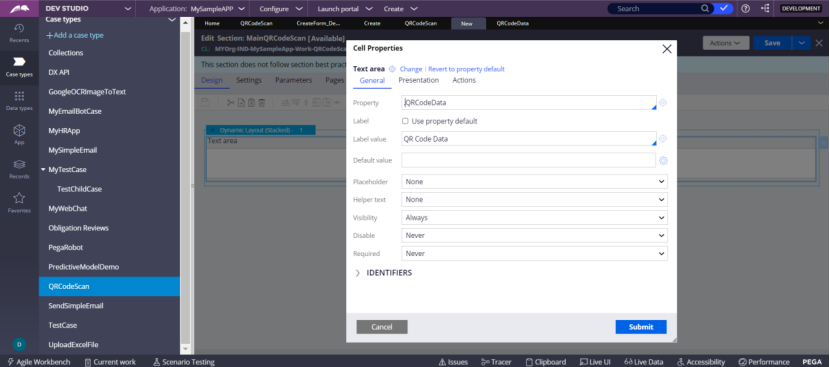
Section – MainQRCodeScan
Create a Text Area – Property – QRCodeData
Create a embedded section and call the custom HTML section ()
Embedded section
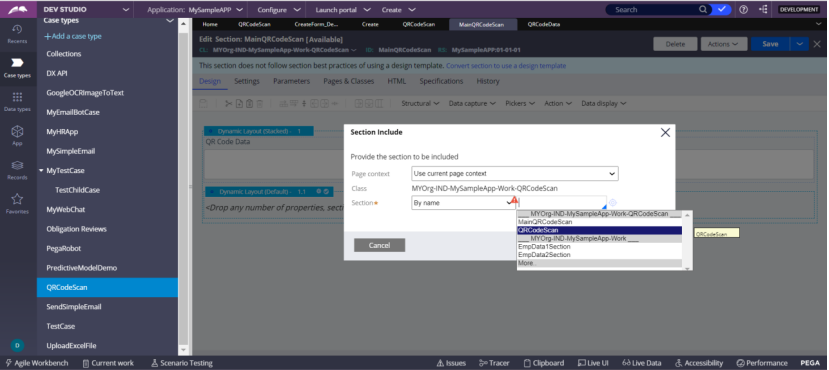
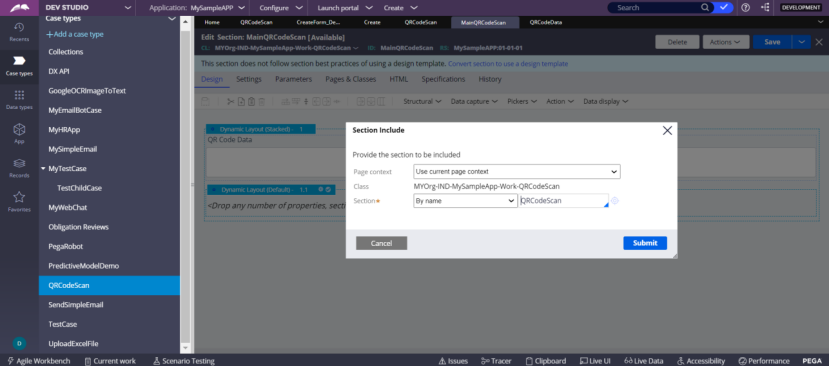
Click Submit
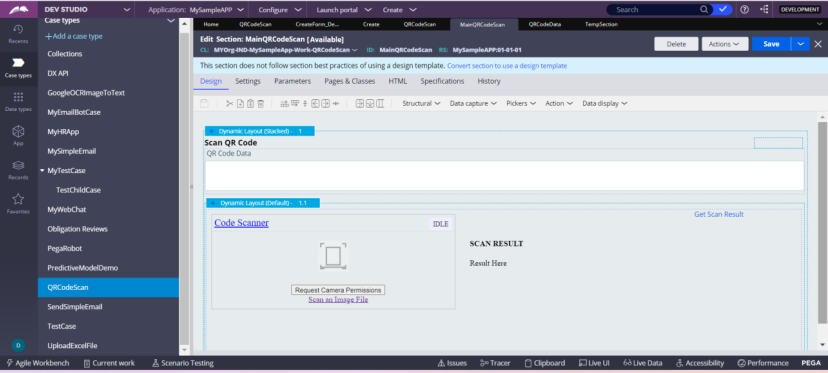
Then the MainQRCodeScan will look like as below
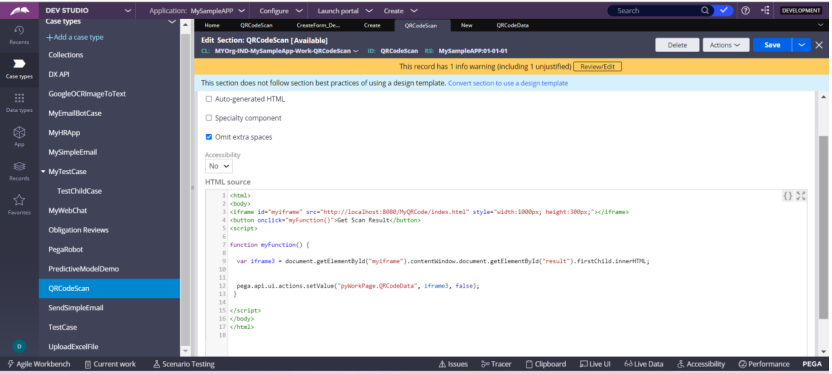
QRCodeScan section – custom HTML section – Calling the javascript through iframe to get the scan result
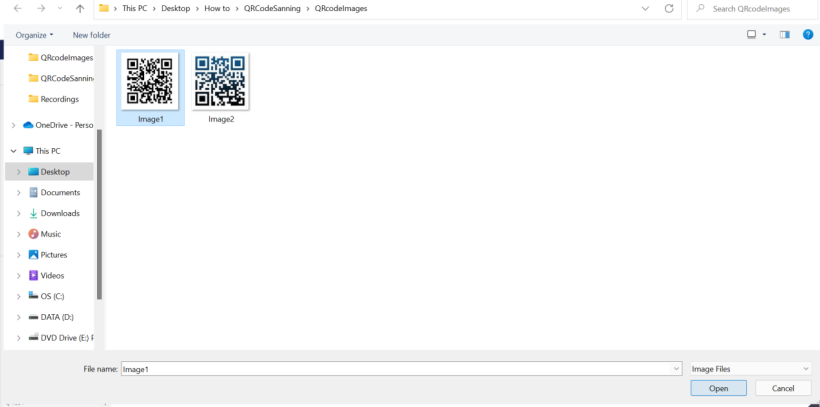
You can get the QRcode scan javascript from the internet. Create a folder MyQRCode
Place the folder MyQRCode folder containing
- index.html
- html5-qrcode-min.js
in the path — D:\PEGA8.5.1\Install_PRPC\PRPCPersonalEdition\tomcat\webapps
Now, type in the browser:
http://localhost:8080/MyQRCode/index.html
Check that the javascript is working fine. Then use the below code in Pega section
******************************************************************************************************
<html>
<body>
//keep the index.html in the below path
<iframe id=”myiframe” src=”http://localhost:8080/MyQRCode/index.html” style=”width:1000px; height:300px;”></iframe>
<button onclick=”myFunction()”>Get Scan Result</button>
<script>
function myFunction() {
var iframe3 = document.getElementById(“myiframe”).contentWindow.document.getElementById(“result”).firstChild.innerHTML;
//set the value from javascript to pyWorkPage
pega.api.ui.actions.setValue(“pyWorkPage.QRCodeData”, iframe3, false);
}
</script>
</body>
</html>
********************************************************************************************
Test Scenario:
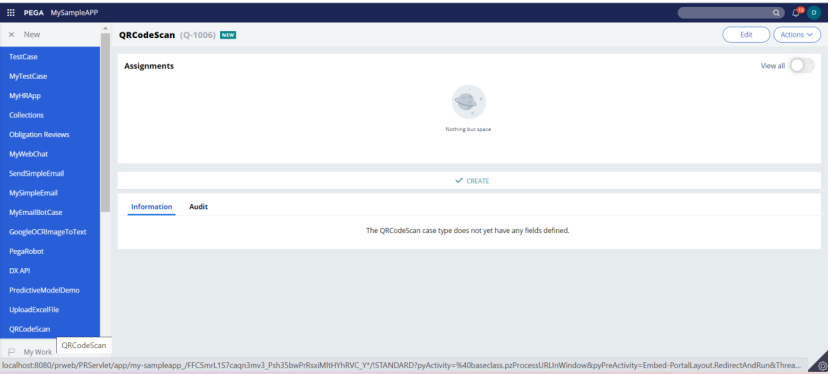
Click New – QRCodeScan
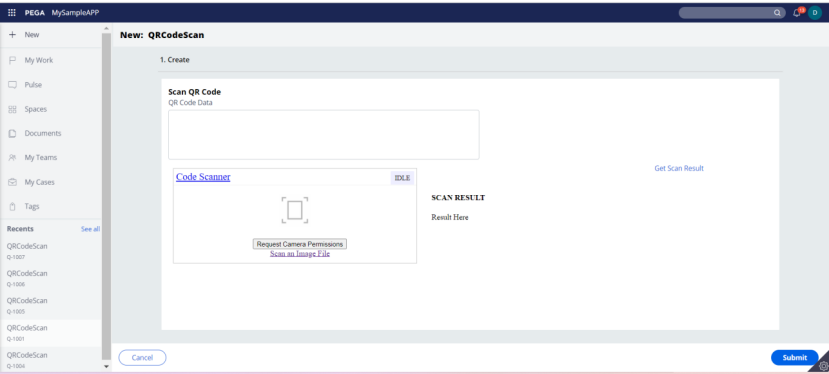
You can upload a file and scan the QR code which will be placed in the Pega property QR Code Data.
You can scan a code using the camera and place the data in the Pega property by clicking Get Scan Result.
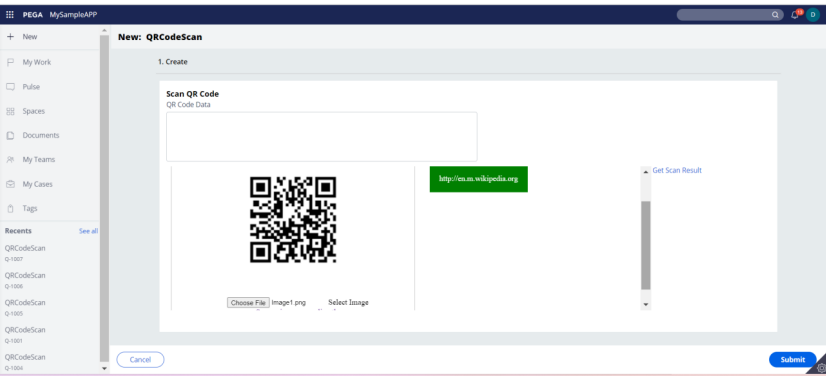
Now click Get Scan Result
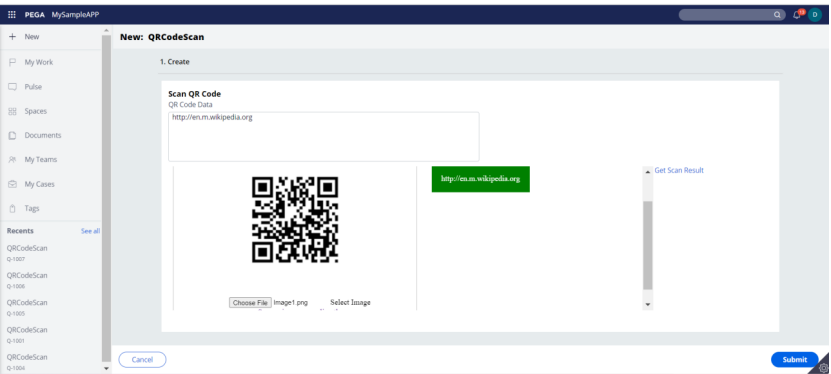
Data moved to the text area – QR Code Data
Click submit to create the case–then the Scanned data will be posted in the pyWorkPage
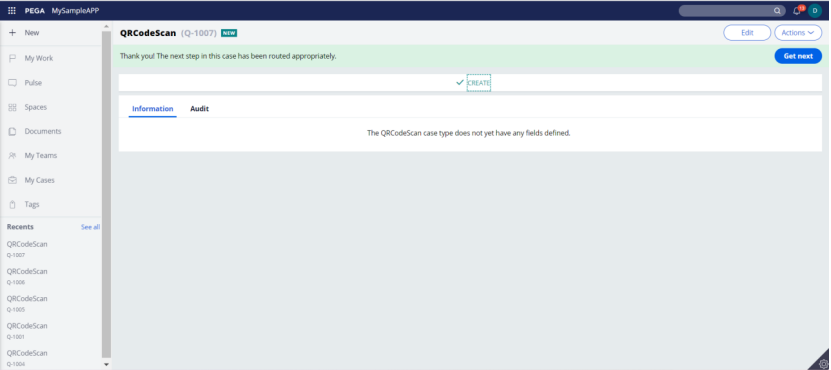
Case number:1007
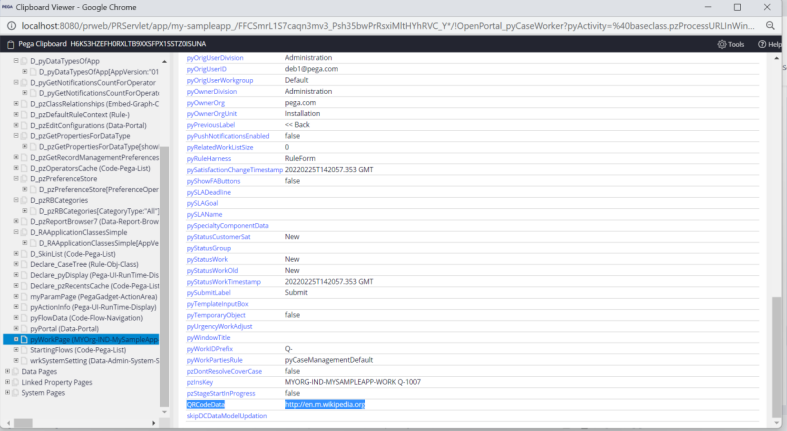
QRCodeData is populated with the QRcode that has been scanned.