This is a simple POC, how to use Generate Document and Create PDF smart shapes in Pega.
Demo Video:
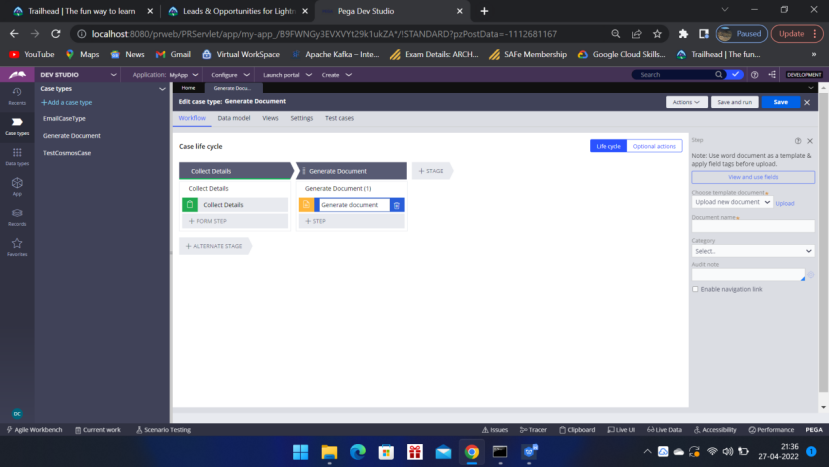
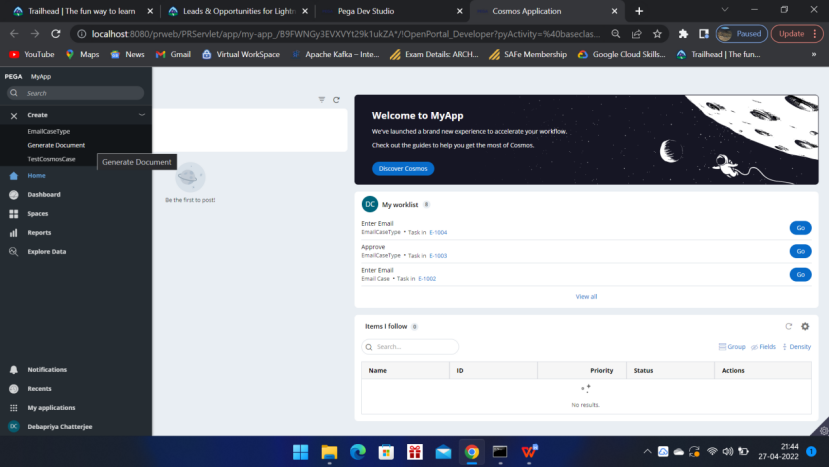
Create a case type – Generate Document
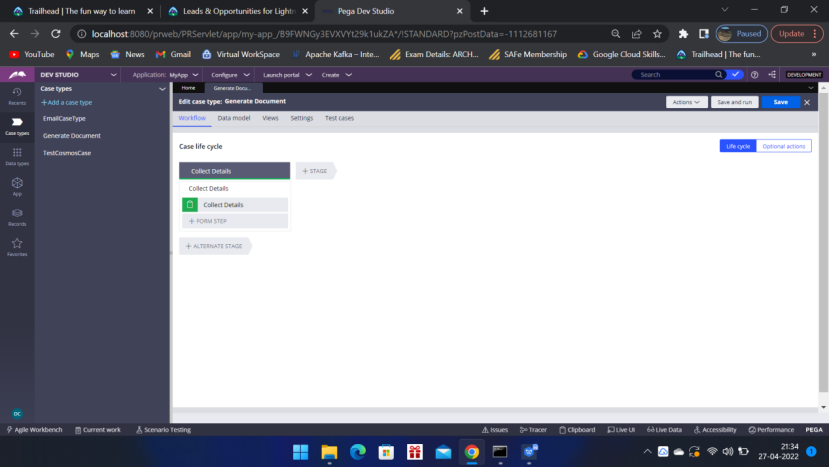
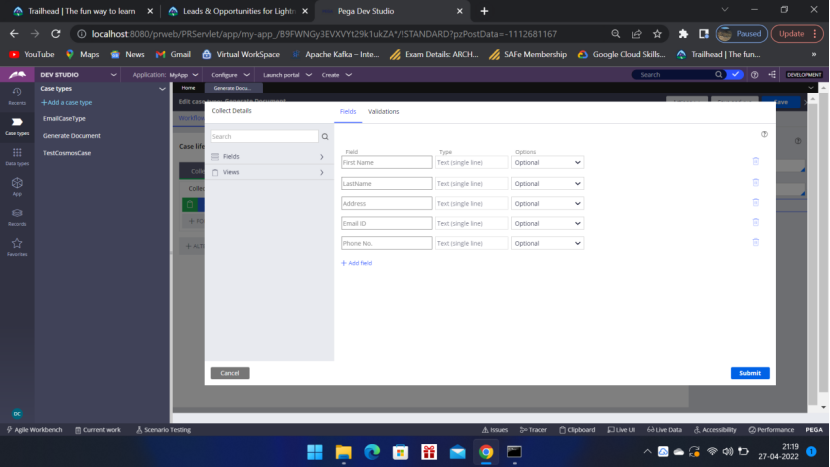
Configure the view
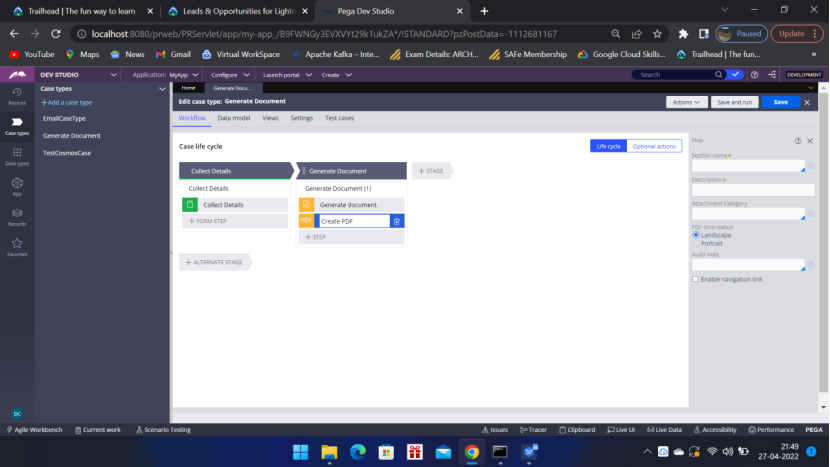
Now add a new stage – Generate Document – add a step Generate Document
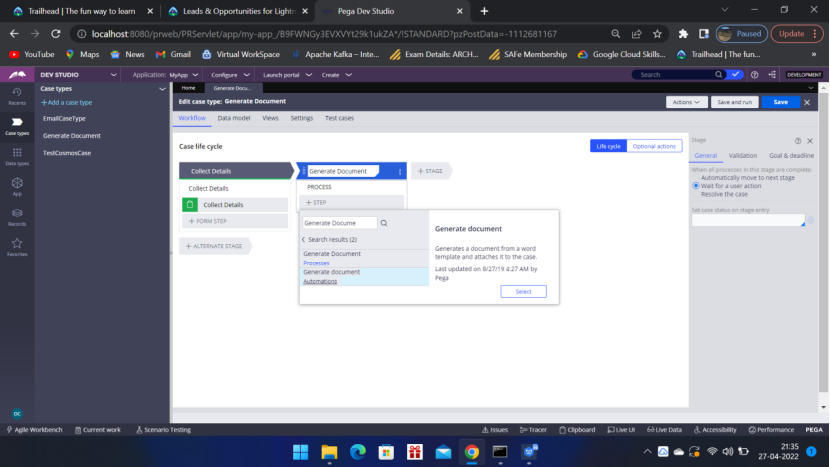
Now click View and use fields
Copy tag that you want to add in the Document
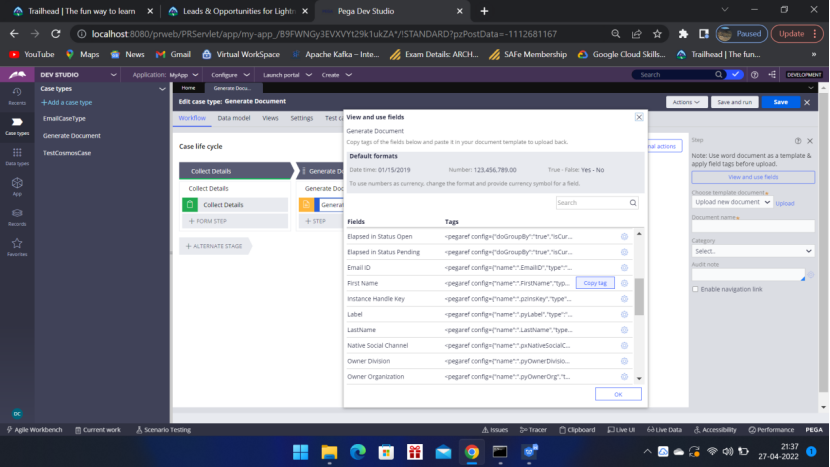
I have to add, the following fields in the sample document
First Name
Last Name
Address
Phone No
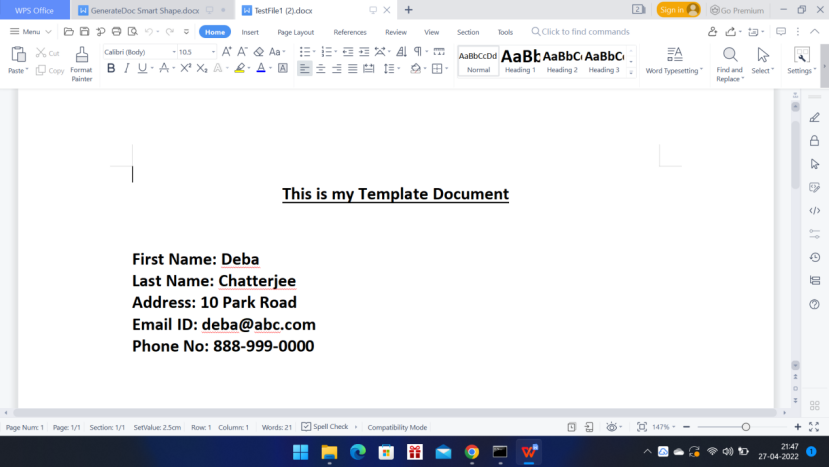
After clicking View and use Fields — copy tag for the above fields and add those in the sample word doc.
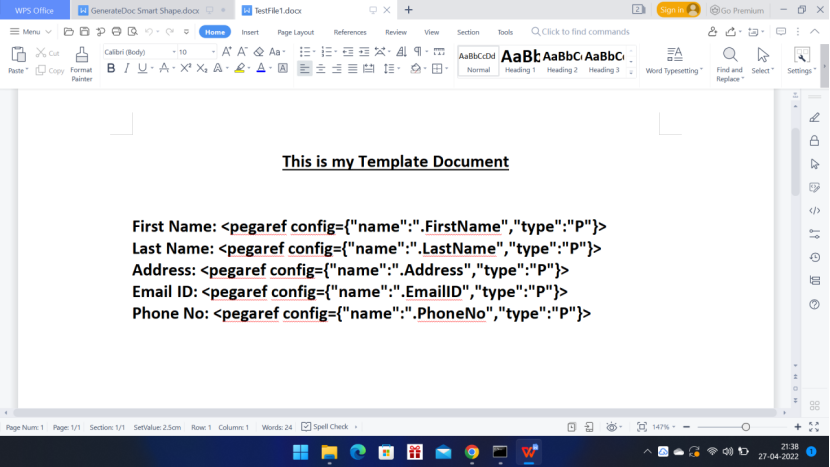
This is the template TestFile1.docx. I have copied the Tags and added into this file.
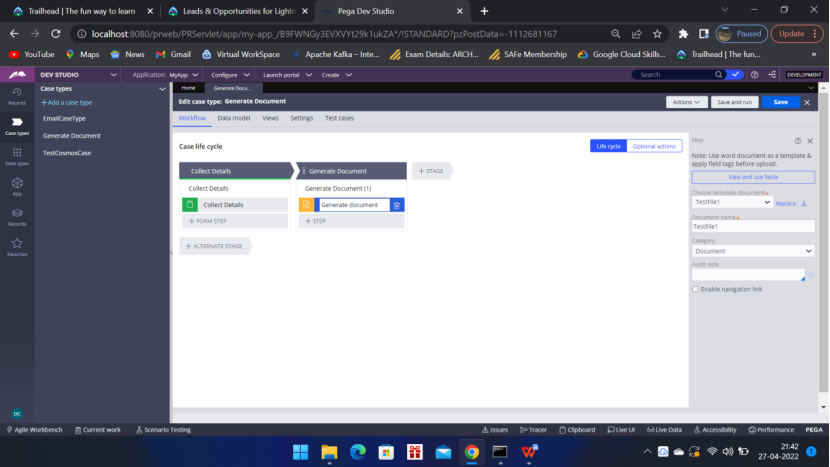
Now I have to upload the file TestFile1.docx in Case Type.

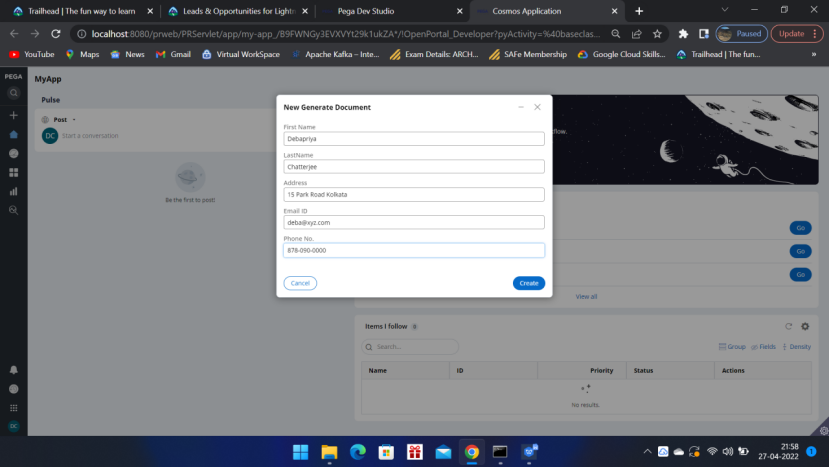
Now Run the Case type
In the first screen whatever data you will input all those will be added to the sample document.
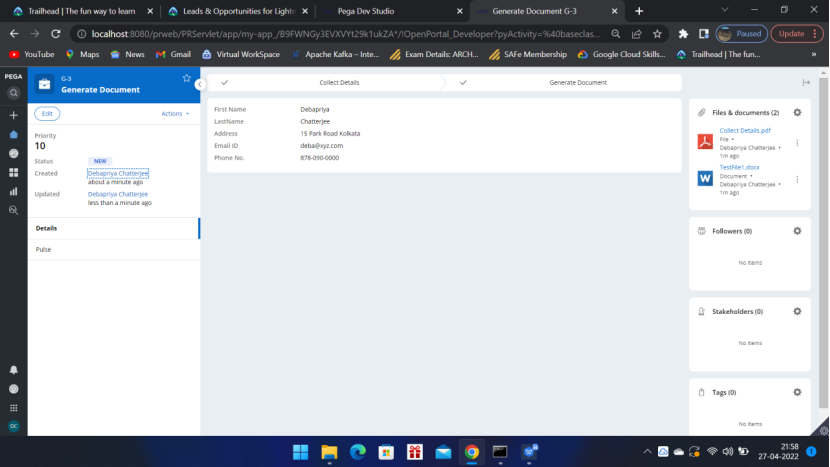
Launch User Portal


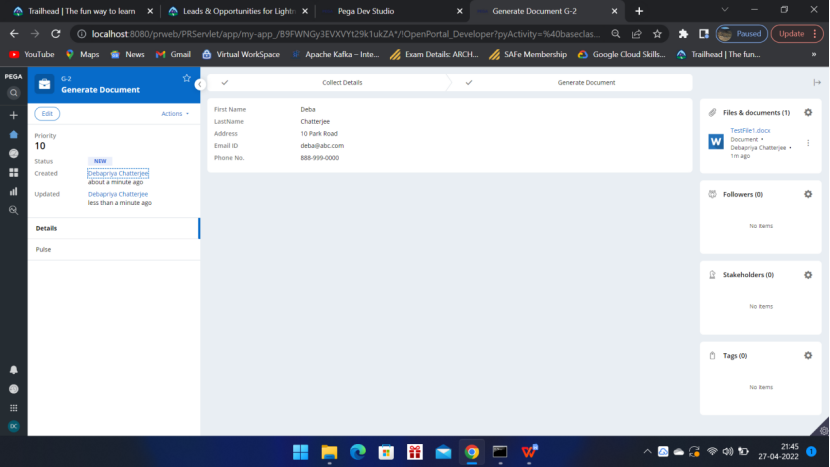
On the right side you can see the TestFile1.docx has been attached.
Open that,
So whatever we have added in the first screen are available in the Word doc.
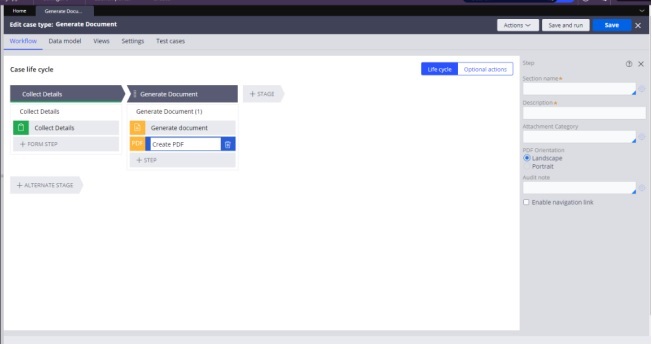
Now lets add another smart shape, Create PDF
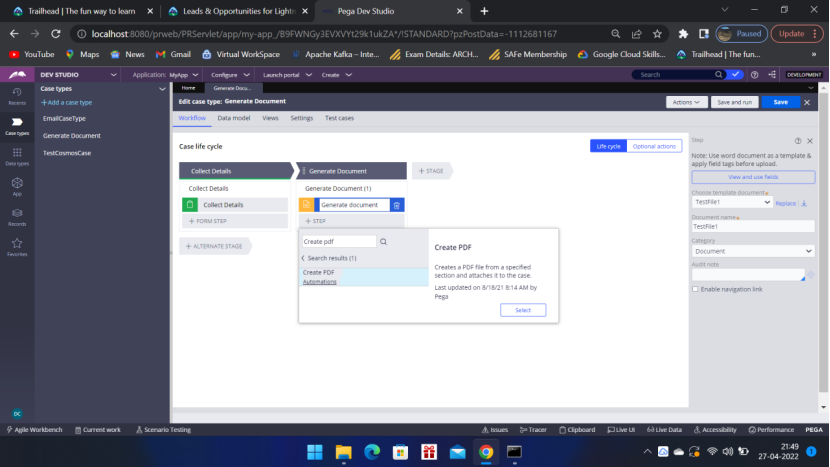
Section name is Create — So add the same in the Right pane – Section name
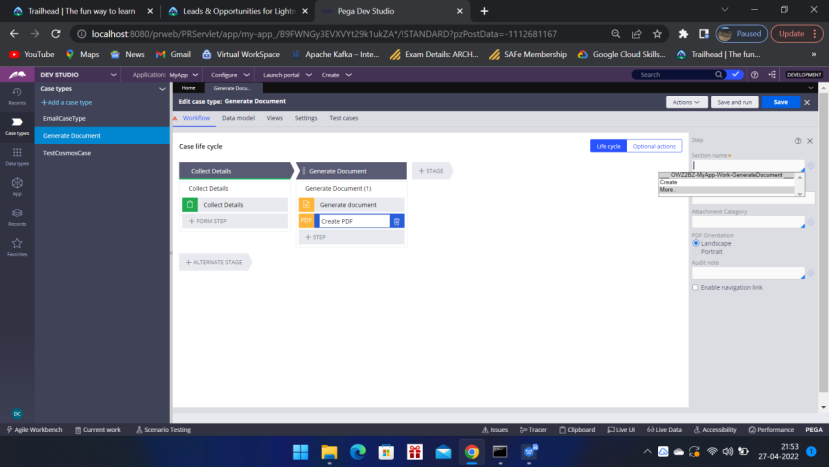
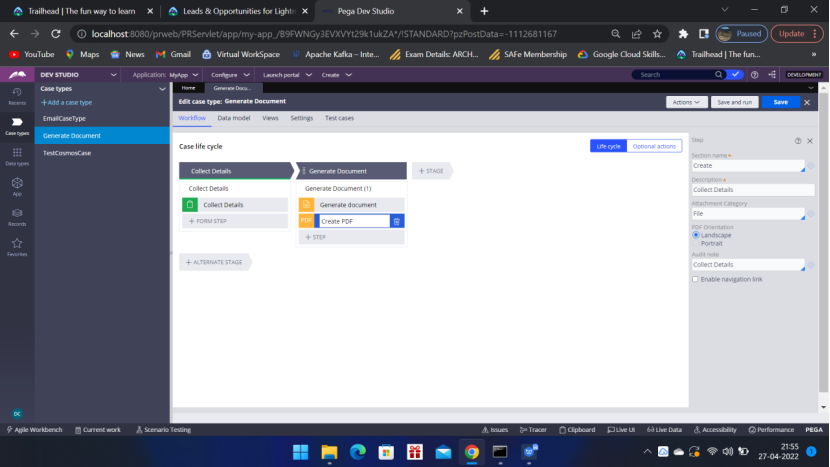
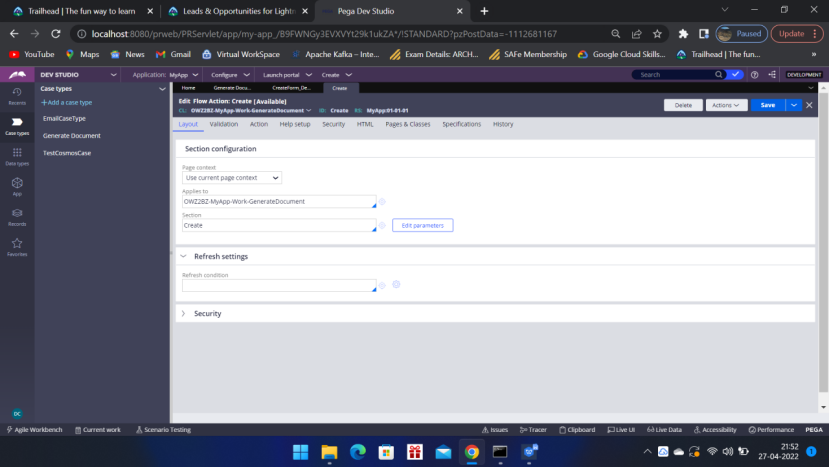
From the flow – Check that this is the right section.
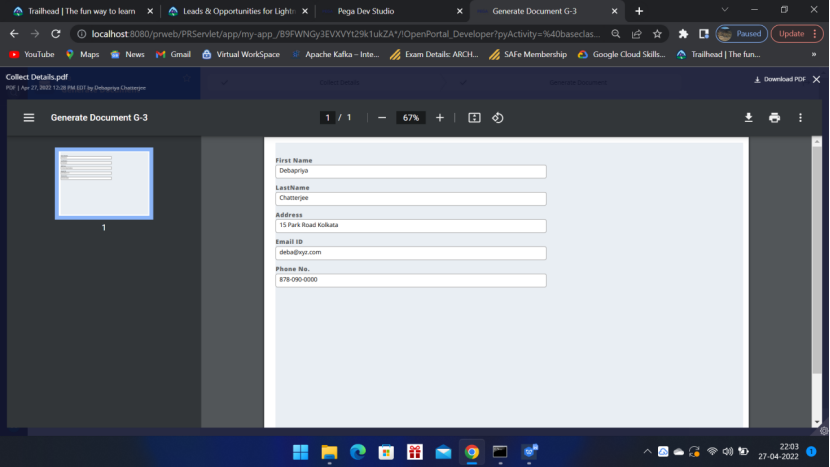
Now SAVE the Case Type — Launch the user portal

Click Create –
On the right hand pane we can see the two attachments – Collect Details.pdf and TestFile1.docx
This is the end of the article. Please let me know your inputs in the comments section. 🙂