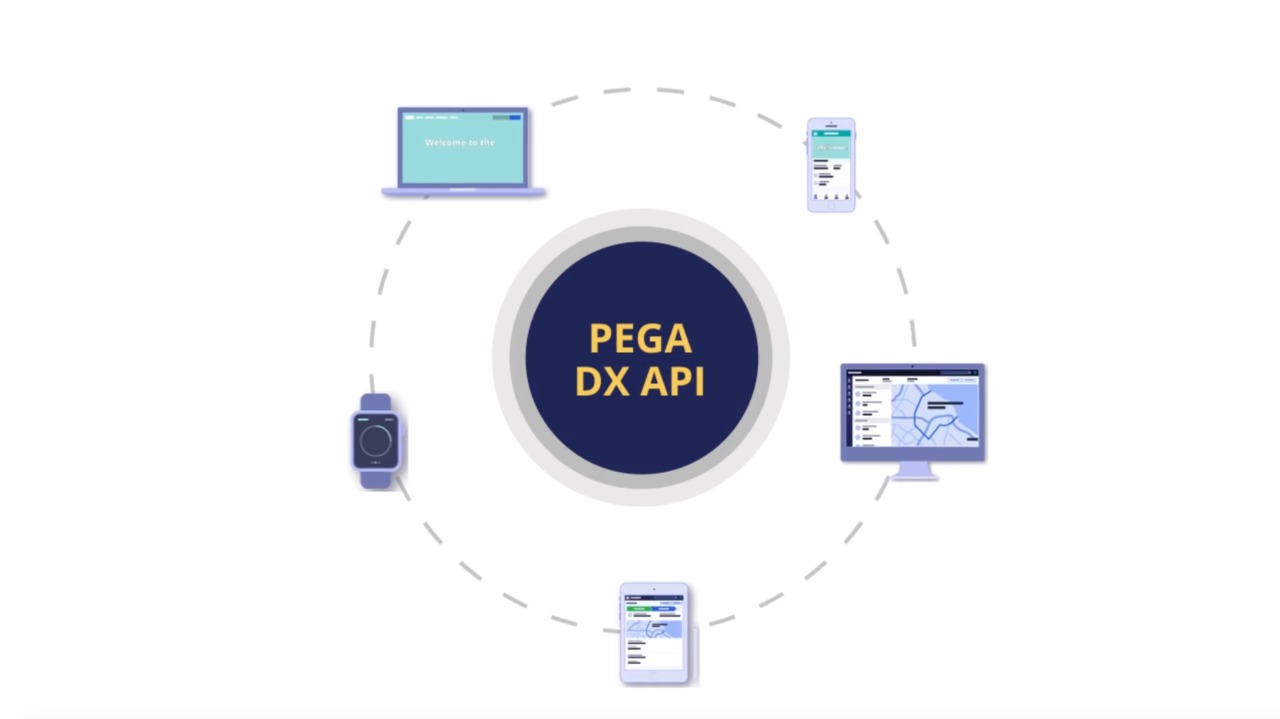
This POC will explain how you can configure DXAPI in Pega using Pega’s recommended React Starter Pack.
Demo Video:
The step by step approach is as follows,
Let’s start,
Prerequisite:
1. React Starter pack from Pega marketplace
2. Node JS – Environment to run the React. It’s an open source
3. Install react – get it from the React Starter pack in #1
4. Visual code editor: To change the config file in react. It’s an open source.
1. Download the react starter pack from the below link
https://community.pega.com/marketplace/components/react-starter-pack
Installation
• Download the starter pack’s zip file and extract the top level contents
• Login to Pega system
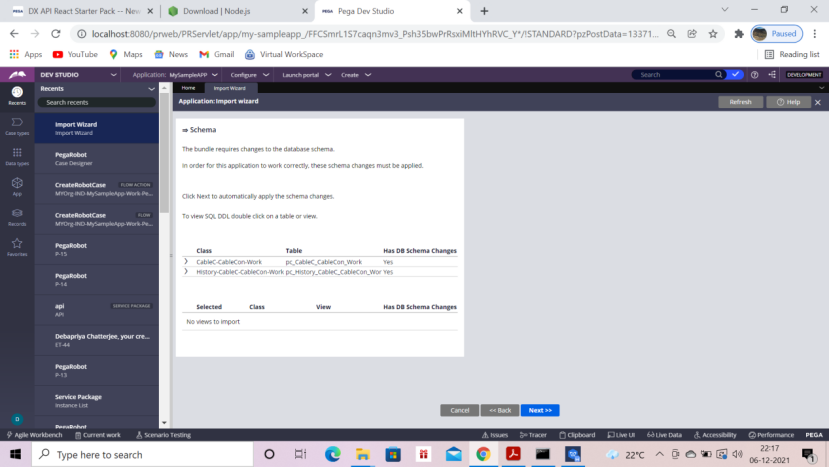
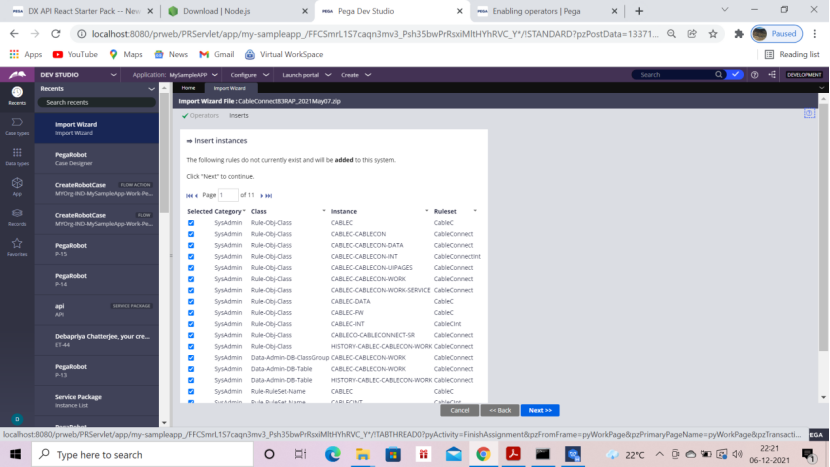
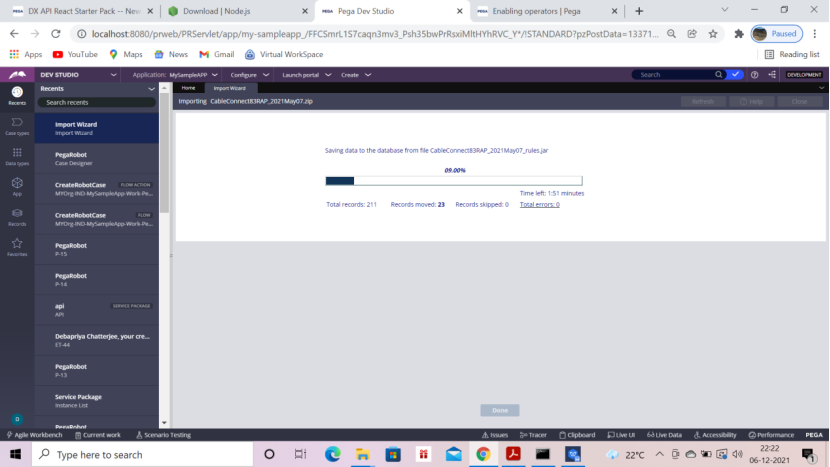
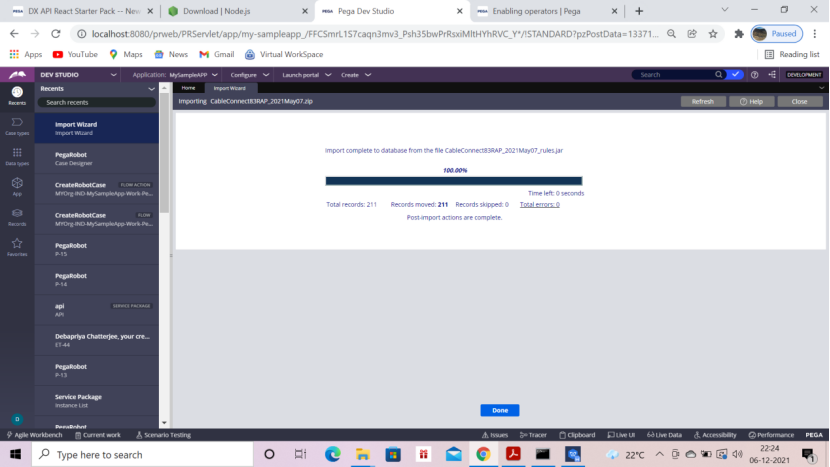
• Import the zip file within the “CableConnectApp” subdirectory (via
Configure>Application>Distribution>Import)
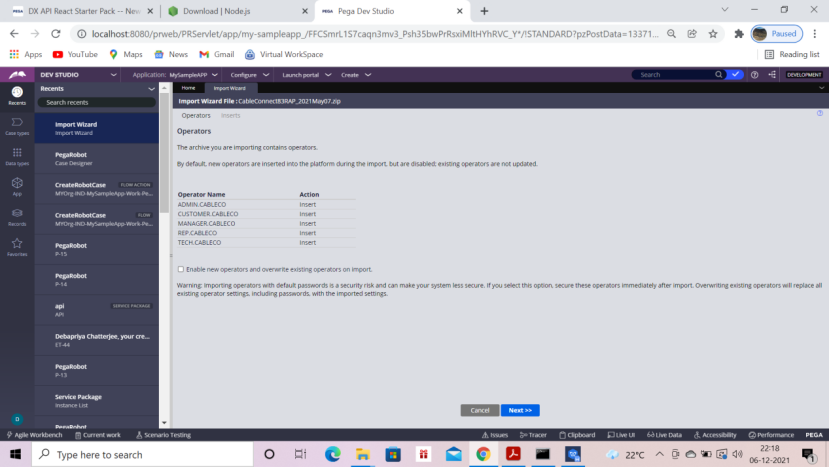
• Make sure the *.cableco operators are enabled for Authentication
• Log off
• Log in as admin.cableco (see below)

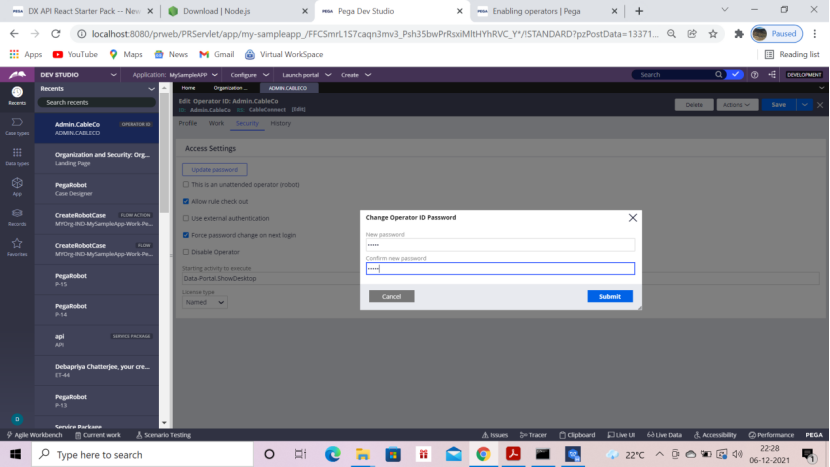
Uncheck the Disable operator and change password to ‘rules’
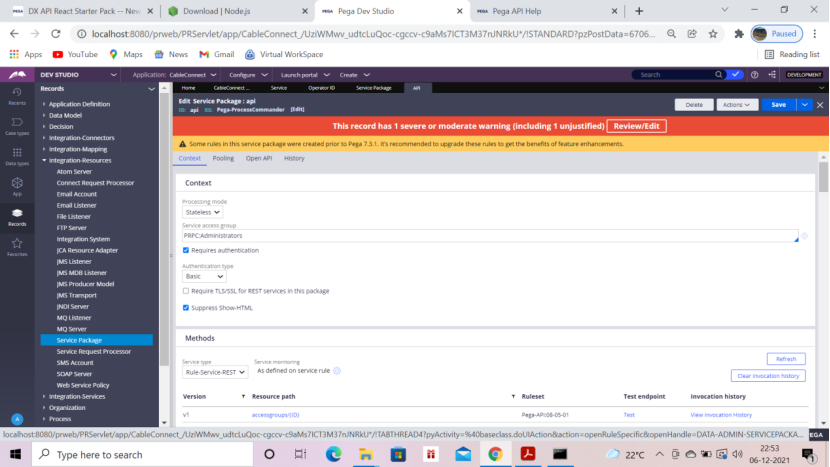
Go to Service Package – api -> Keep basic authentication and uncheck Require TLS/SSL for REST Services in the package
Download Node JS from internet
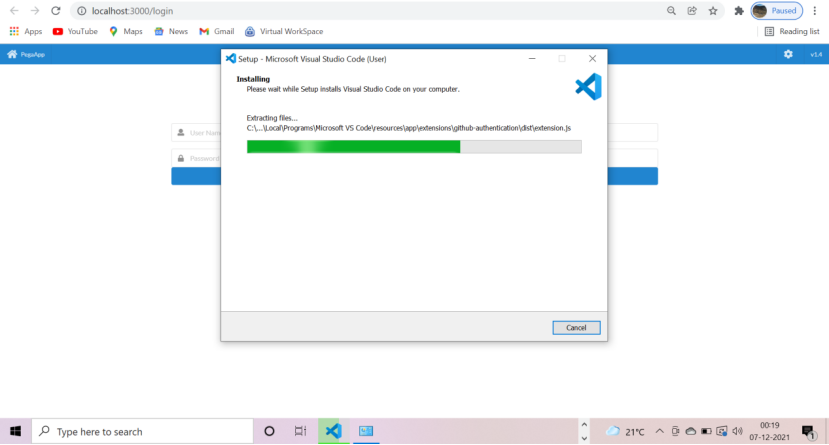
2. Install Node JS – Environment to run react
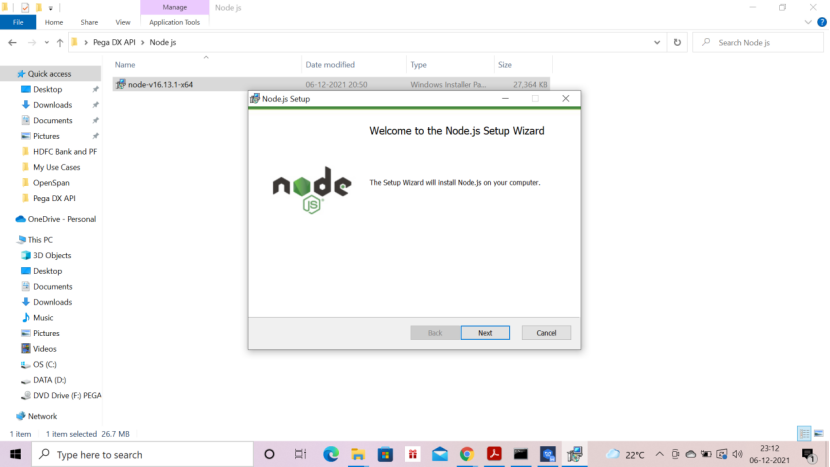
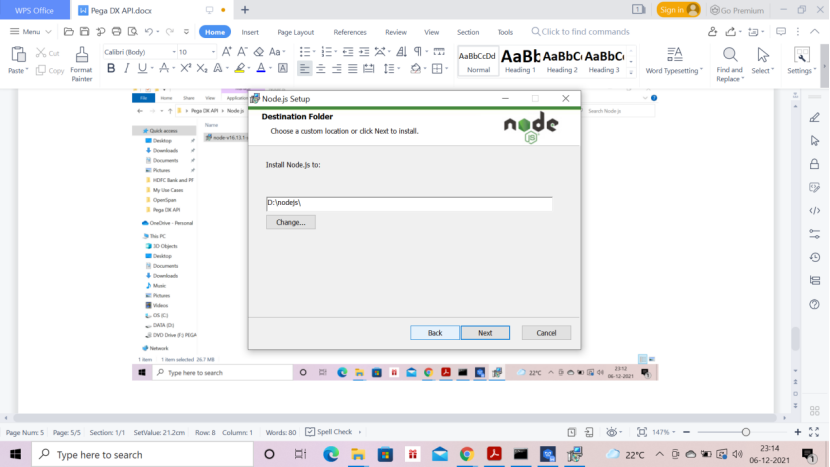
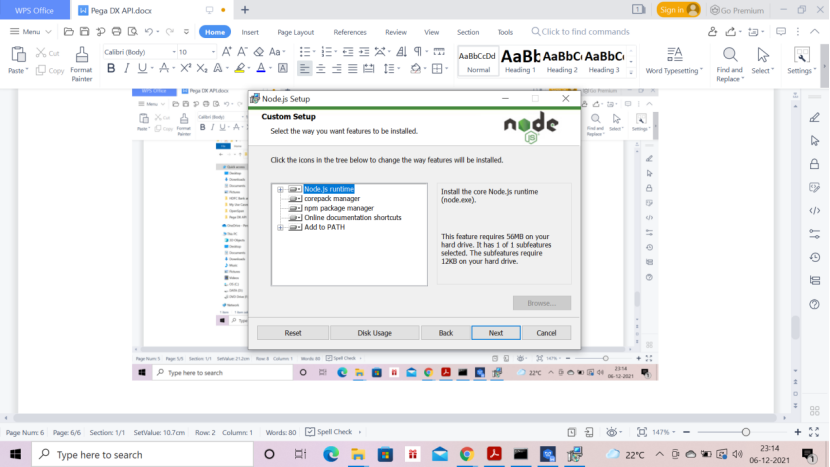
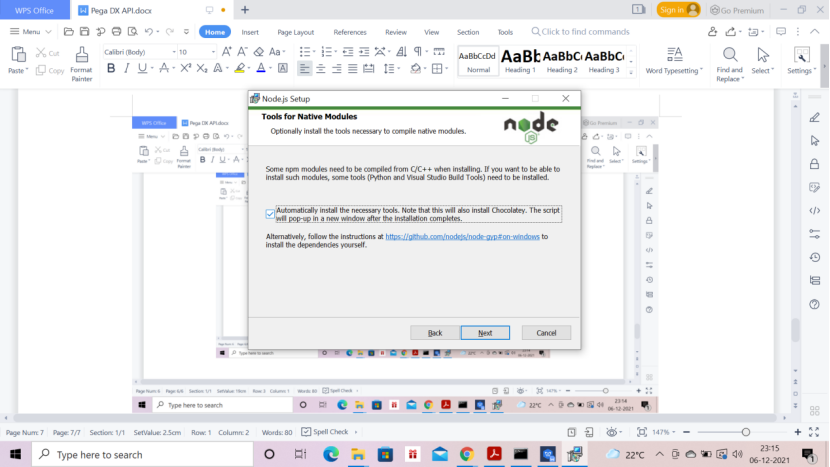
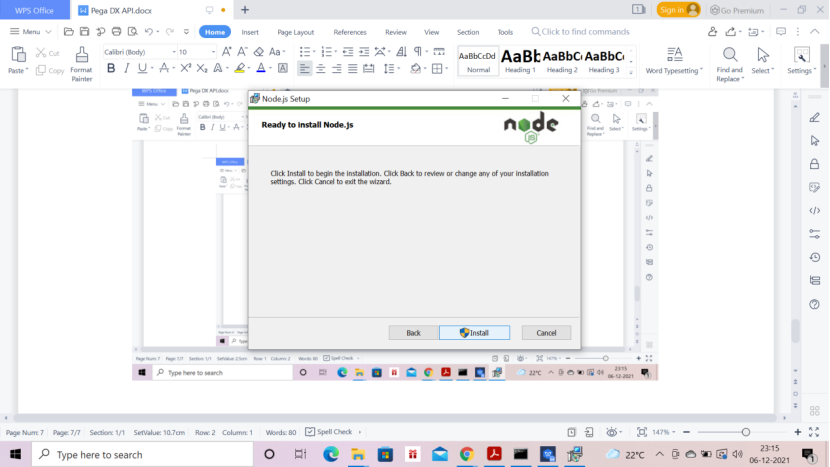
Click Install
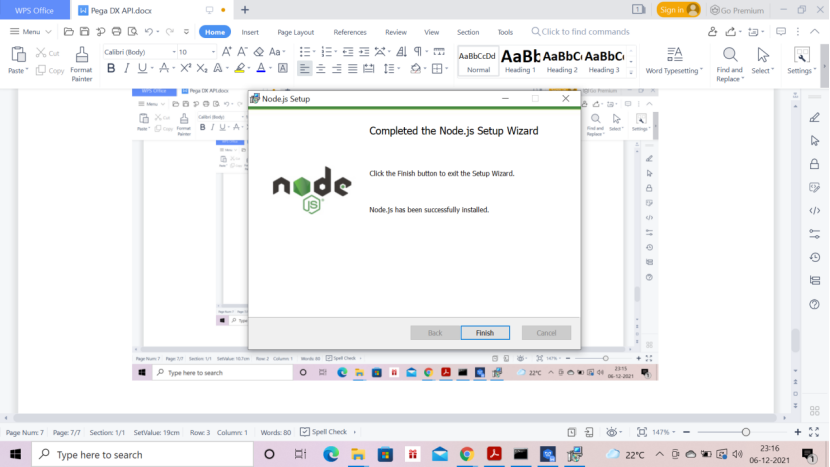
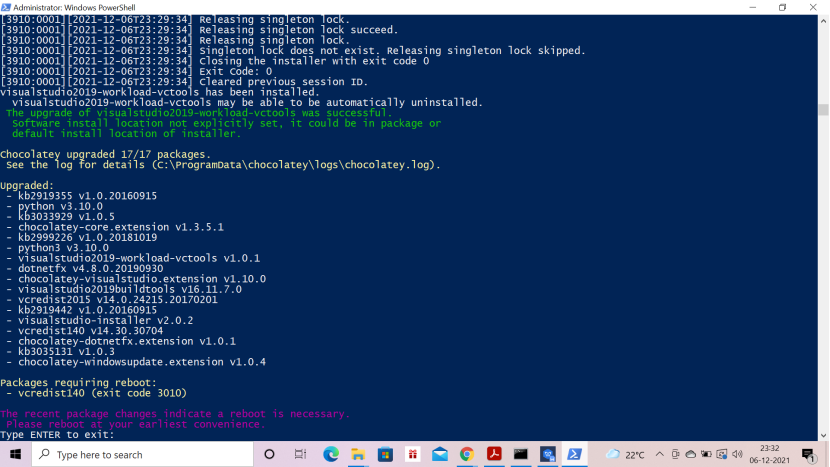
Wait till you get the message – Type Enter to Exit
Then, press Enter key
Now
Extract pega-react zip received from Pega React Starter Pack
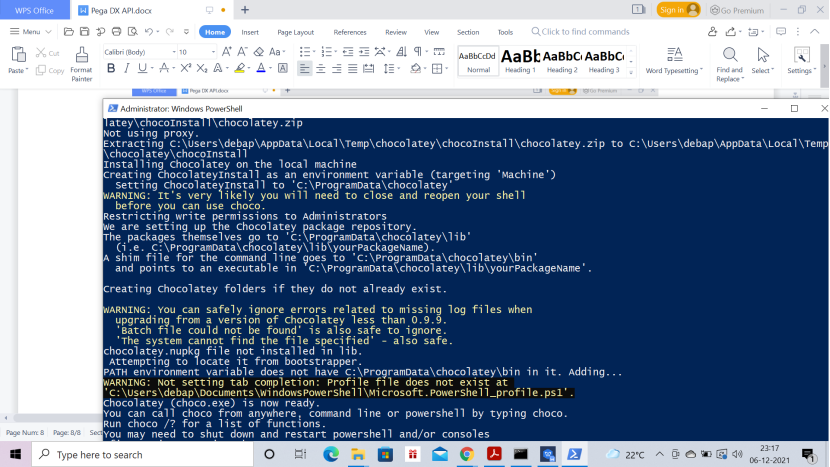
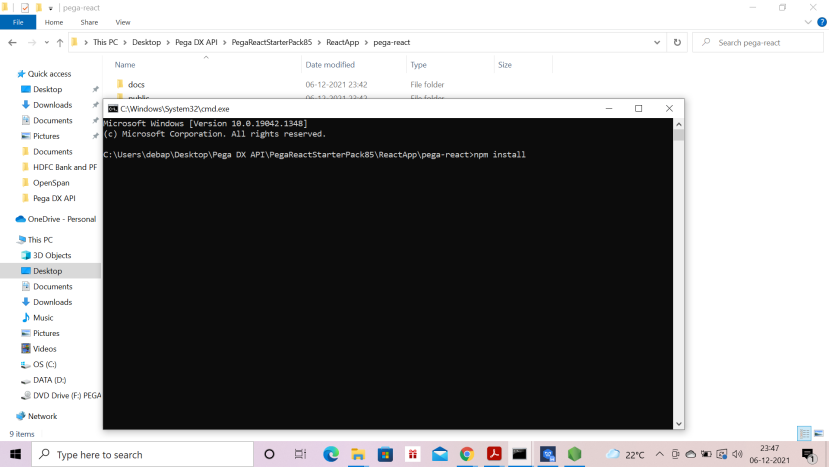
3. Install npm
To do that go to the below directory (This is my local directory, your directory can be different)
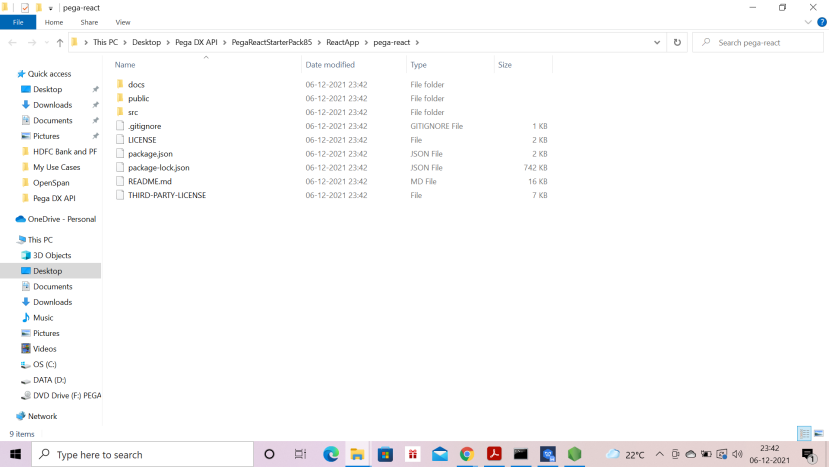
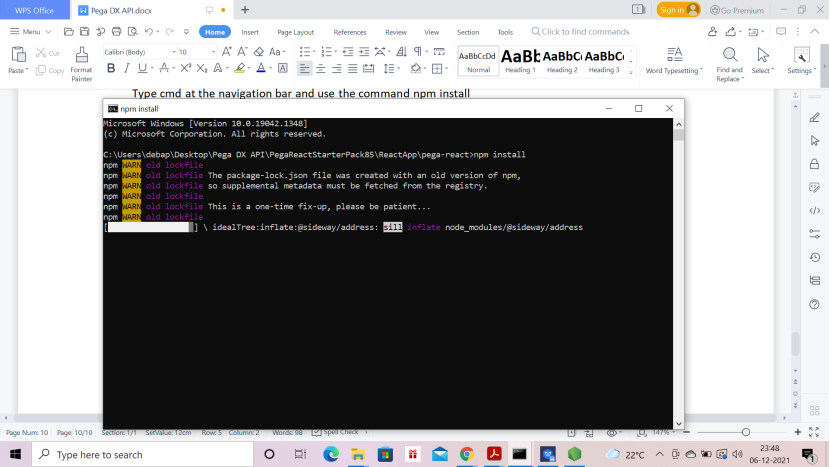
Go to the above directory then Type cmd at the navigation bar and use the command
npm install
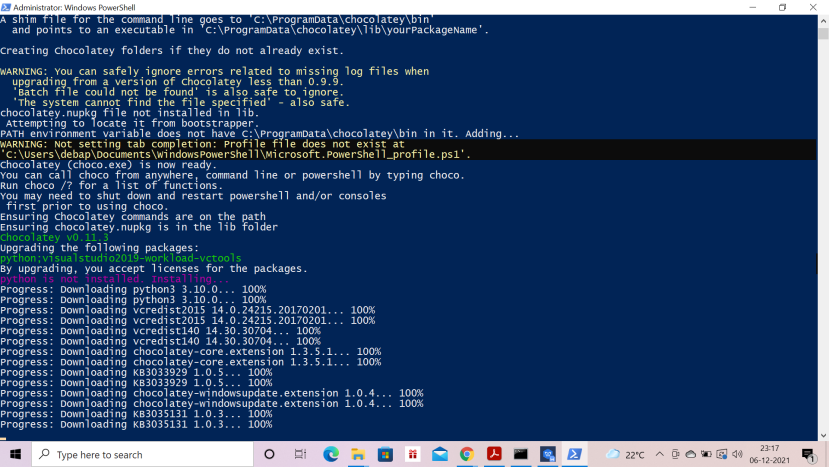
To fix few issues – you may run the command – npm audit fix –force or you can
run the command npm start if you get any compilation error then you can run npm audit fix –force
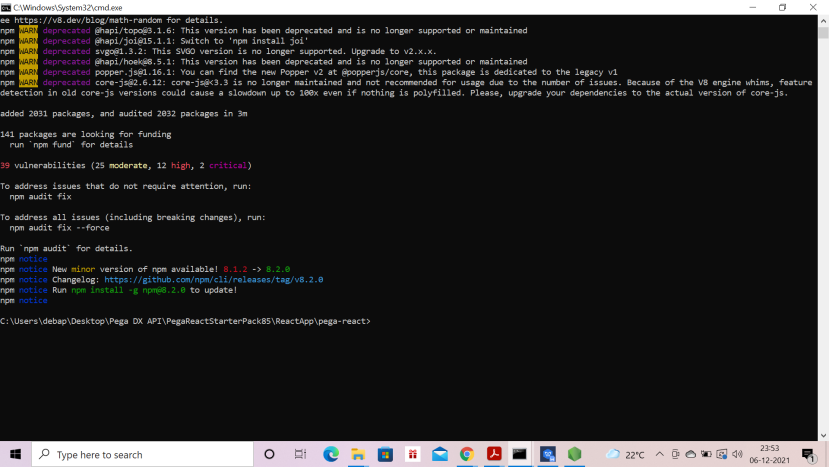
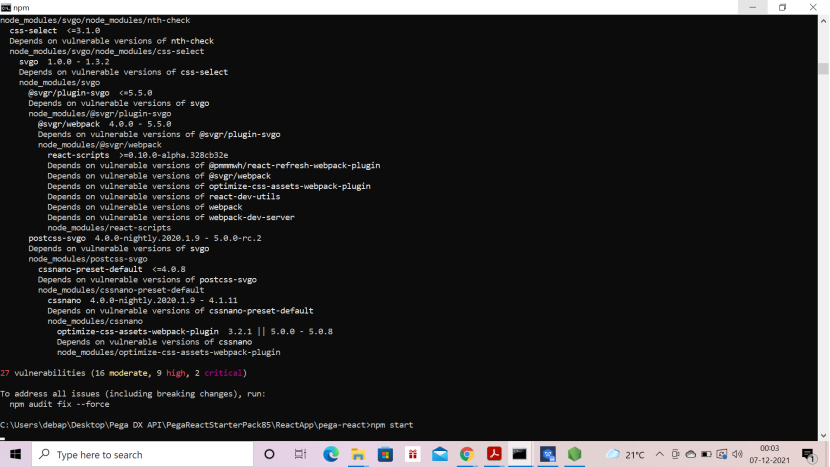
Now run npm audit fix command

This will fix the issues, if not then you can run npm audit fix –force
After that, run
npm start
It should look like the below
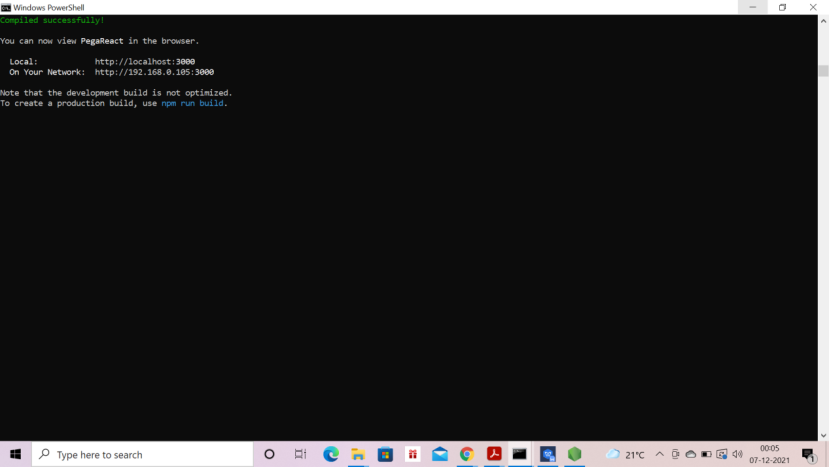
In the browser the following screen should come automatically.
Note:
In case of any issue read ReactApp_README in the following path
C:\Users\debap\Desktop\Pega DX API\PegaReactStarterPack85\Documents
Now
4. Install Visual Studio Code editor
Open visual code editor
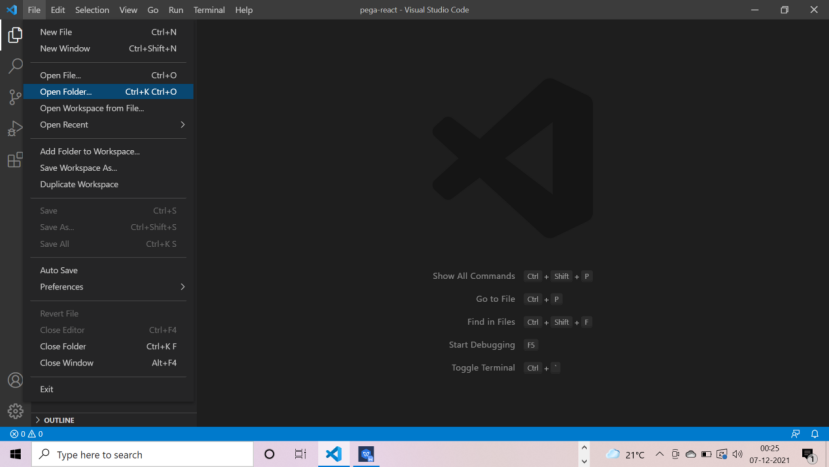
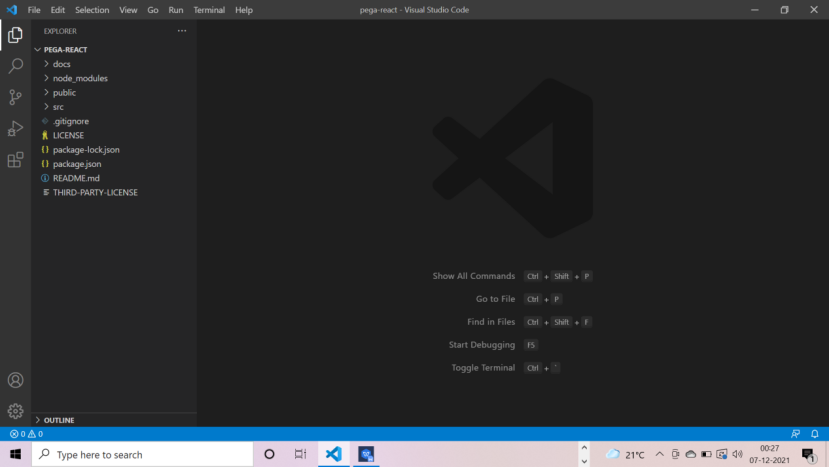
Open folder – pega-react
C:\Users\debap\Desktop\Pega DX API\PegaReactStarterPack85\ReactApp\pega-react
Go to src – services – endpoints.js
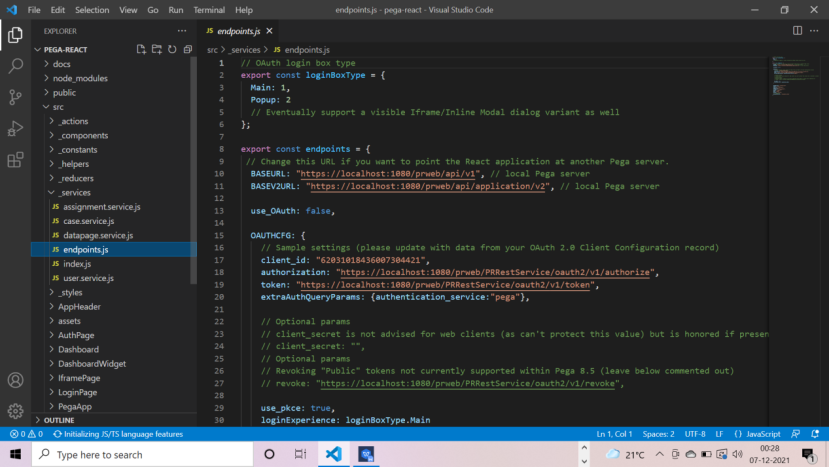
Change the base url to your pega URL
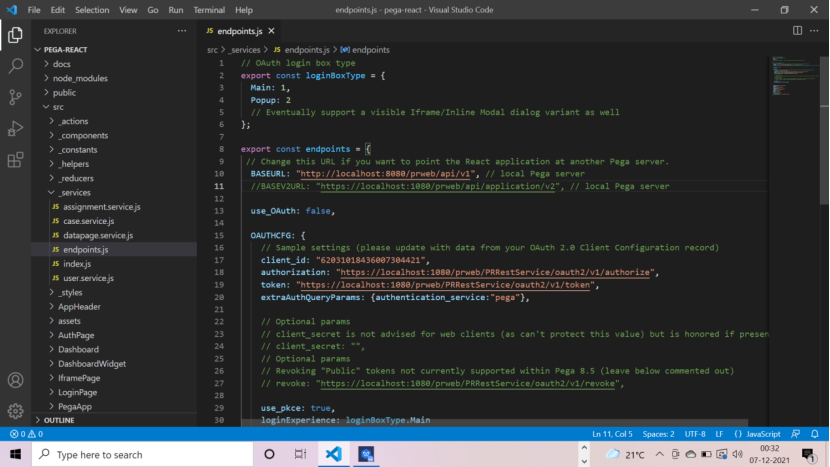
http://localhost:8080/prweb/api/v1
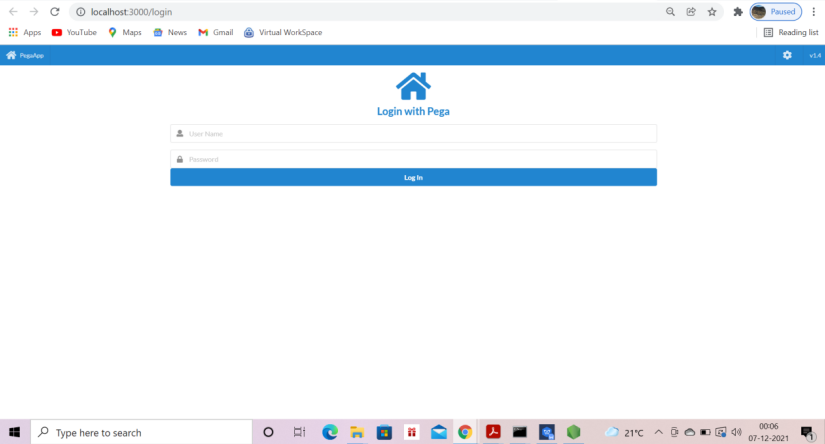
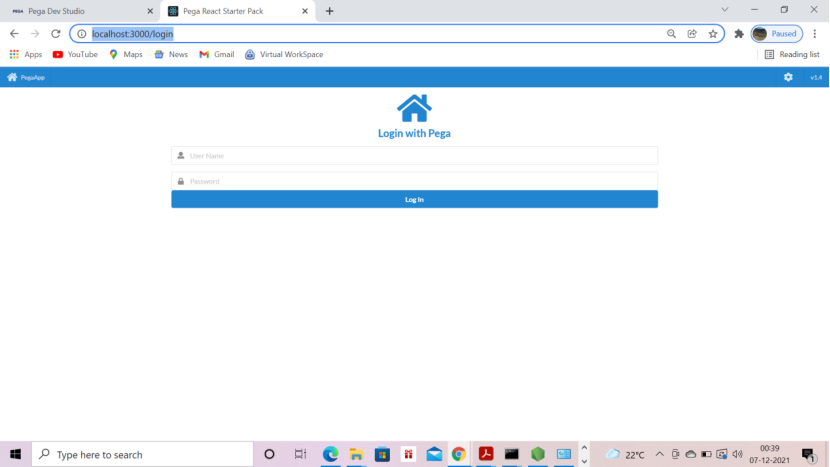
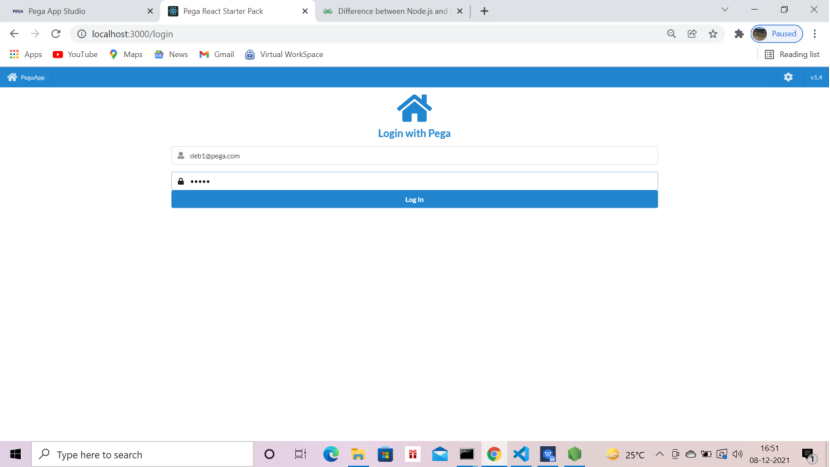
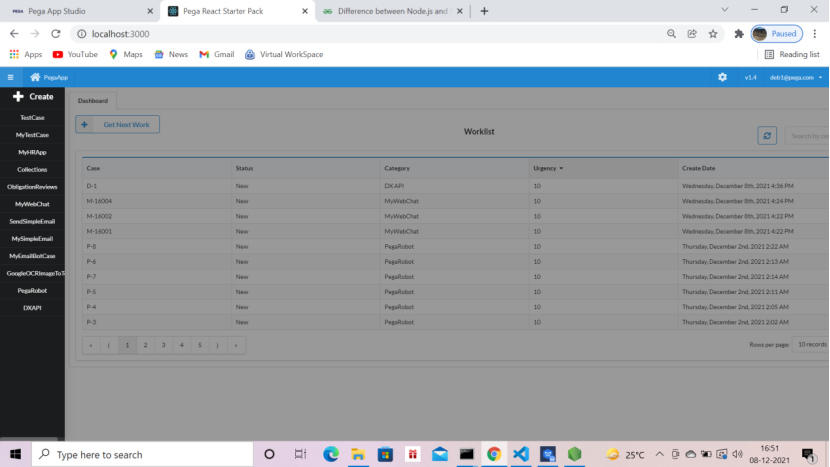
Go to the browser and type
Localhost:3000/login
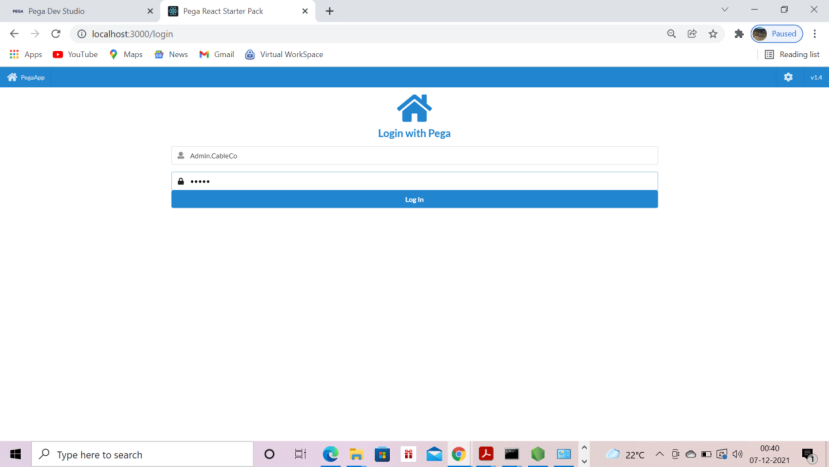
Enter Admin.CableCo pwd – rules —these we set up in pega while creating the pwd for Admin.CableCo
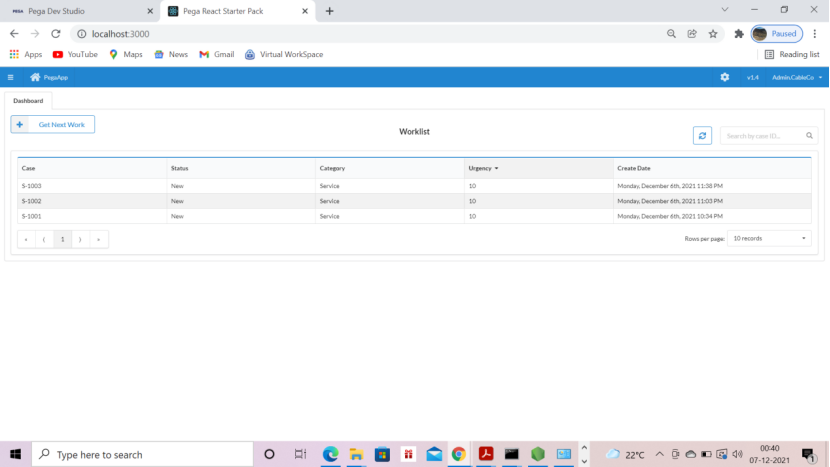
all the cases are visible
Now right click on the dashboard and go to inspect and click network tab
Once the case starts we can see the services being called
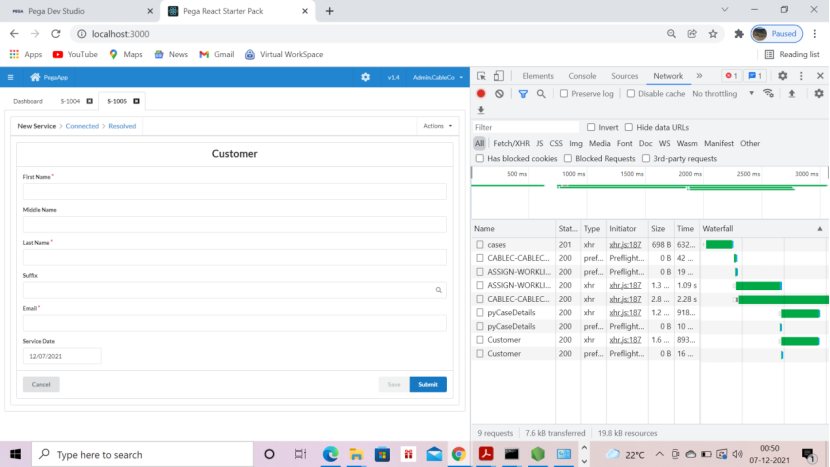
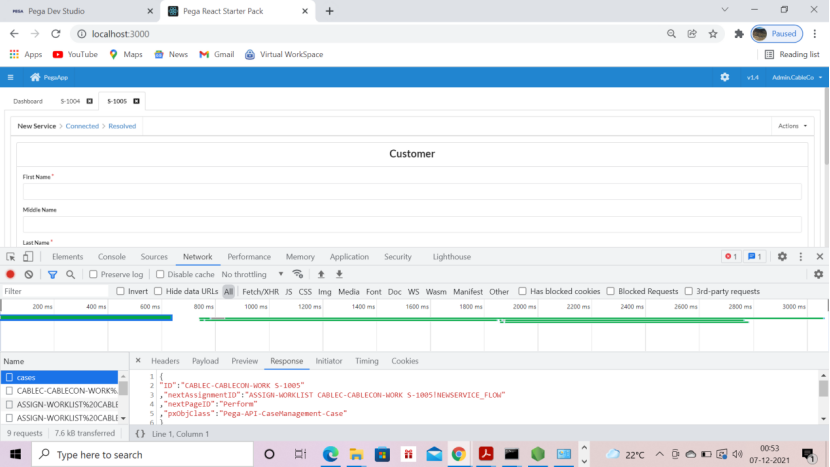
S-1005 is the case
To login to your own application login to the react application using your own Pega operator id,
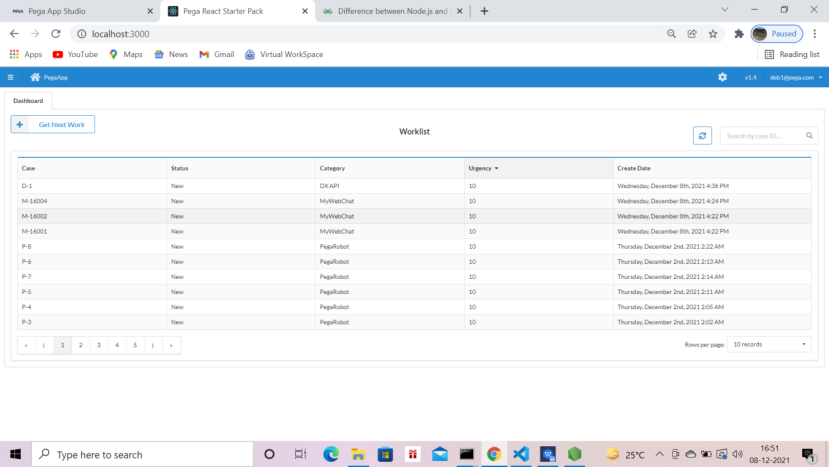
Click the 3 dash on the left top corner
All case types are visible
Click DXAPI case type
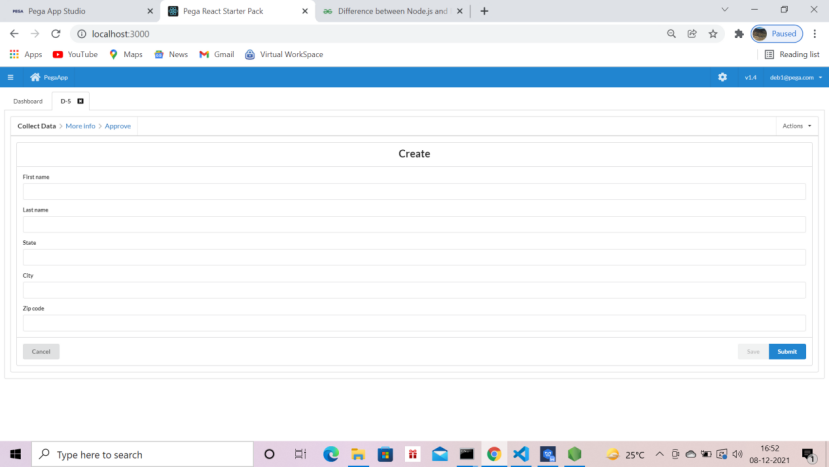
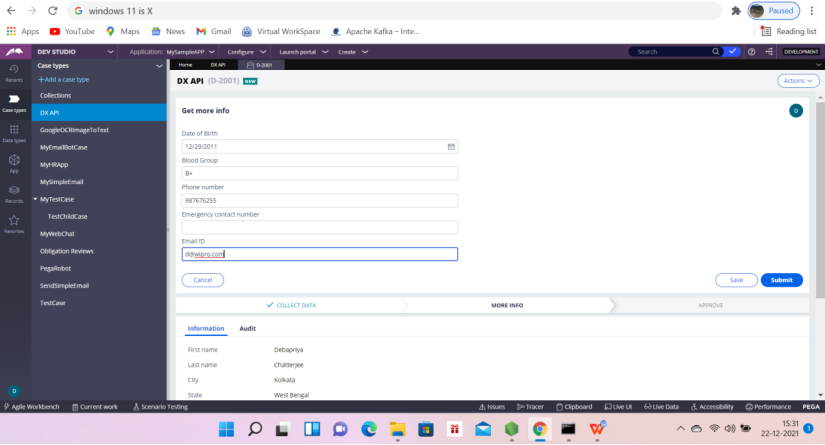
DX API case type launched
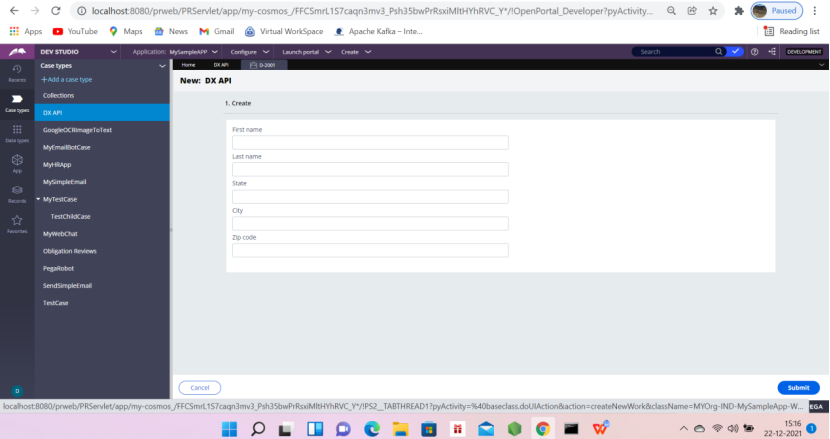
Same DXAPI case in Pega is as follows,
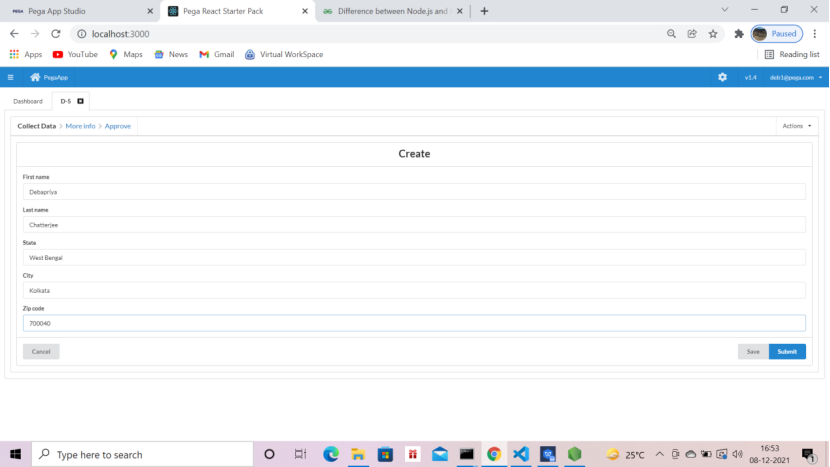
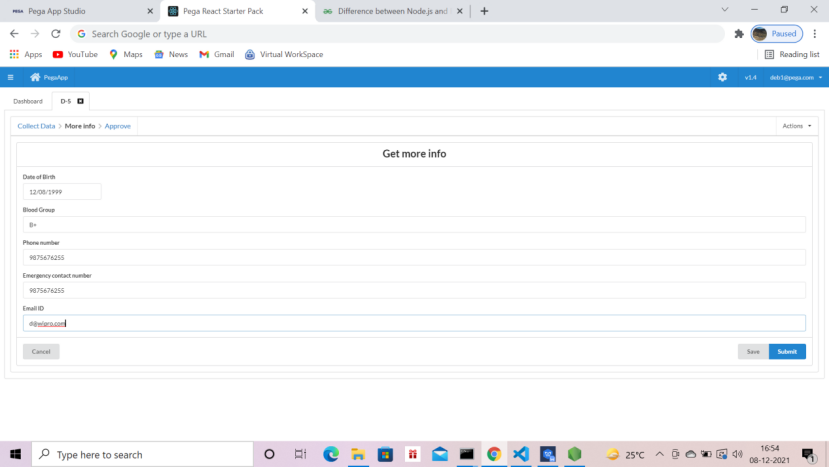
Same screen in React is as follows,
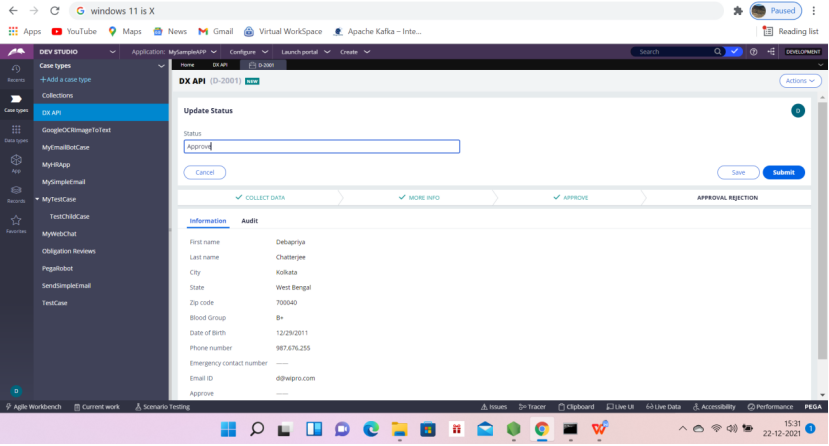
Another screen in Pega
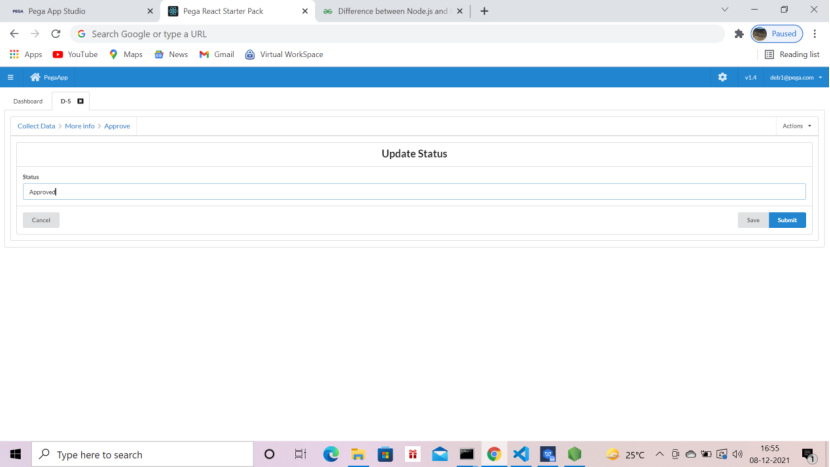
Same screen in DXAPI
Congratulations !!!! You have successfully integrated DXAPI.
Pat on you back 😉
Issues you may encounter:
pyCaseError: This issue will come in Pega 8.7 for Theme-Cosmos application. This will be rectified if you change the build on application from Theme-Cosmos to UIKit.
Confirm harness error: This is will be rectified if you save as the Pega’s default confirm harness into your application.
Note: This POC has shown you how to integrate with Pega’s React Starter Pack. But you can use DXAPI in native mobile app, for example an Android app or IOS app running on your mobile, can use DXAPI to get the case details, work lists, work queues etc. In that case you have to provide the DXAPI details to the native app developer and that developer will call the DXAPIs and display the content of your case type in the mobile app. Same process will apply for any other UI portals build on some other language.
Yes, Yes, I know what are you thinking, we can use Pega Mash Up in native website, yes we can use and there are Pros and Cons. For more info stay tuned to this blog. 🙂
Loved this article, nicely explained, its like spoon feeding. 🙂 Please share more articles.
Thanks a lot. Please do visit again. 🙂
Was looking for this article. At least someone shared it. Thanks a lot.
Thanks Vijay.
I tried it last week but faced few issues. One of my friend shared the link and I followed your steps and its working now. Thank you.
Glad that it worked for you. 🙂
Thanks for sharing.
You are welcome. Please share with your friends.
I had a client demo and I was searching an article like this. I looked into the Pega documentation but I did not understand clearly. Luckily I saw this article and i cracked it. Am so happy when client liked my demo. A BIG Thank you.
Thanks Gowthami