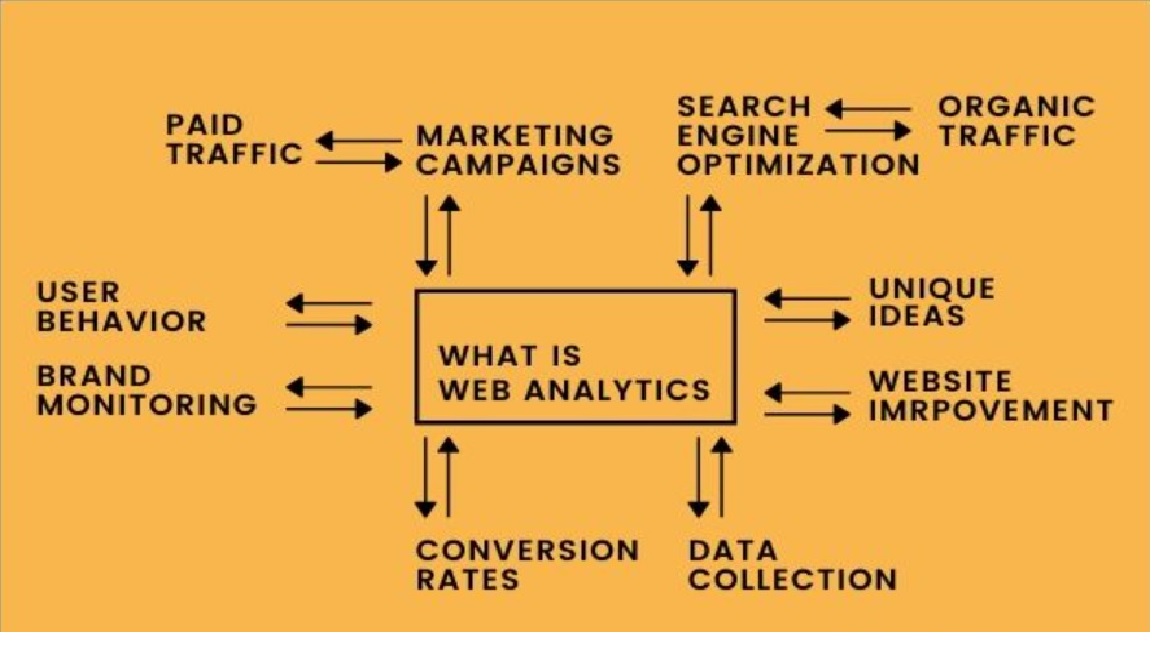
This post is a simple POC on how to integrate Pega with Google Web Analytics.
Demo Video:
The steps are as follows,
Login to Google web analytics.
https://www.google.com/analytics
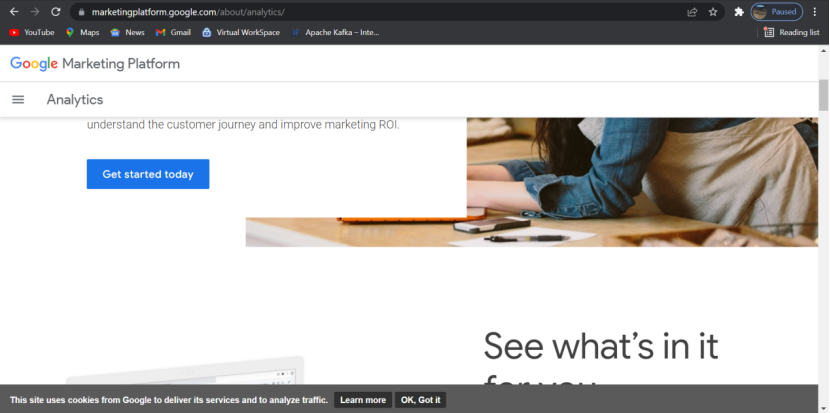
Click Get started today
Give Analytics Account name MyPegaApp
Properties and App as MyApp
Then you will get the below screen
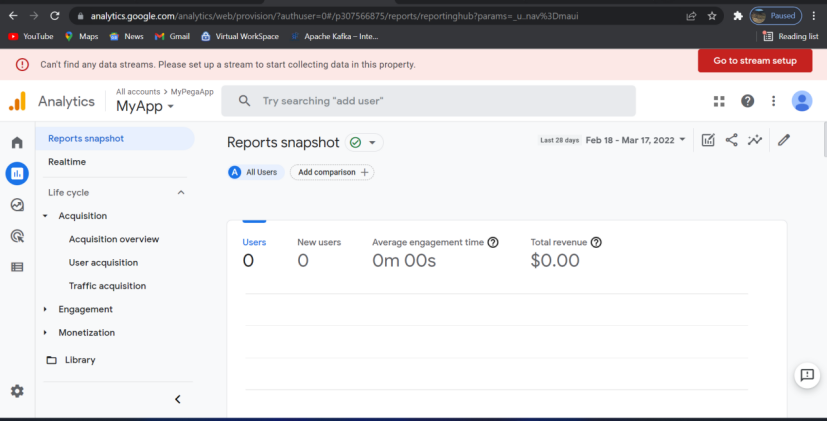
Now click Go to stream setup
Site name: give a meaningful name,
https://www.mypegaanalytics.com
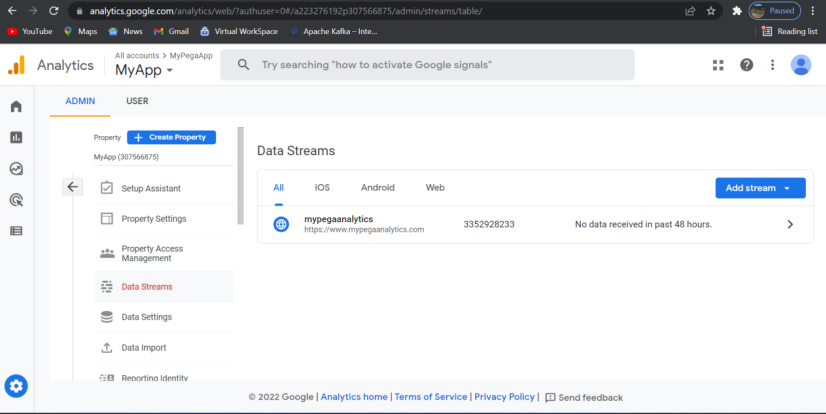
Click Data Stream — Click Web Stream you will get the
Stream url : (enter a meaningful name): https://www.mypegaanalytics.com
Stream name: (enter a meaningful name): mypegaanalytics
Measuremnt ID: will be auto generated
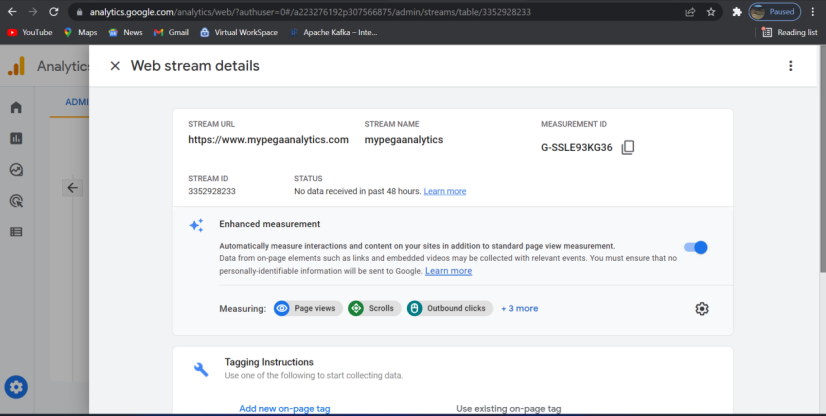
Now click Tagging Instructions
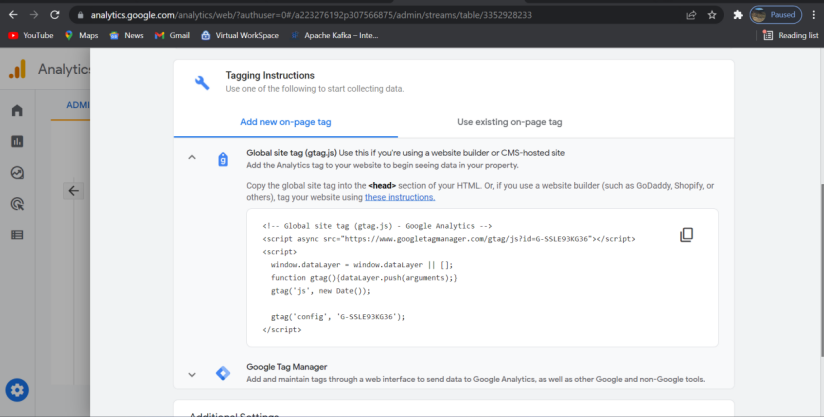
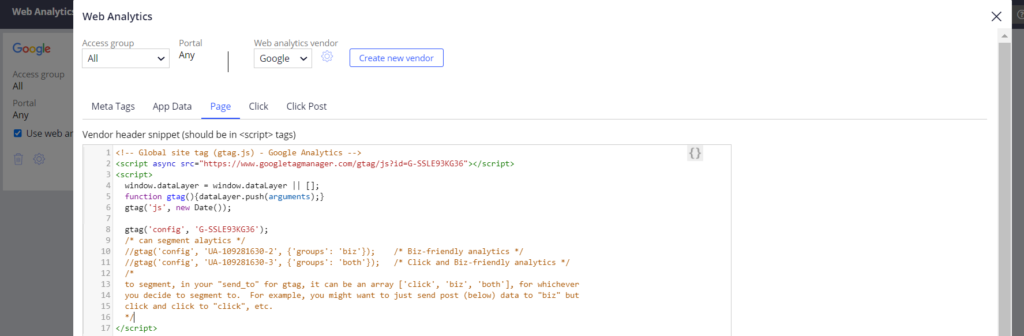
Global site tag – get the details and paste it in Pega – Page tab
Measurement ID is the yellow highlighted one.
<!– Global site tag (gtag.js) – Google Analytics –>
<script async src=”https://www.googletagmanager.com/gtag/js?id=G-SSLE93KG36″></script>
<script>
window.dataLayer = window.dataLayer || [];
function gtag(){dataLayer.push(arguments);}
gtag(‘js’, new Date());
gtag(‘config’, ‘G-SSLE93KG36’);
</script>
Now close the web stream screen
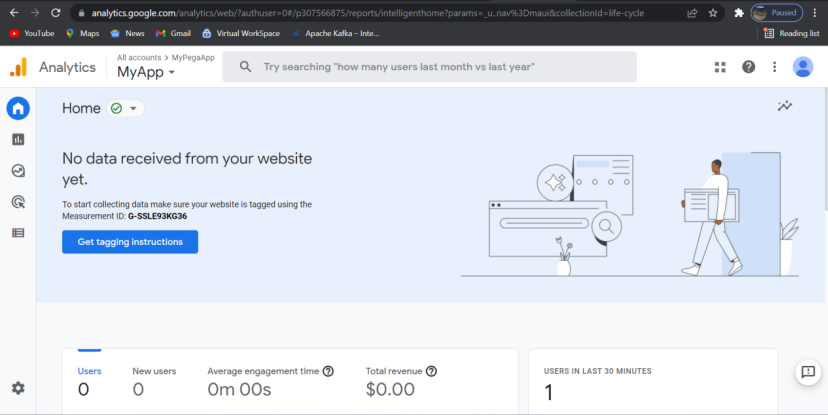
Go to home – Check the Measurement ID (Just above the blue Get tagging instructions) – this is same as you have created in the Web stream.
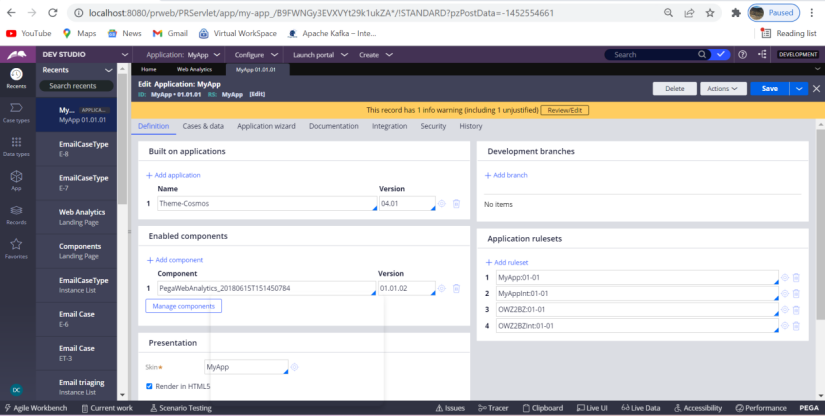
Download the WebAnalytics component from Pega MarketPlace under Integrations section.
Import the component in Pega
Now go to Pega and launch the designer portal
Enable the component in the application as show below
Log off and Login
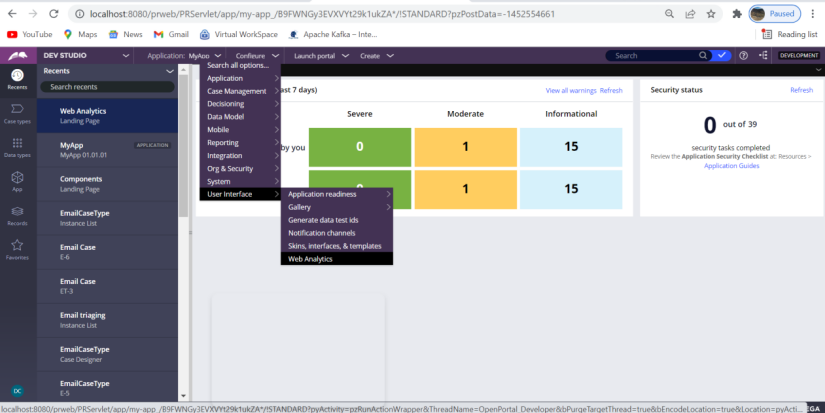
Then you will get the Web analytics under User Interface
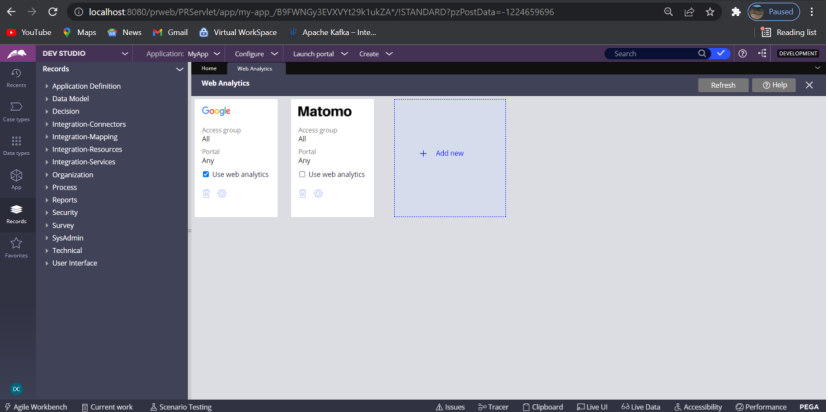
Enable Google and disable Matomo (I have configured Matomo previously so I am getting this option otherwise, for the first time you will get Add new option only)
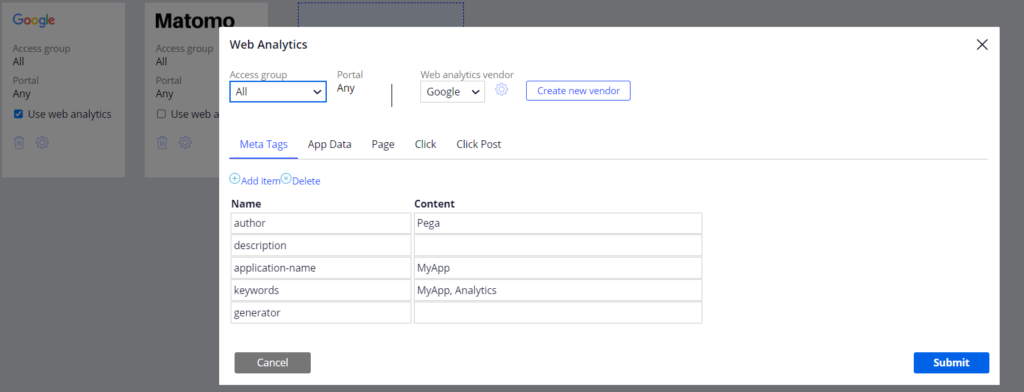
Click the gear icon, enter the below details in the Meta Tags
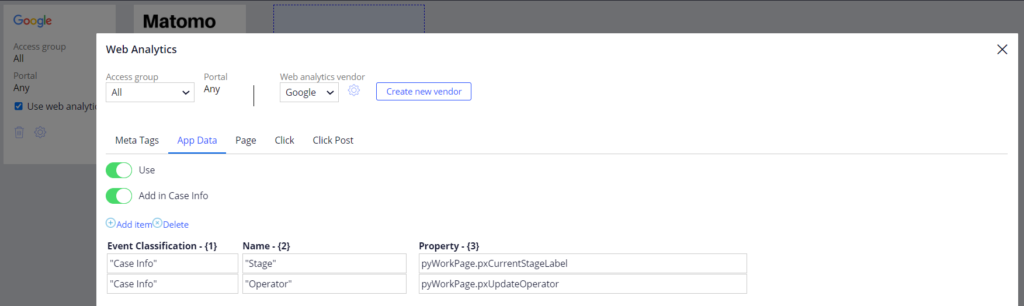
Go to App Data tab
Now click Page tab – enter the script that you received from Google Analytics site
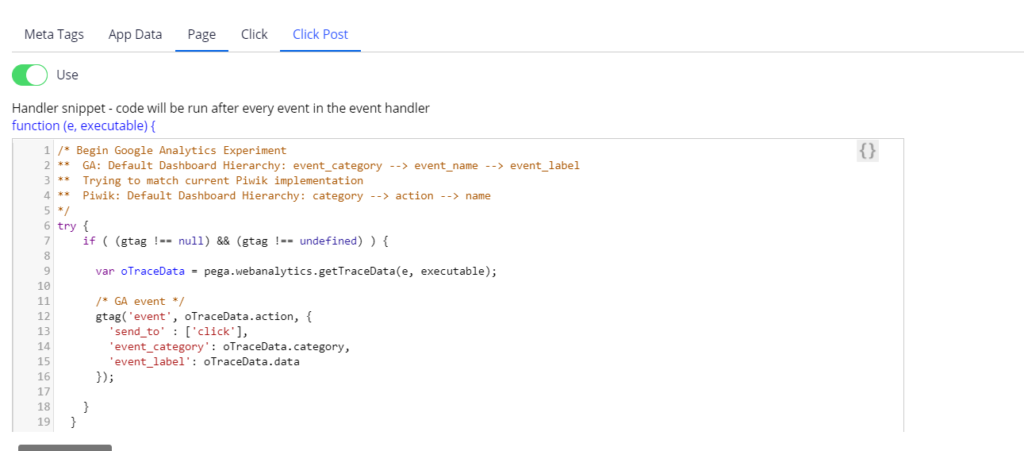
Keep the default settings of Click and Click Post tabs (Enable the Use toggle button)
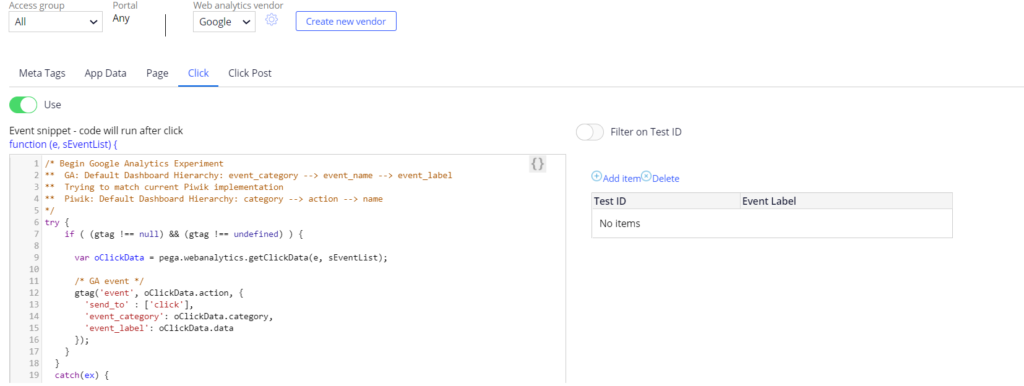
Click Post tab
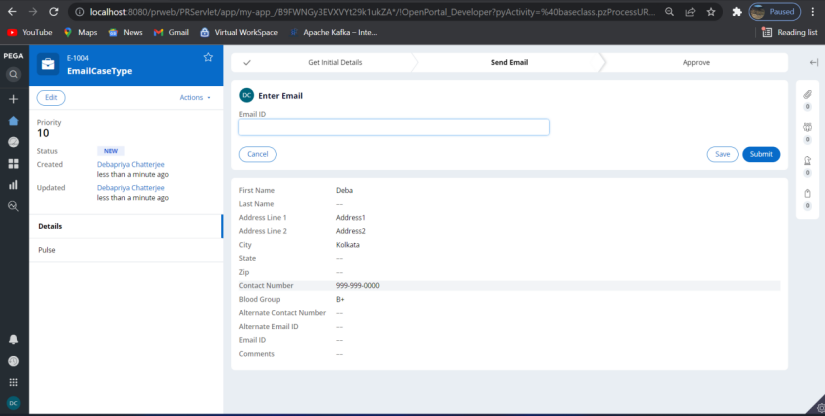
Launch the User Portal

Navigate to different screens
Now login to google analytics
Check the Reports

Click Realtime
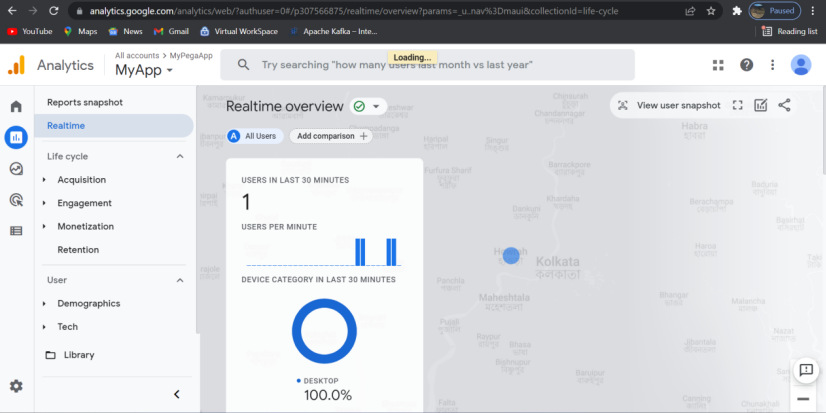
Scroll down
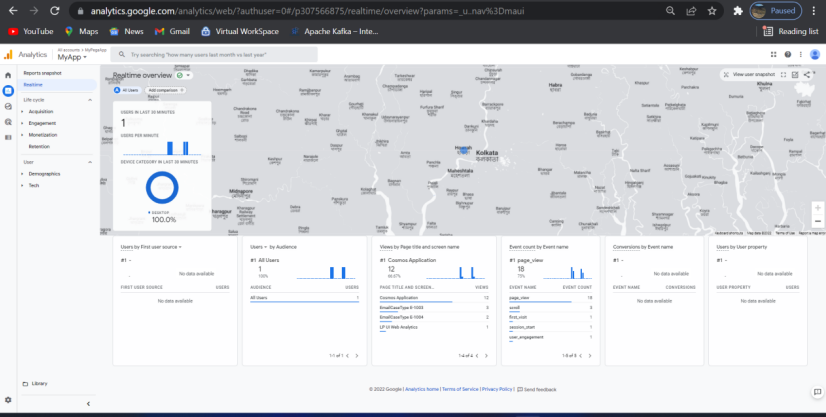
Cosmos application details and my case details are coming
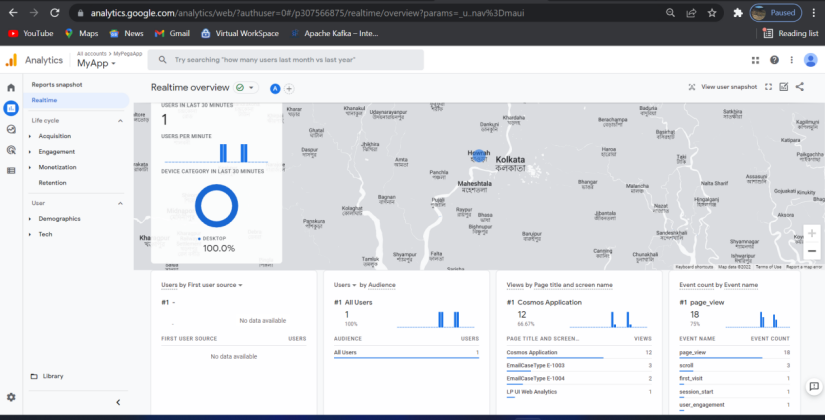
Data is changing as am using the application more

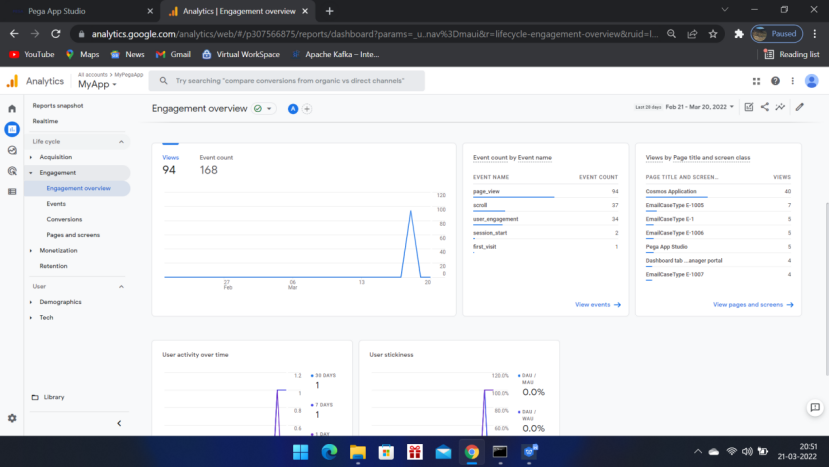
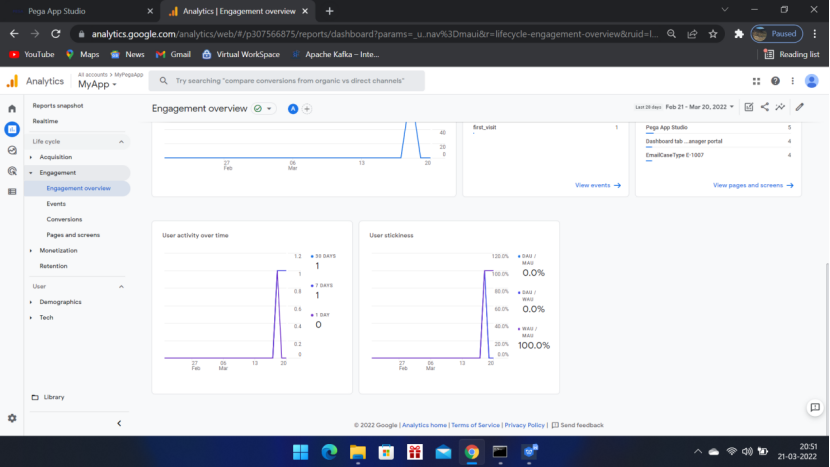
Click Engagement overview on the left hand menu
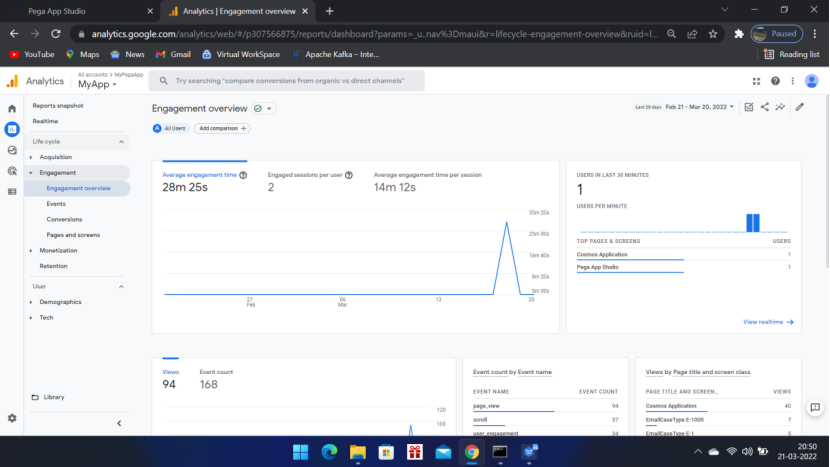
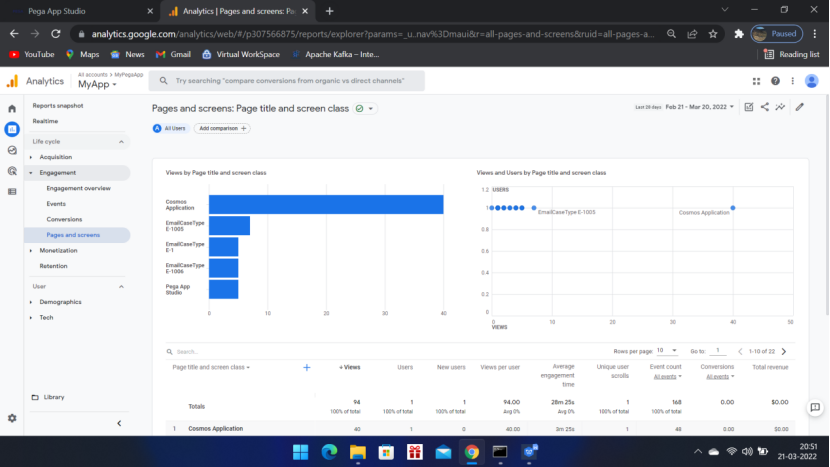
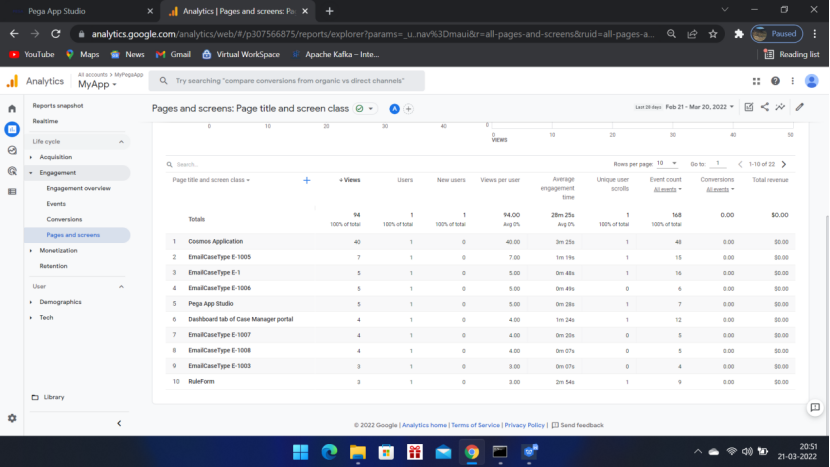
Click Pages and Screens
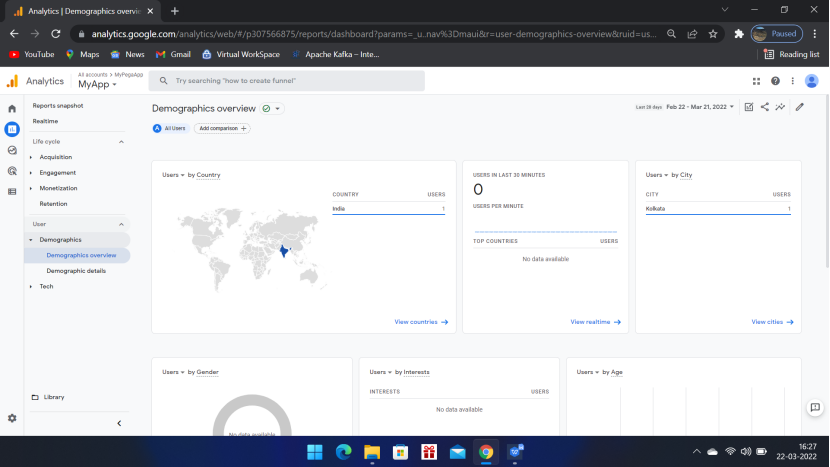
Demographics
To Test:
Login to
Provide the gmail id / password used during account creation and get the analysis
Once you done with the POC, Pat on your back, and say Good job. 😉
Thanks for sharing !!
Waiting for many other topics 🙂
Thanks Dipankar. Please visit frequently for updates. 🙂
Thanks for sharing this article. I saw couple of other articles in the net, but all steps are not there. Your article has all the steps.
Thanks Sneha. Please do share the blog with friends.
I need to do this POC for my project. If I face issues I will let you know.
Certainly.
Thanks for sharing. I followed the steps blindly and its a success. 🙂
Great!!